FlavourRoll

menu icon
go to homepage
subscribe
search icon
Homepage link
×
Home

Medu Vada

June 3, 2025 by Flavour Roll Leave a Comment

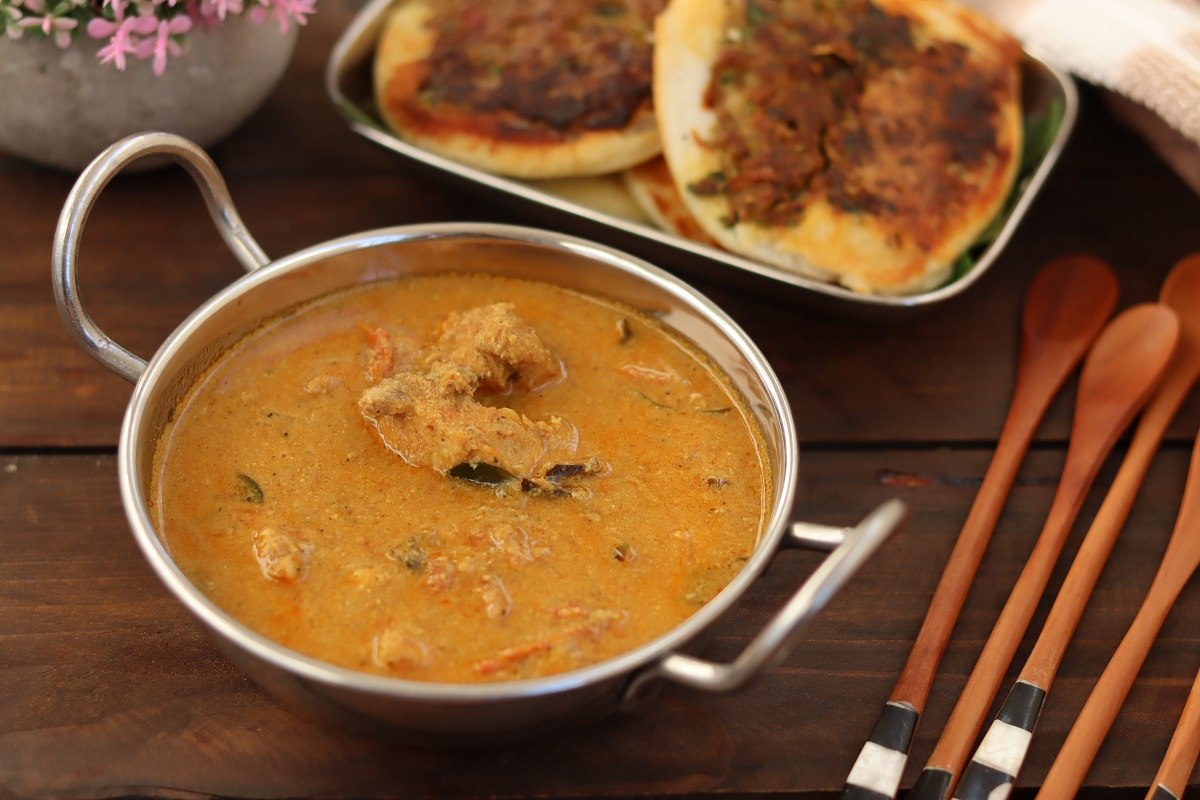
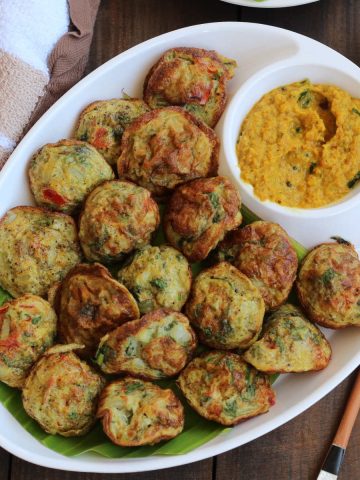
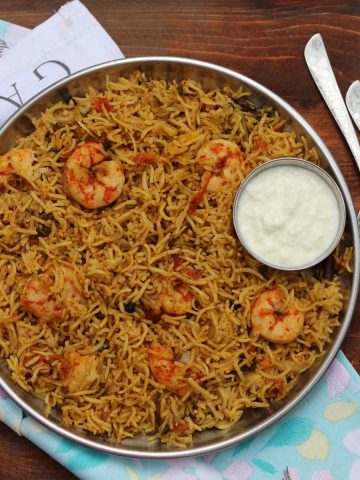
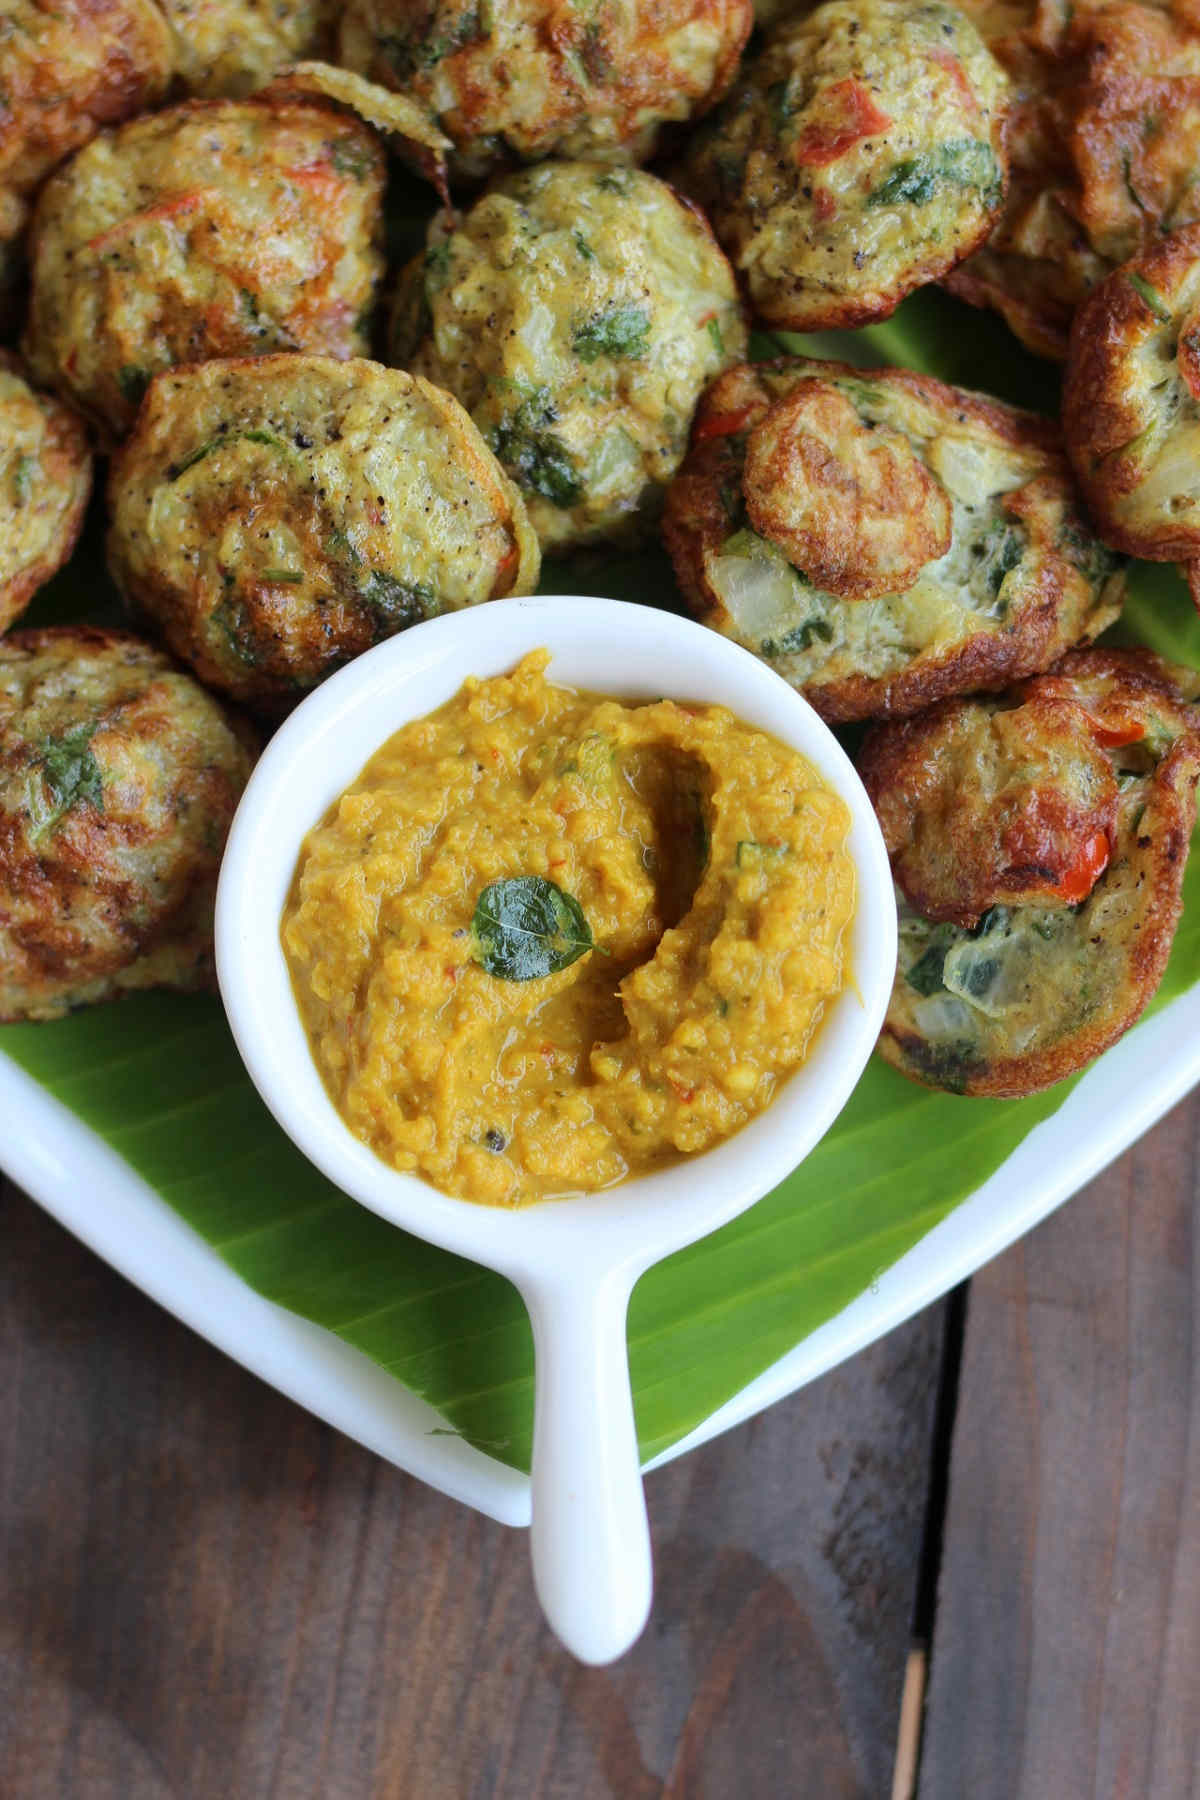
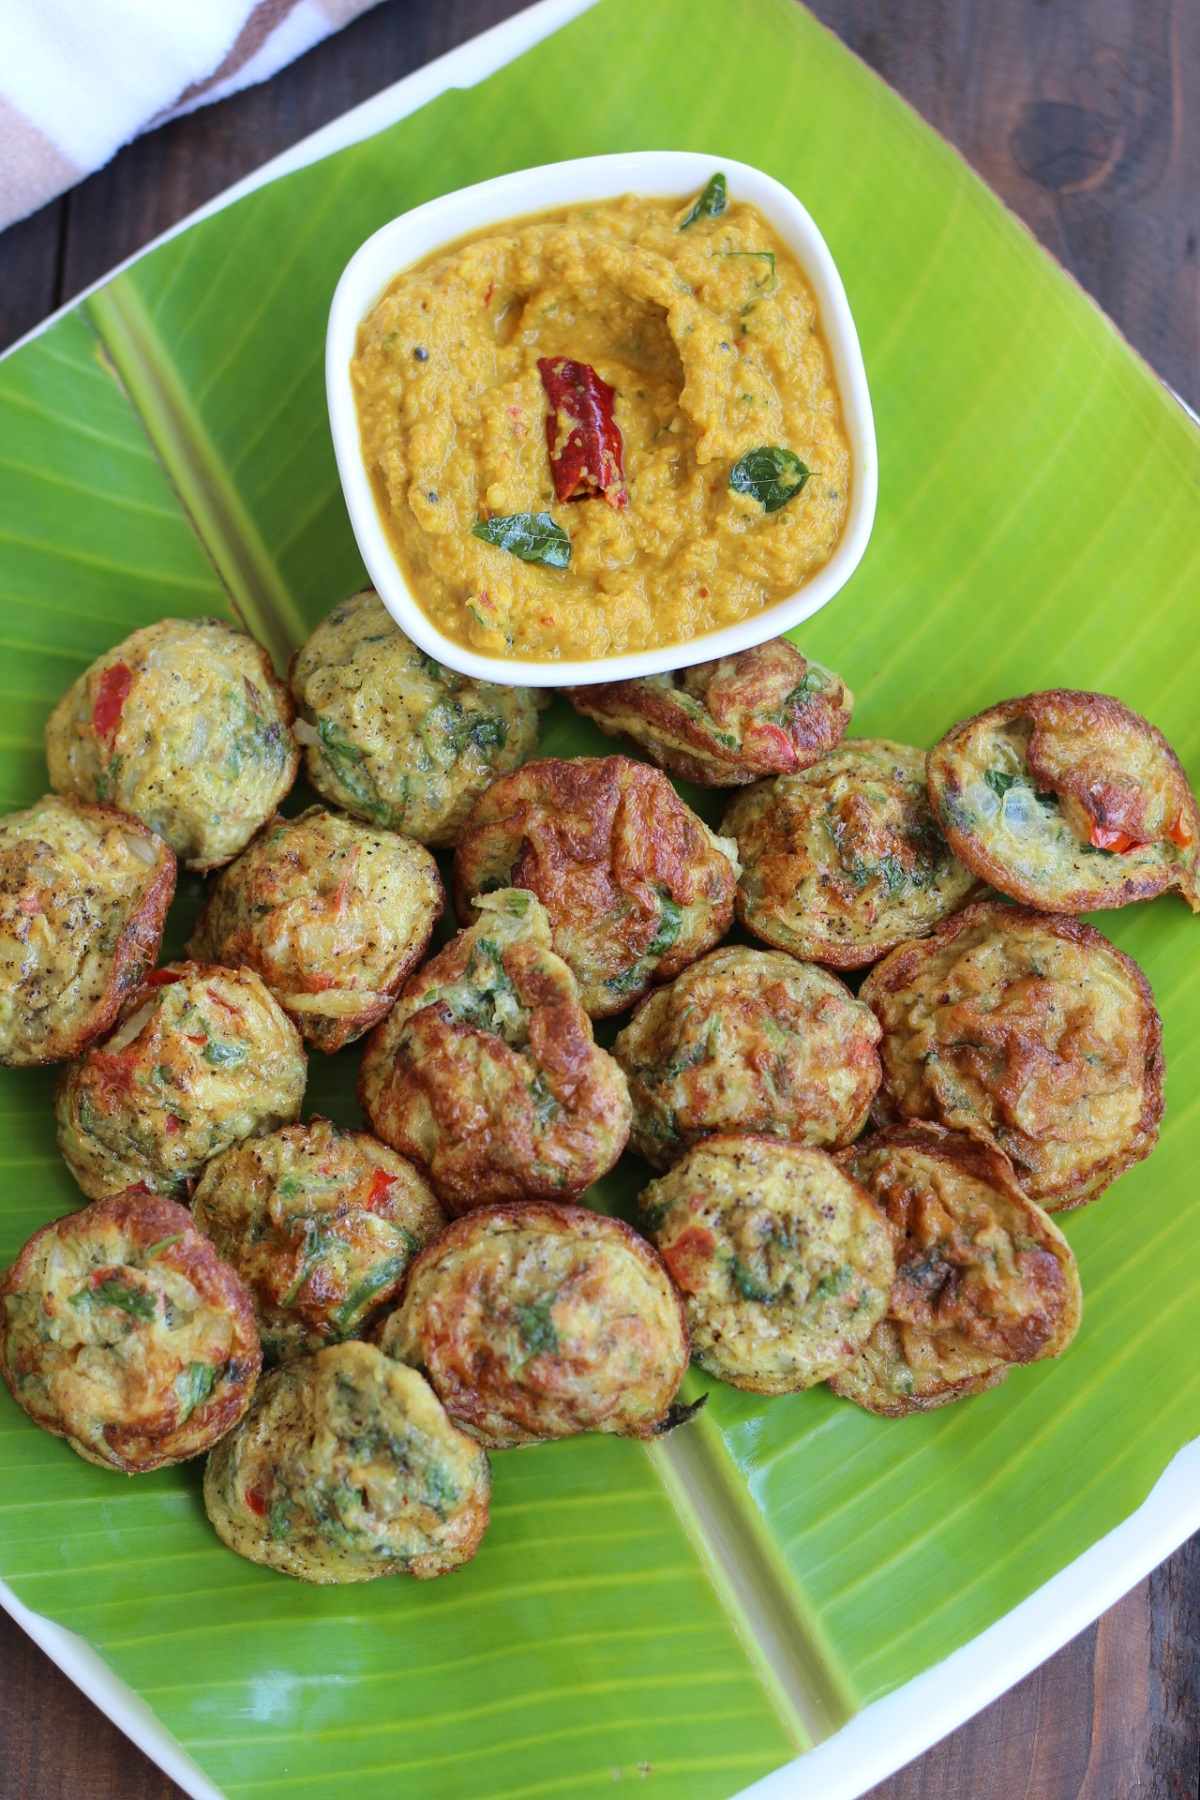
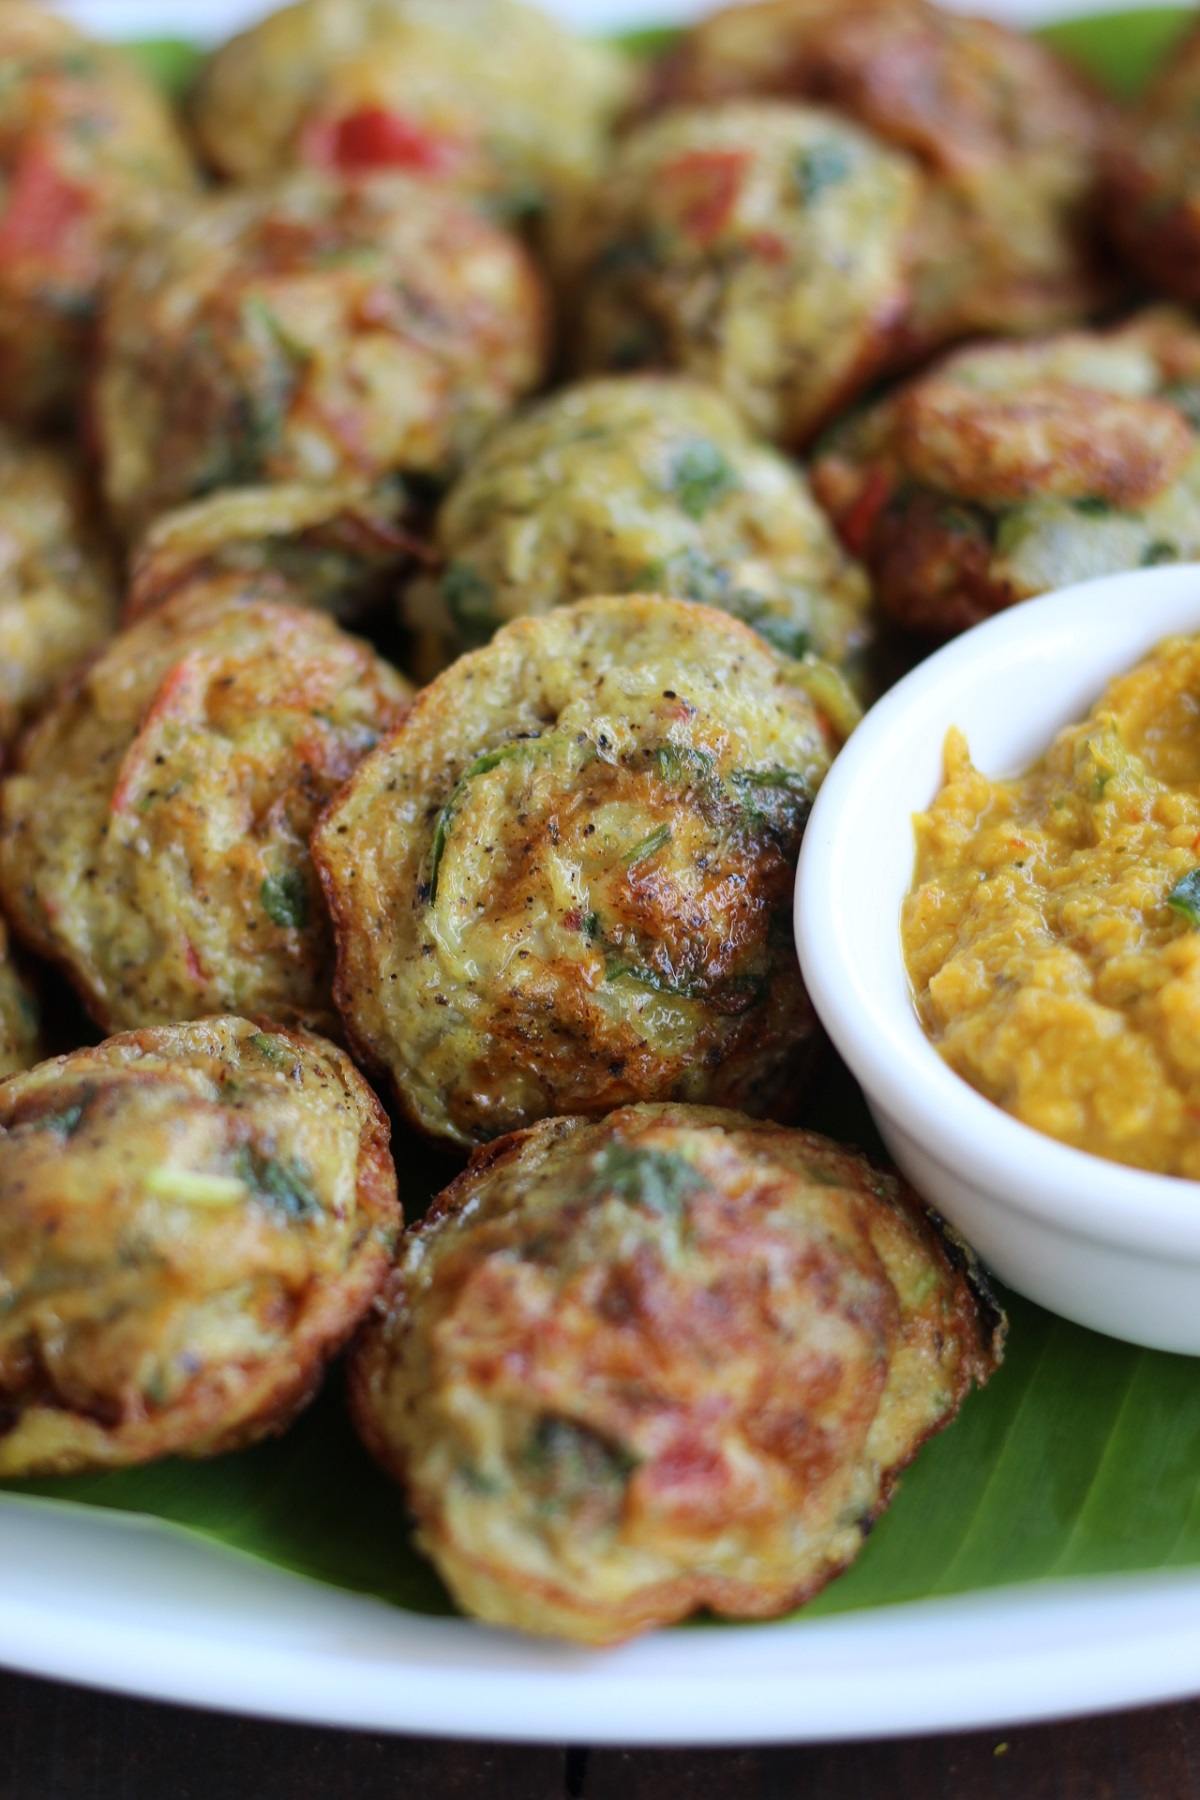
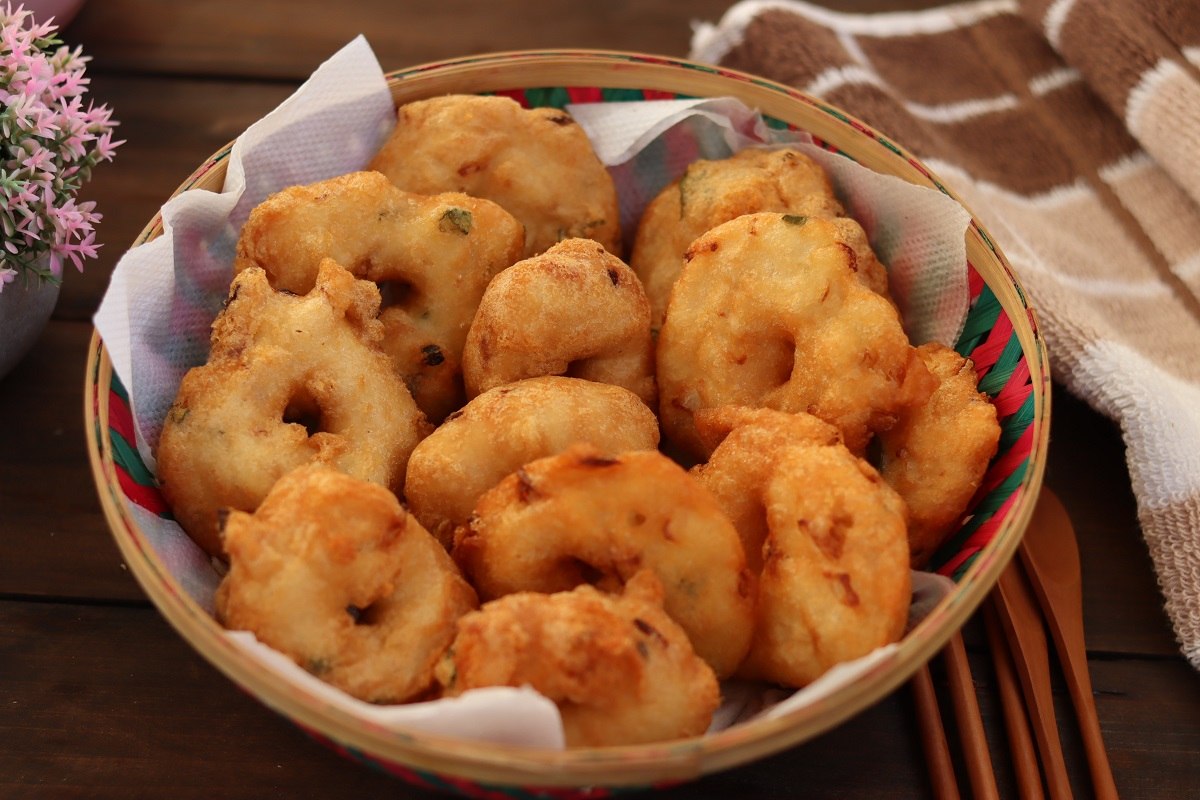
Medu vadas are lentil fritters that have a crispy outside and soft inside. This is a savoury snack item. With each bite gives a crispy outside coating and the soft center. They are served in a breakfast with other tiffin items like Idli, Dosa or pongal. They are also served as a tea time snack.

Medu Vada

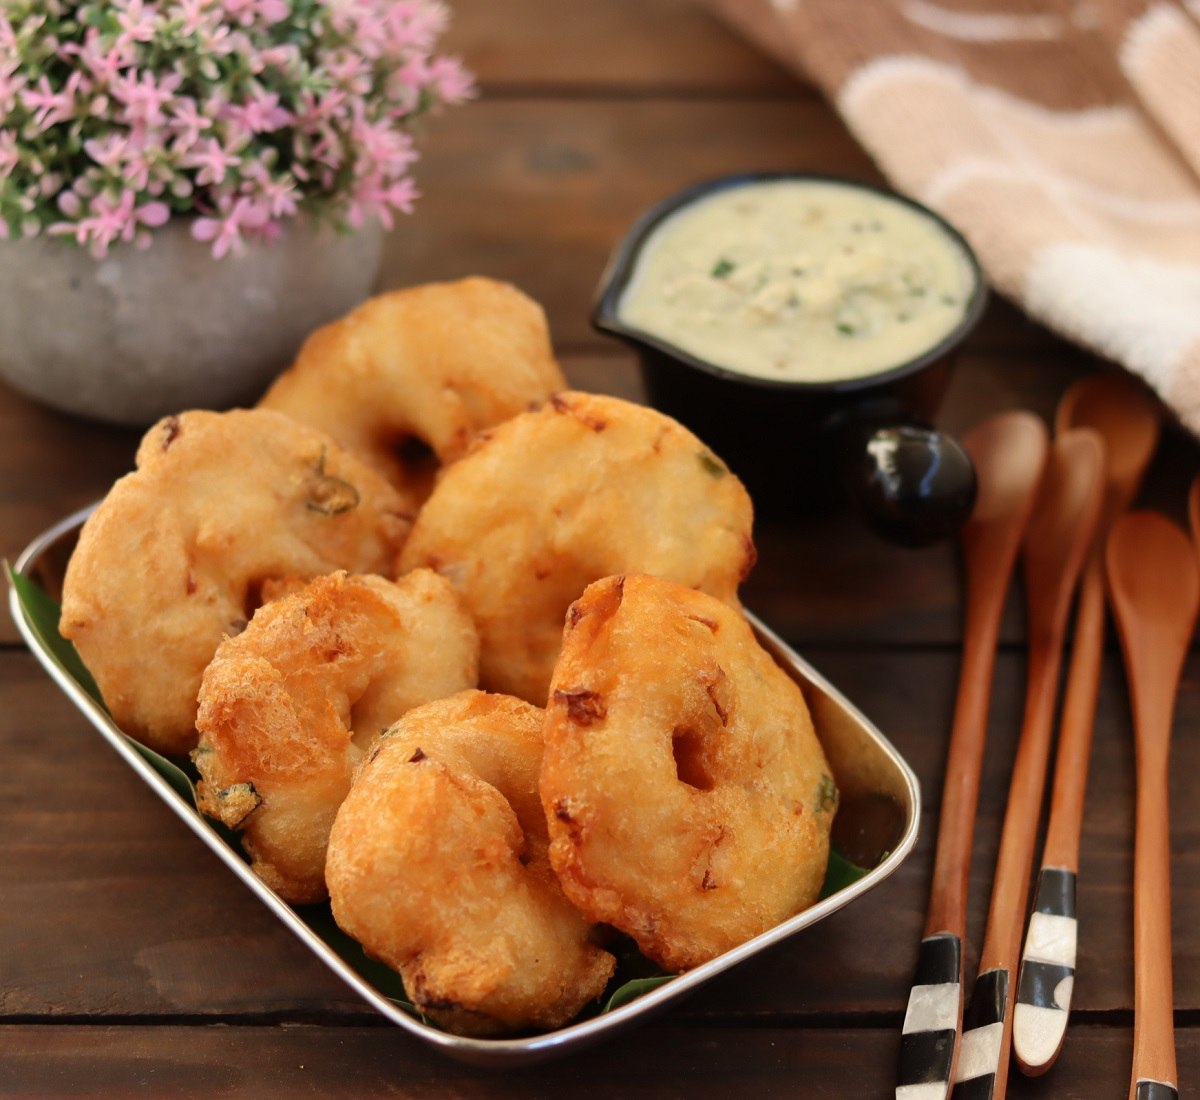
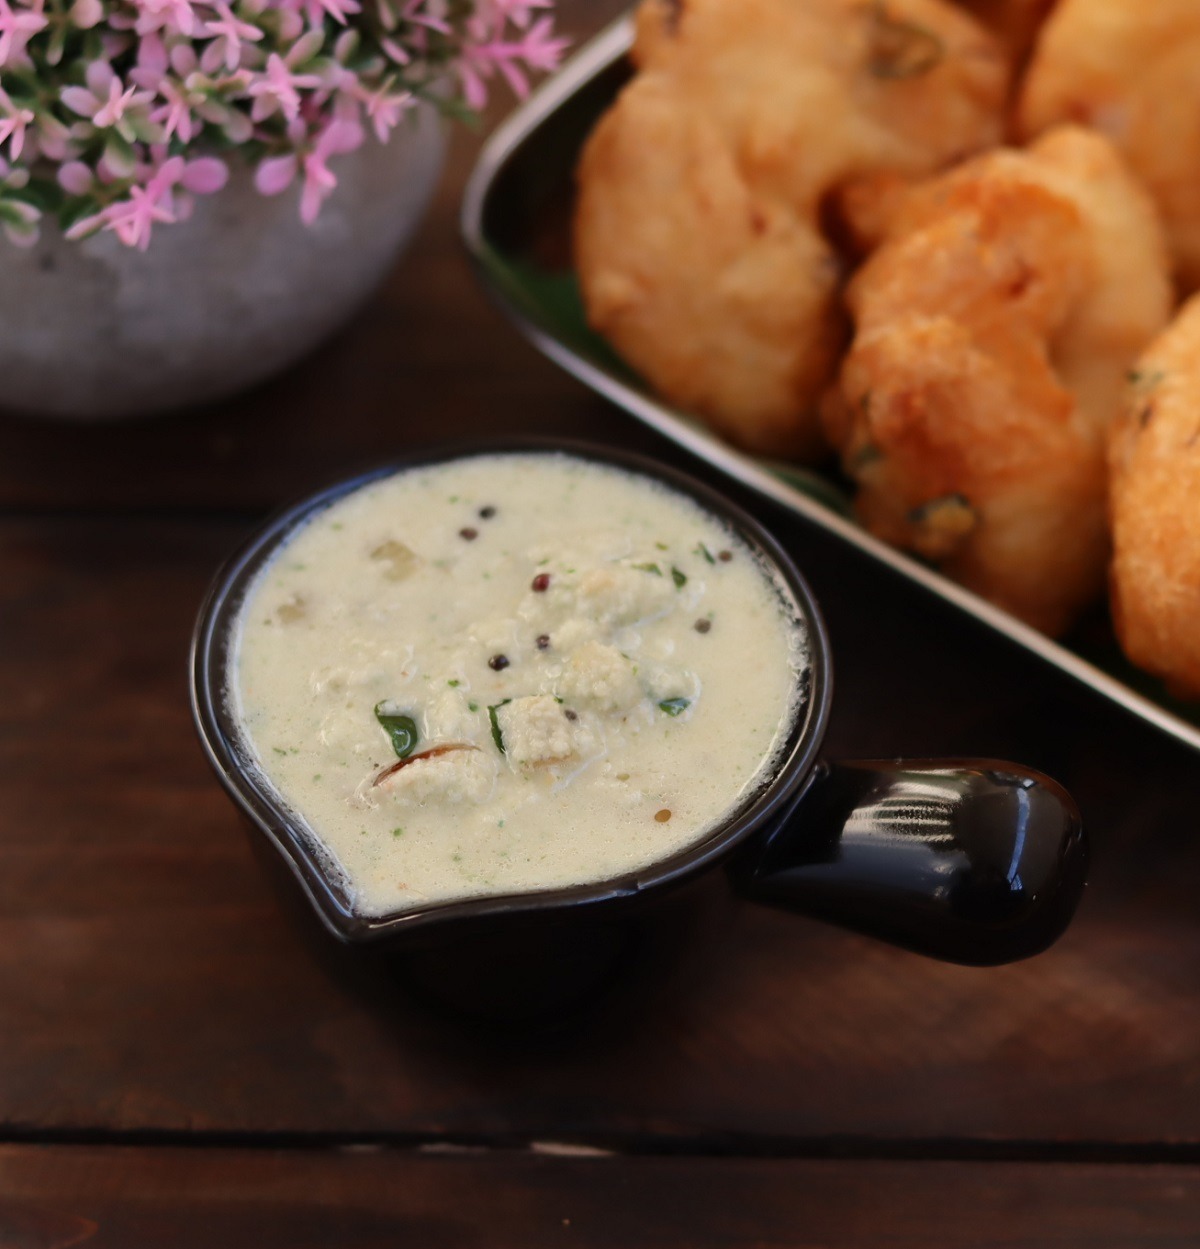
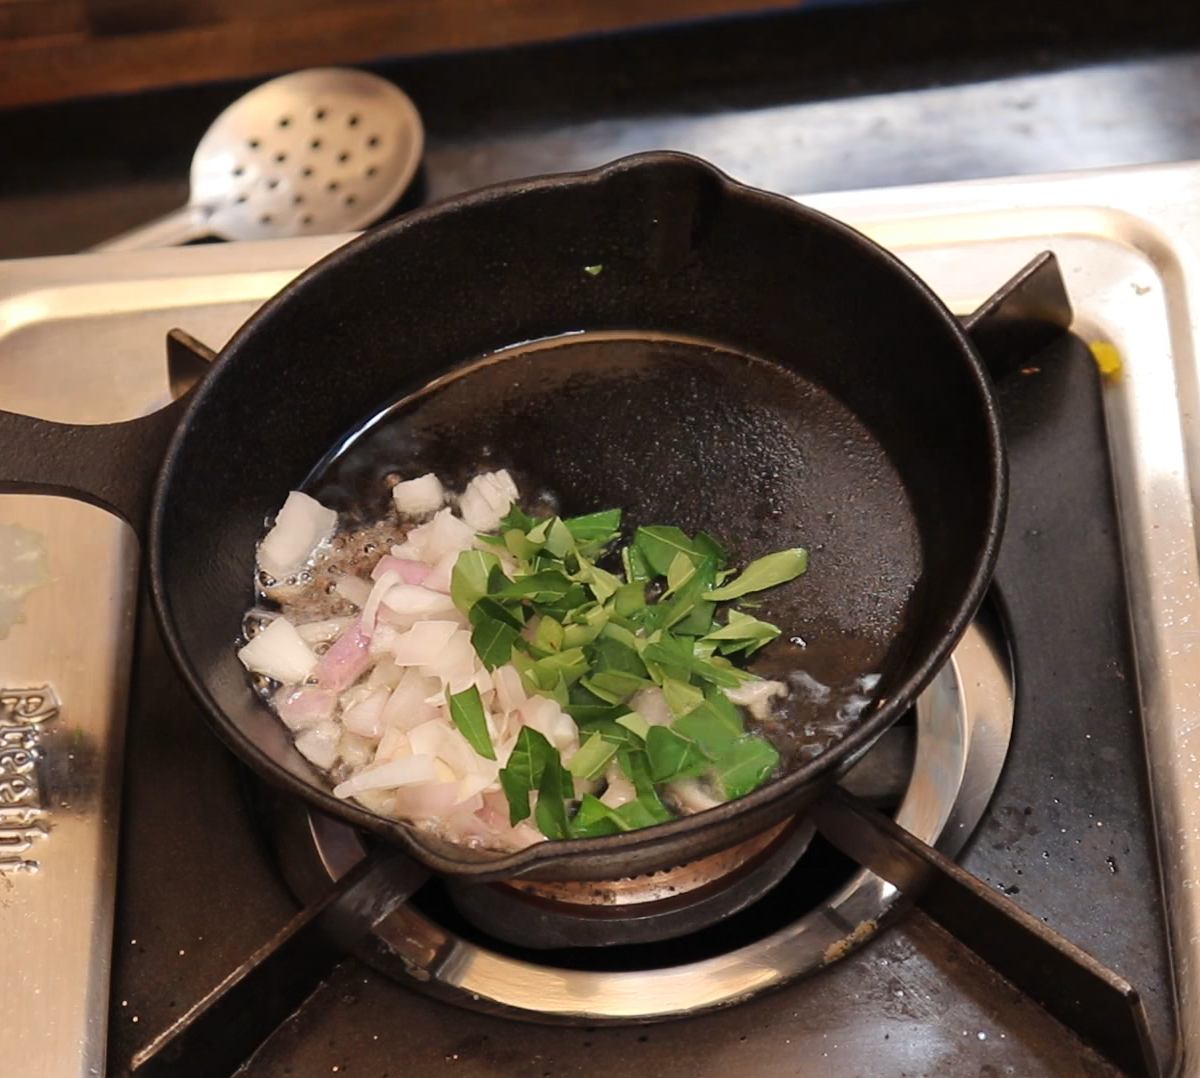
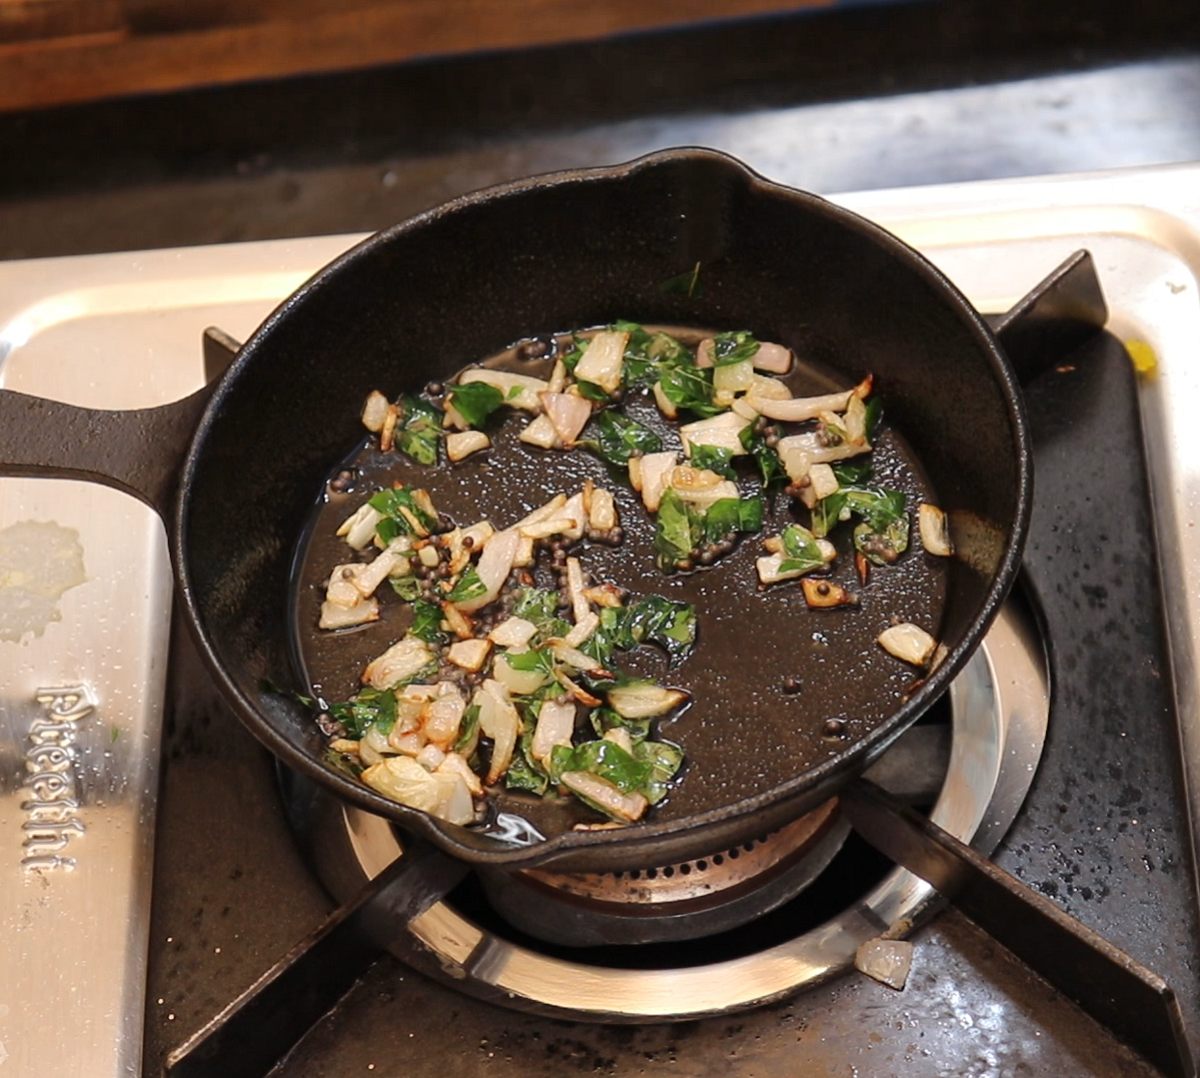
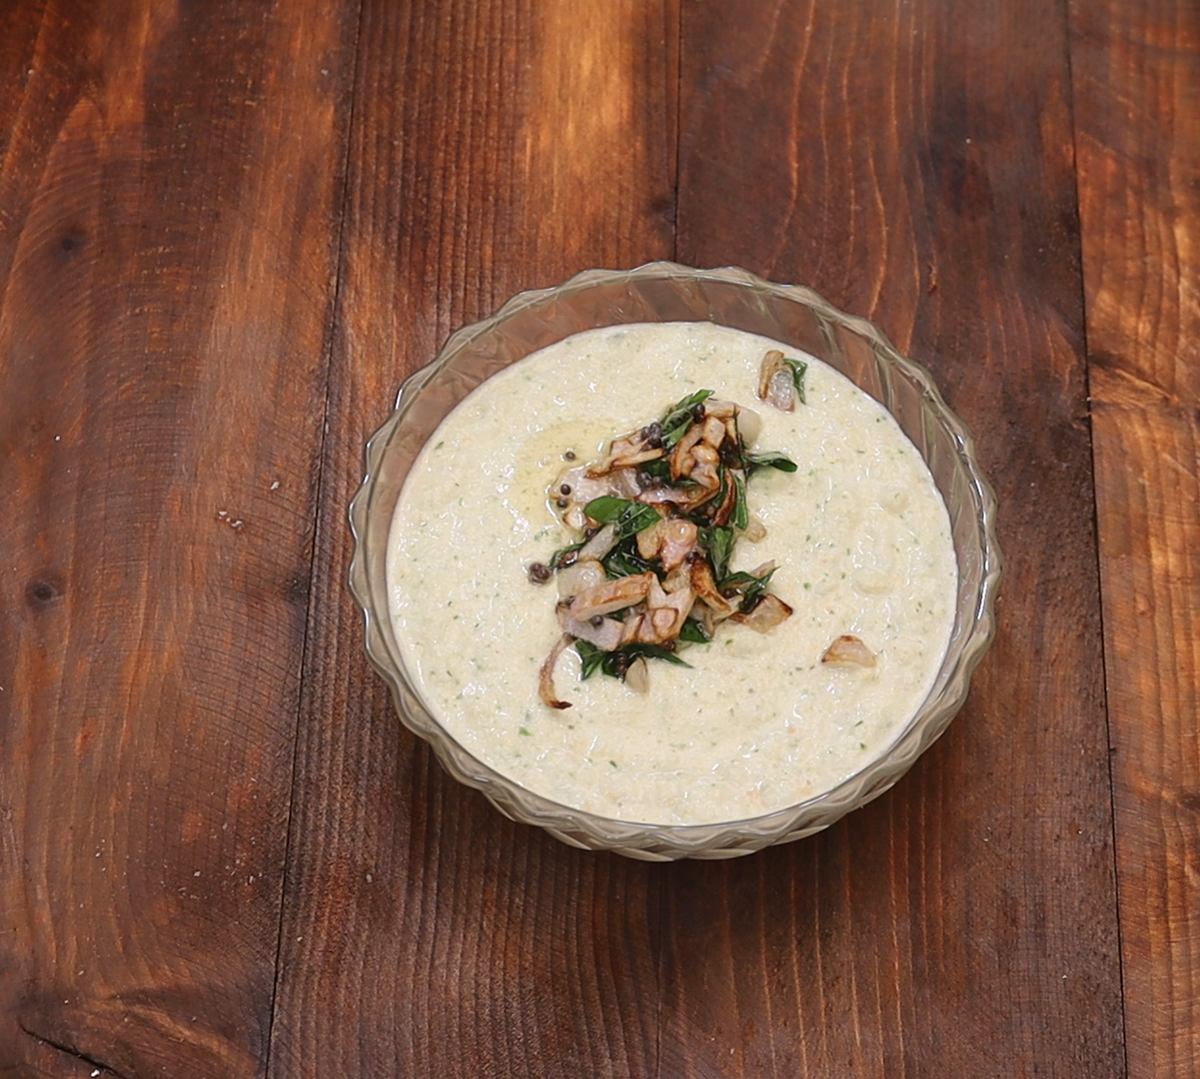
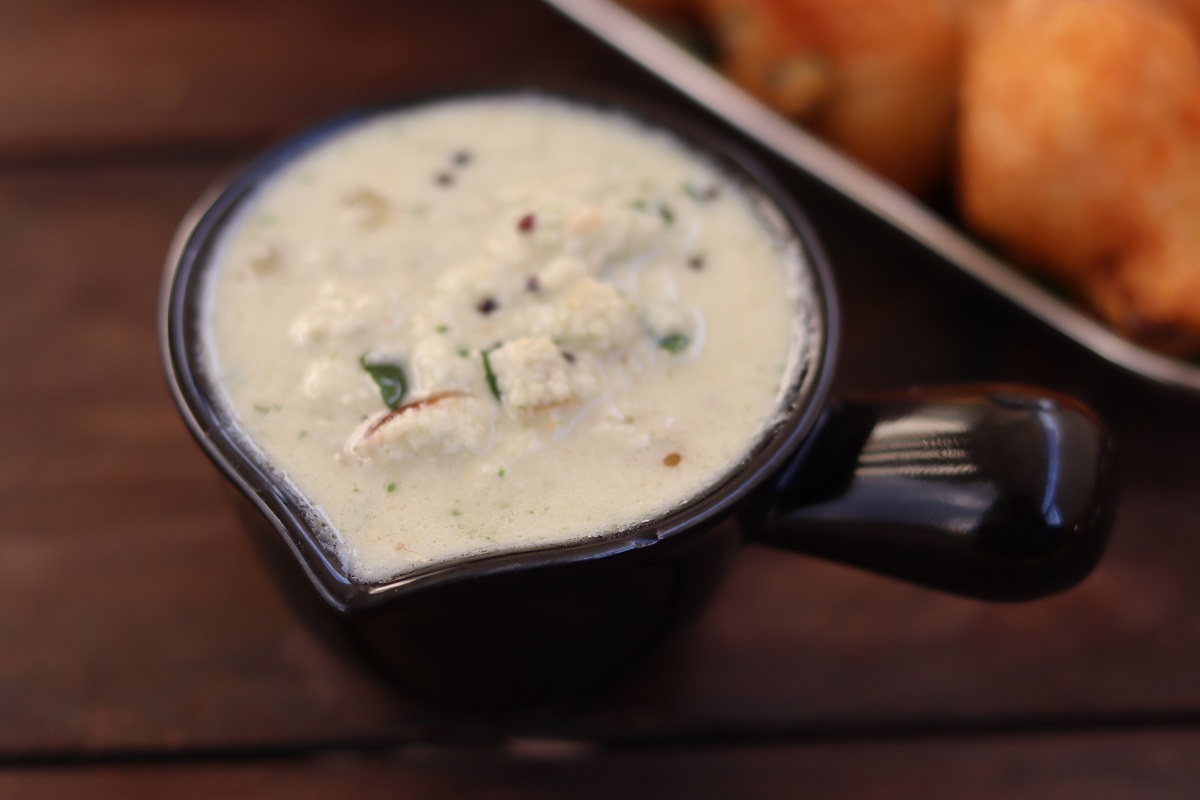
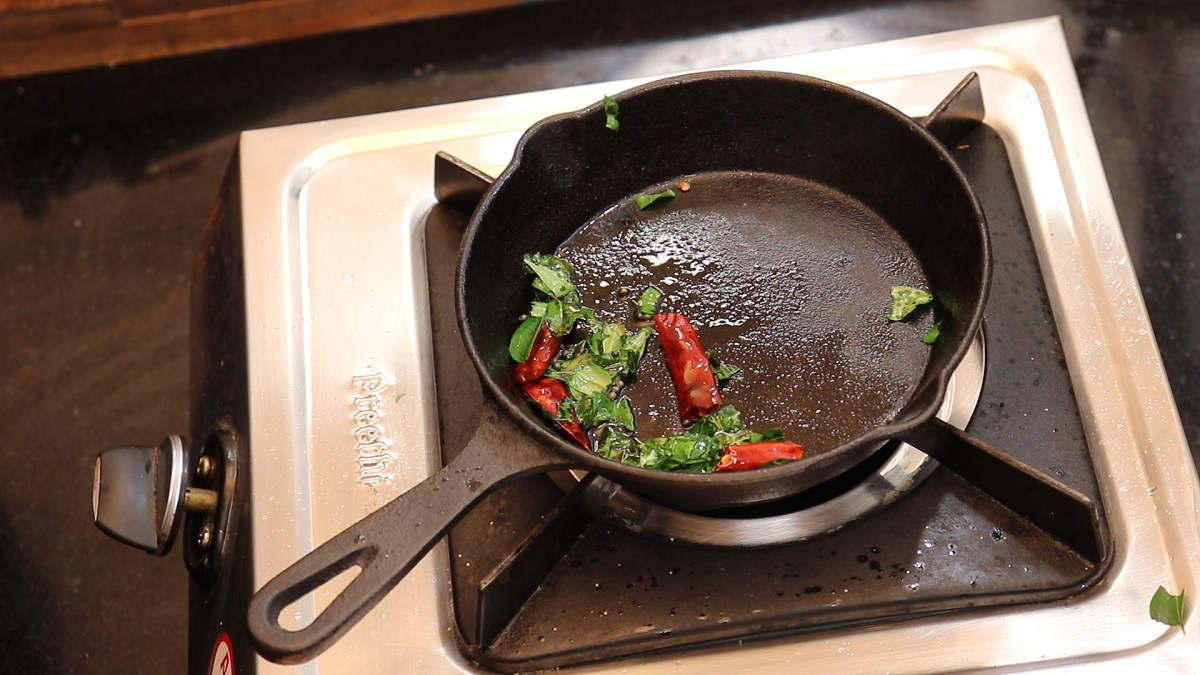
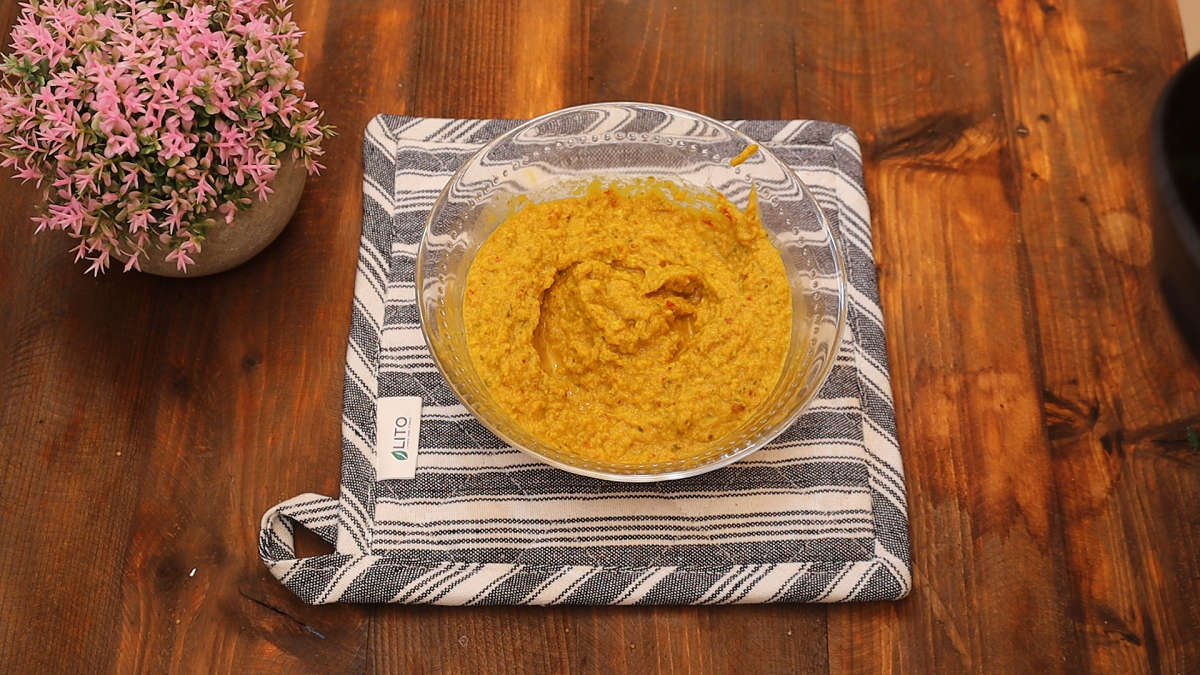
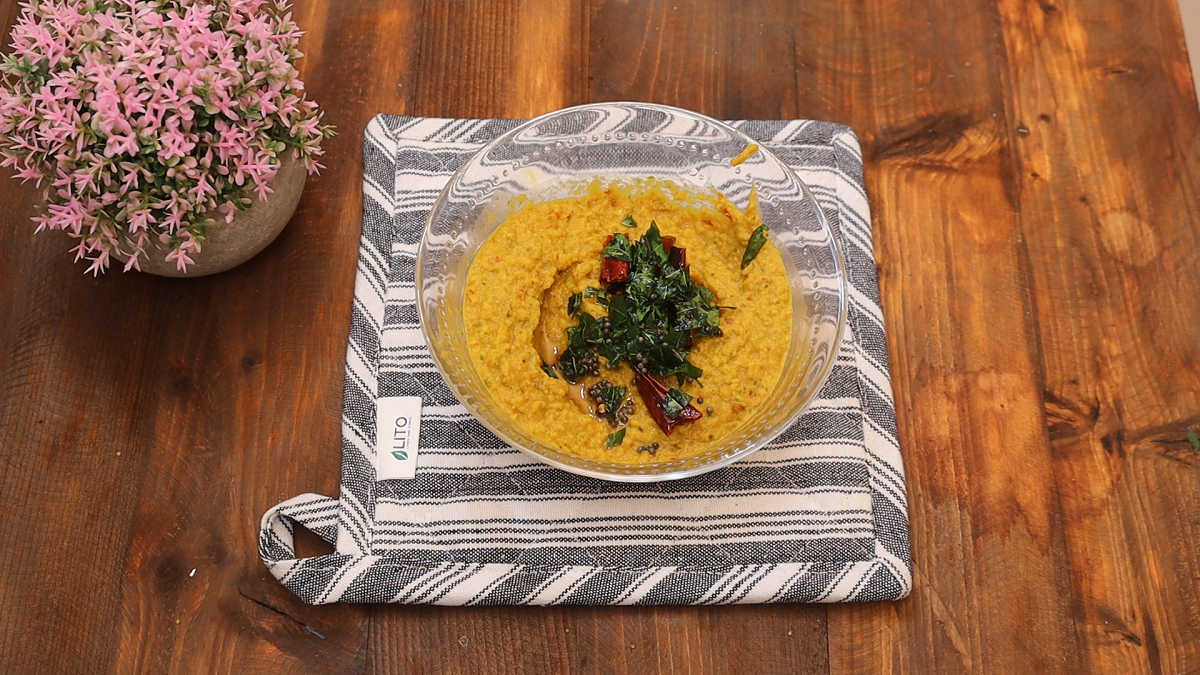
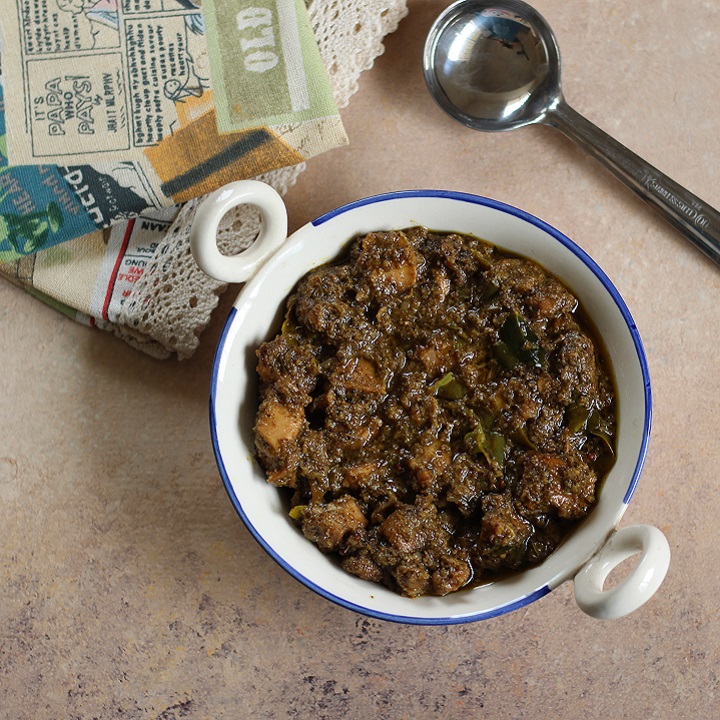
I like serving Medu Vada with Coconut Chutney
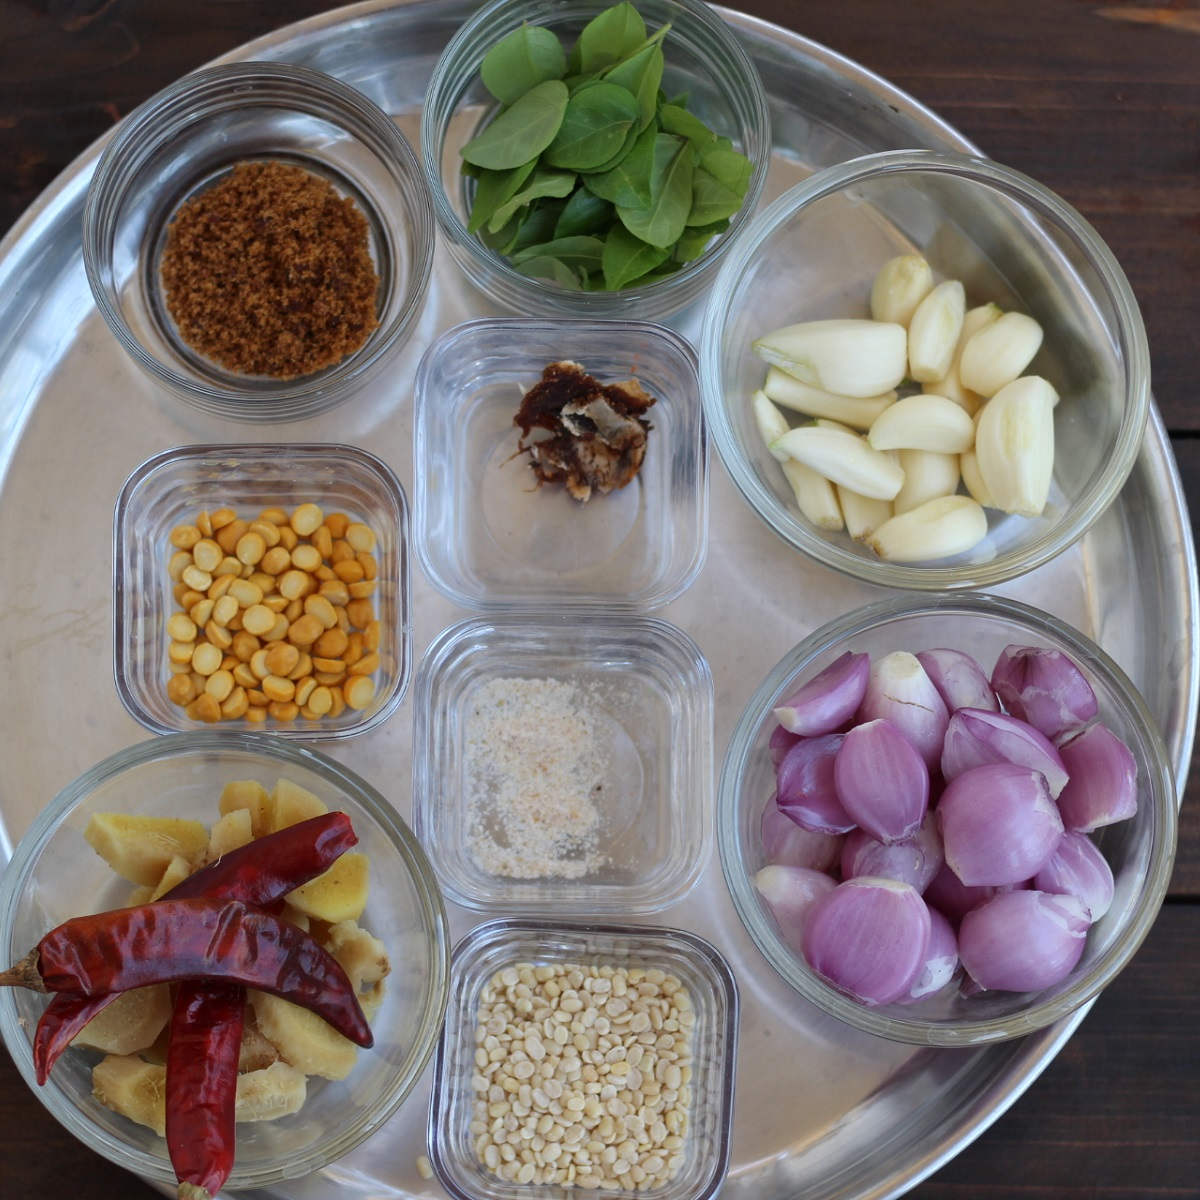
[feast_advanced_jump_to]

Ingredients

  • Urad Dal - Urad dal is soaked and ground into a thick paste. Then shaped into donut shaped balls for making Vada
  • Oil - For Deep frying. you can use refined oil or for healthier version use cold pressed groundnut oil.
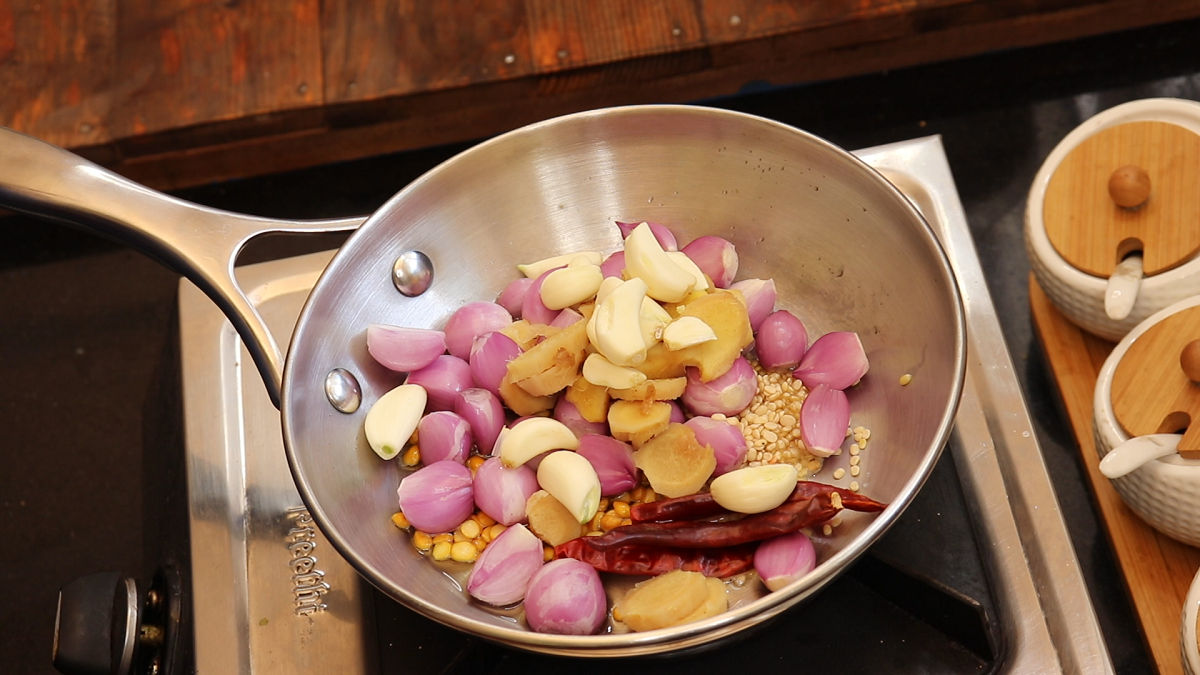
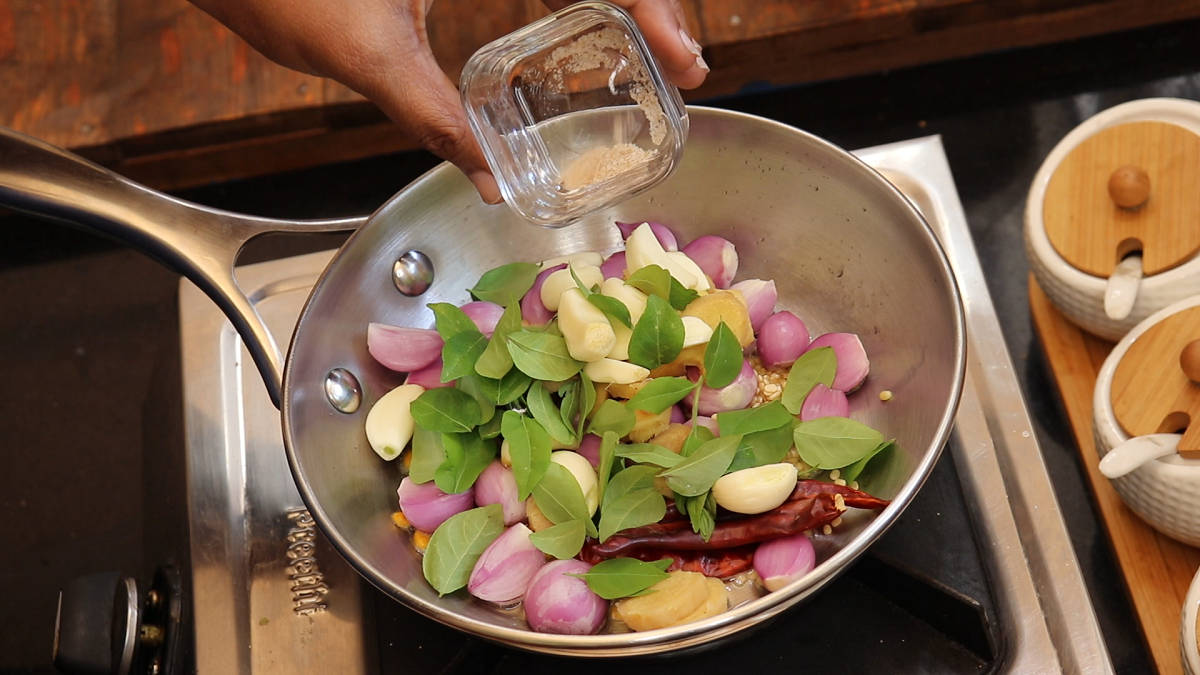
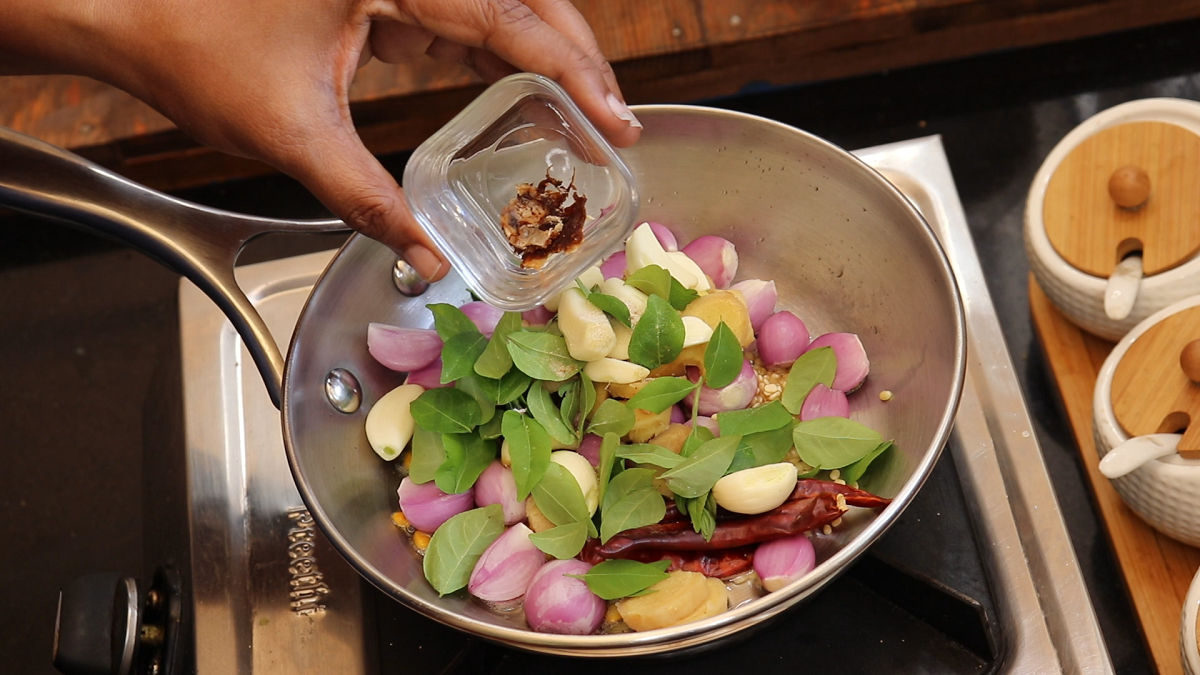
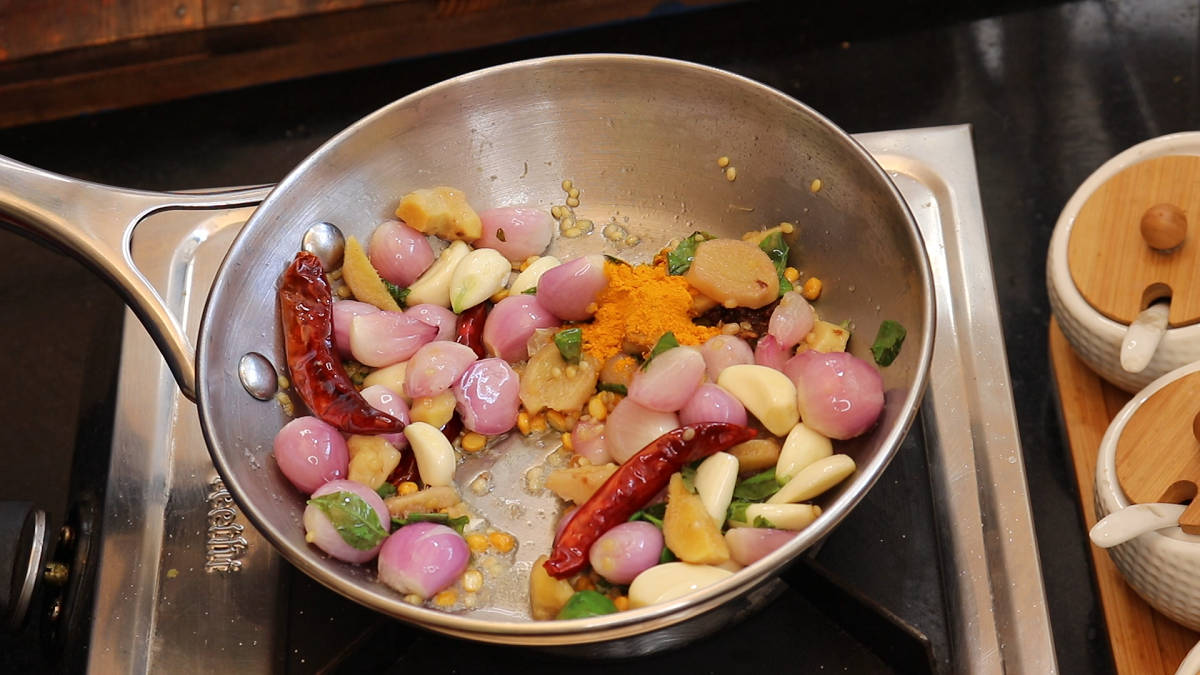
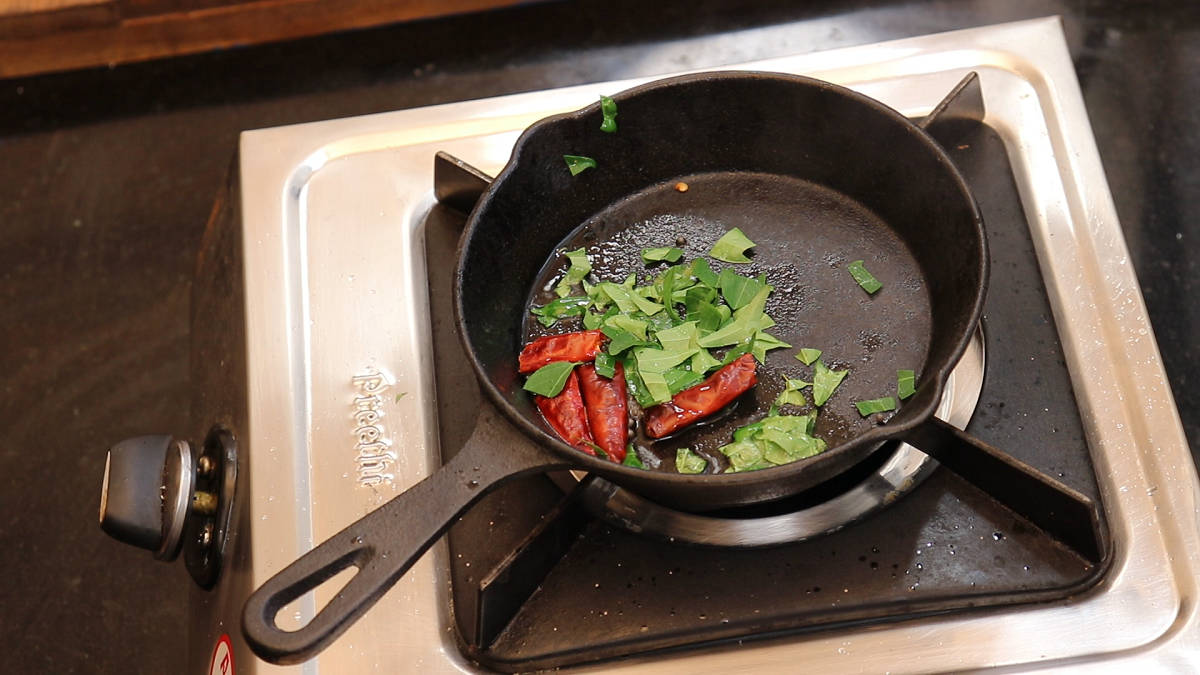
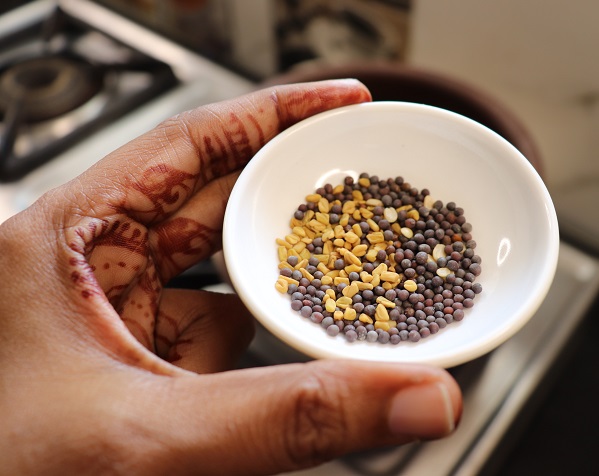
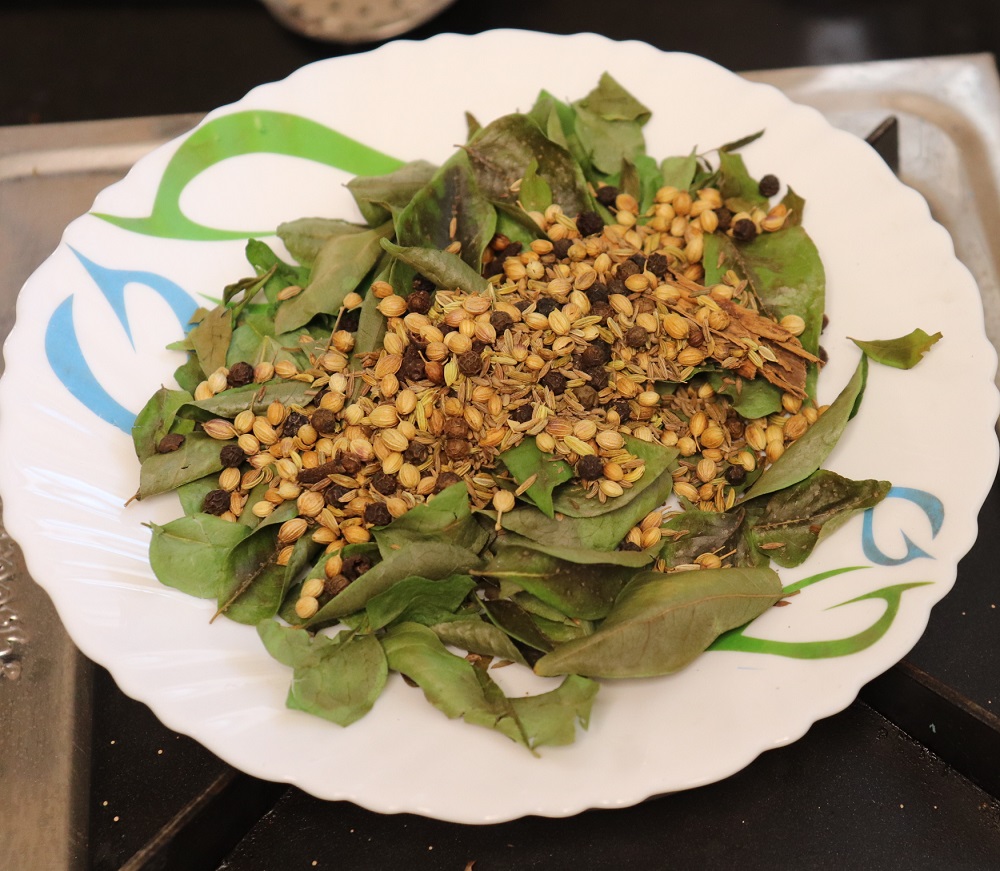
  • Vada Seasoning - Pepper, Chopped Onion, Grated Ginger, Hing and Curry Leaves

See recipe card for quantities.

Video

Instructions

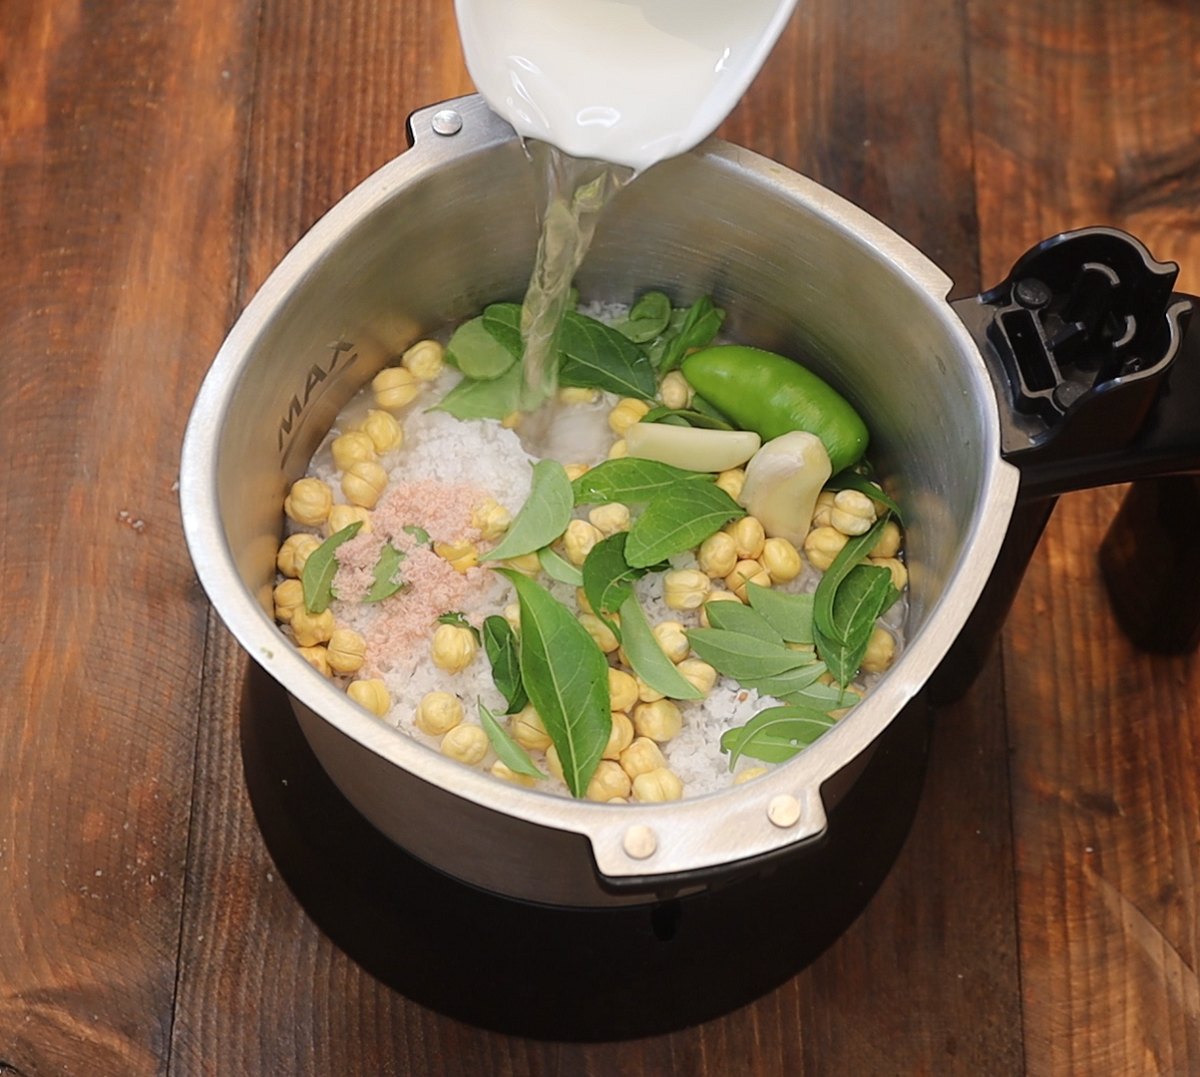
Soak Urad Dal in water for 3-4 hours

Soak Urad dal for 2-3 hrs and drain the excess water.

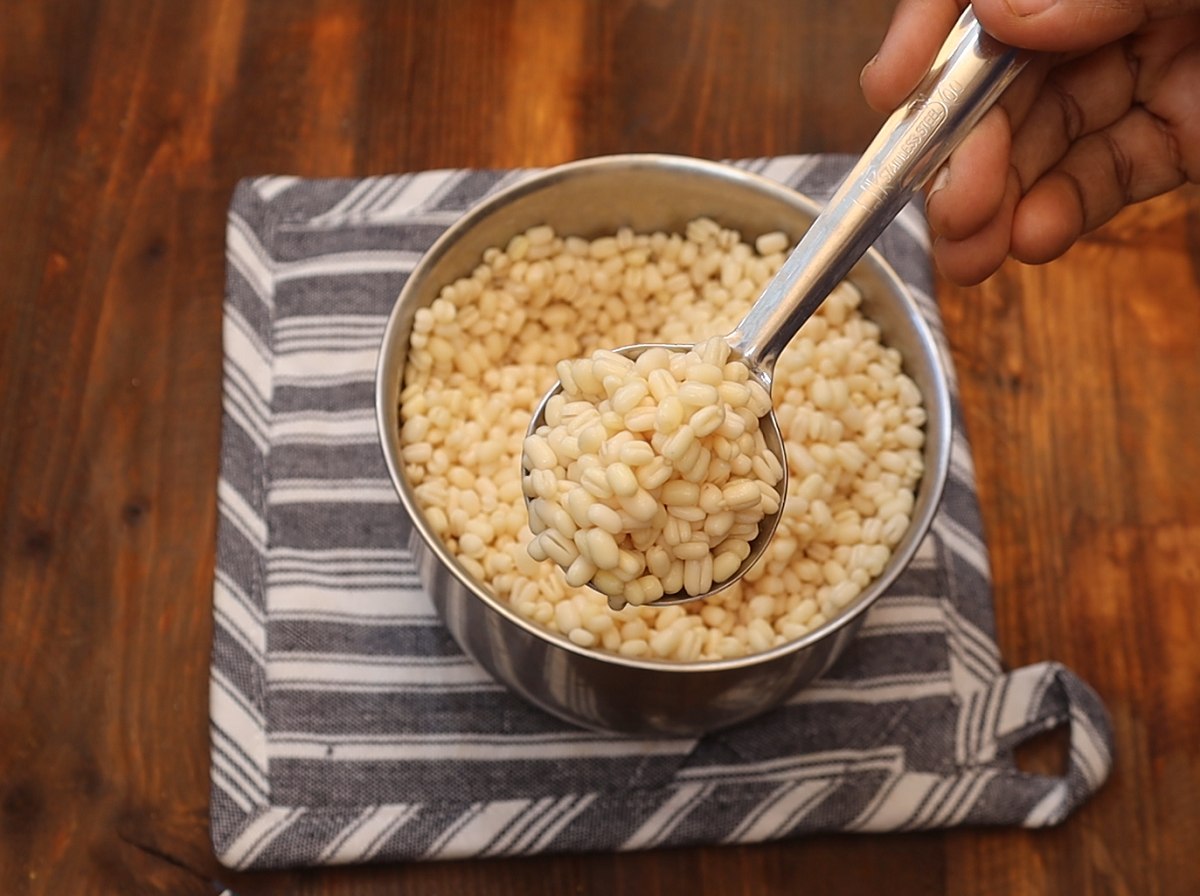
Step 1: Drain the water.

    Blend the Urad dal with minimum water.

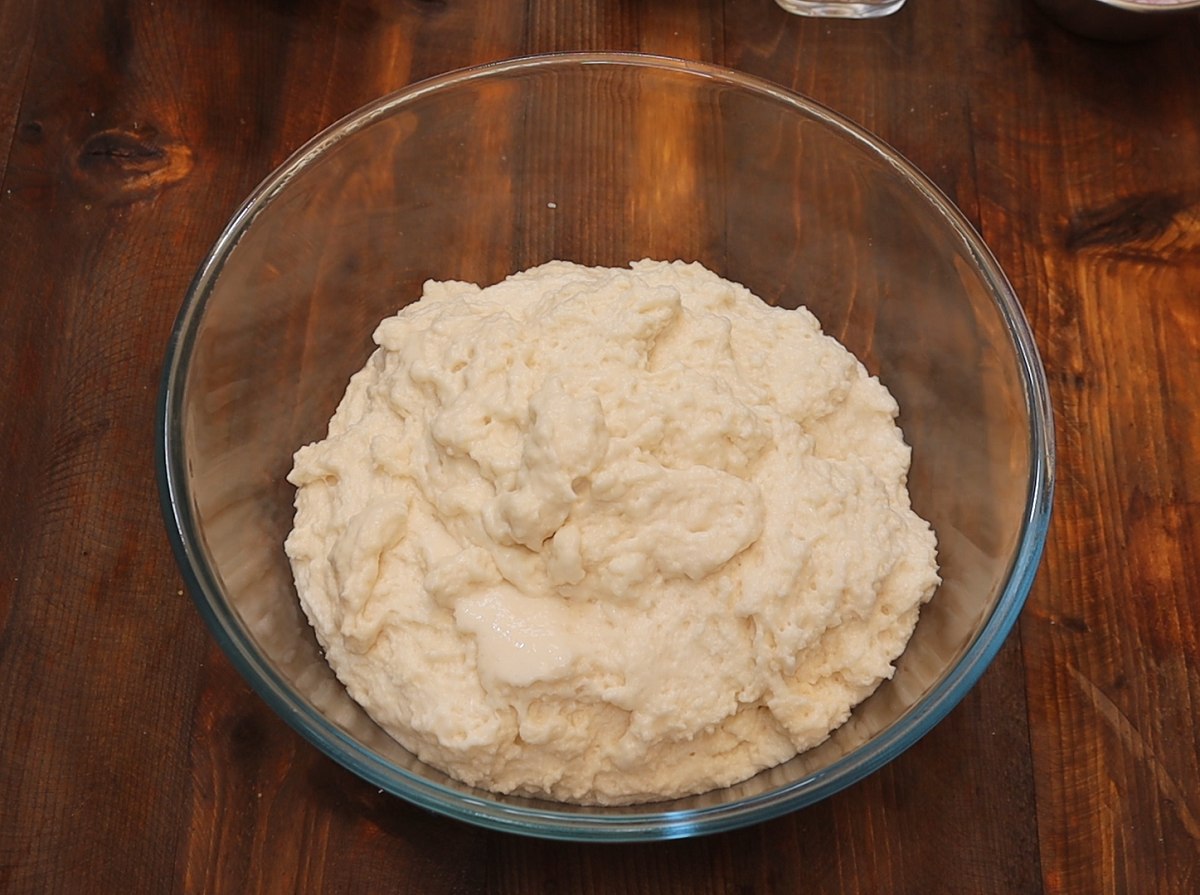
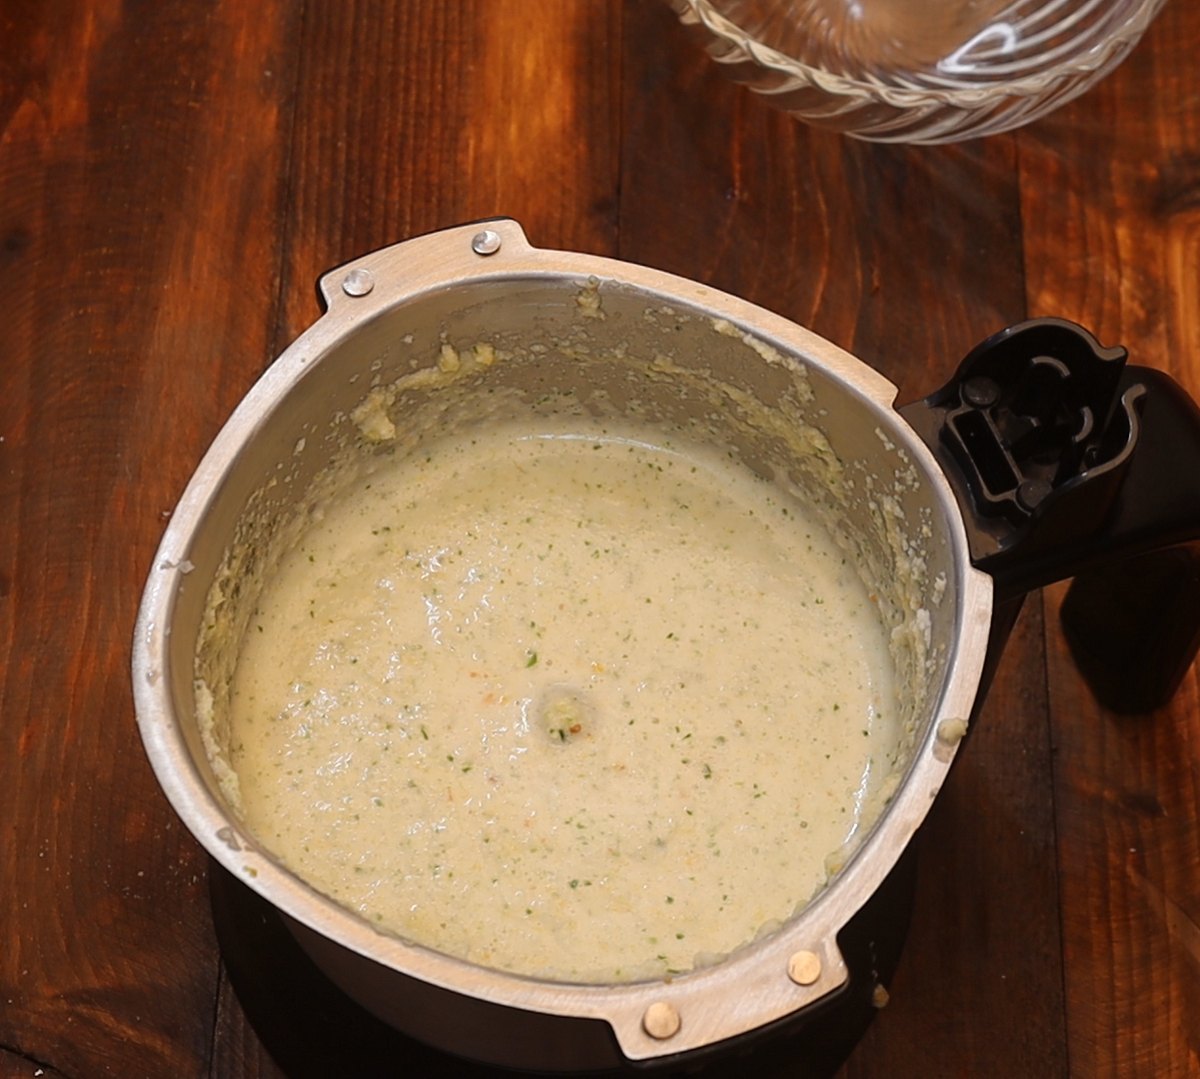
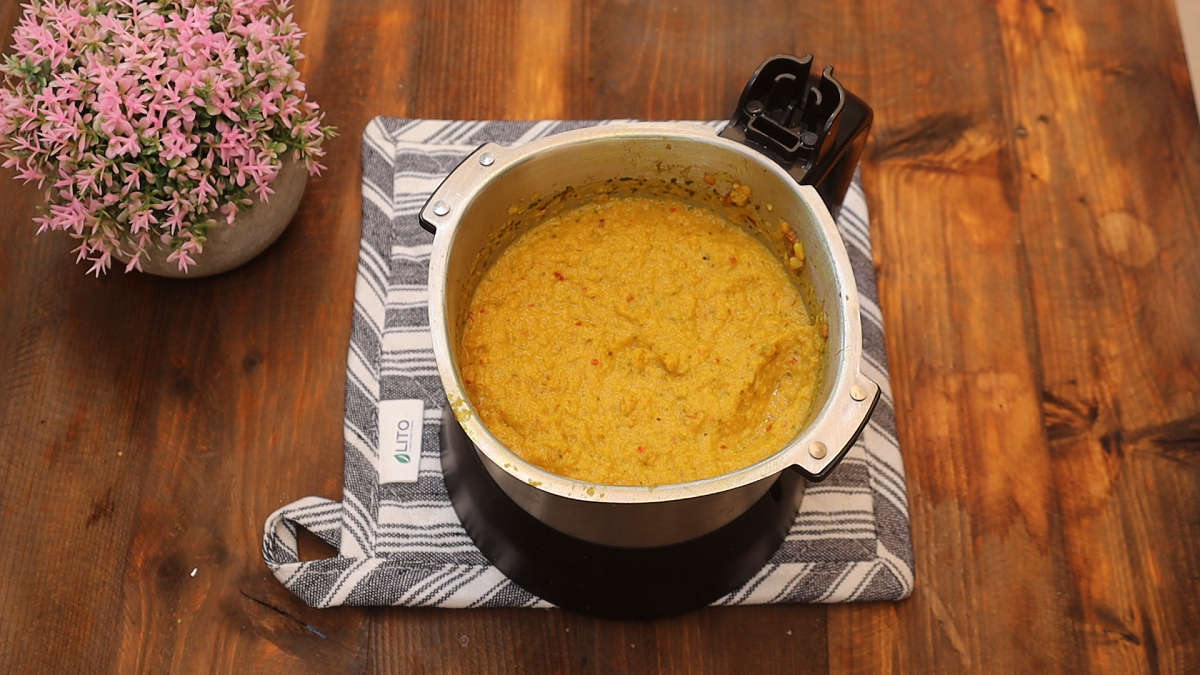
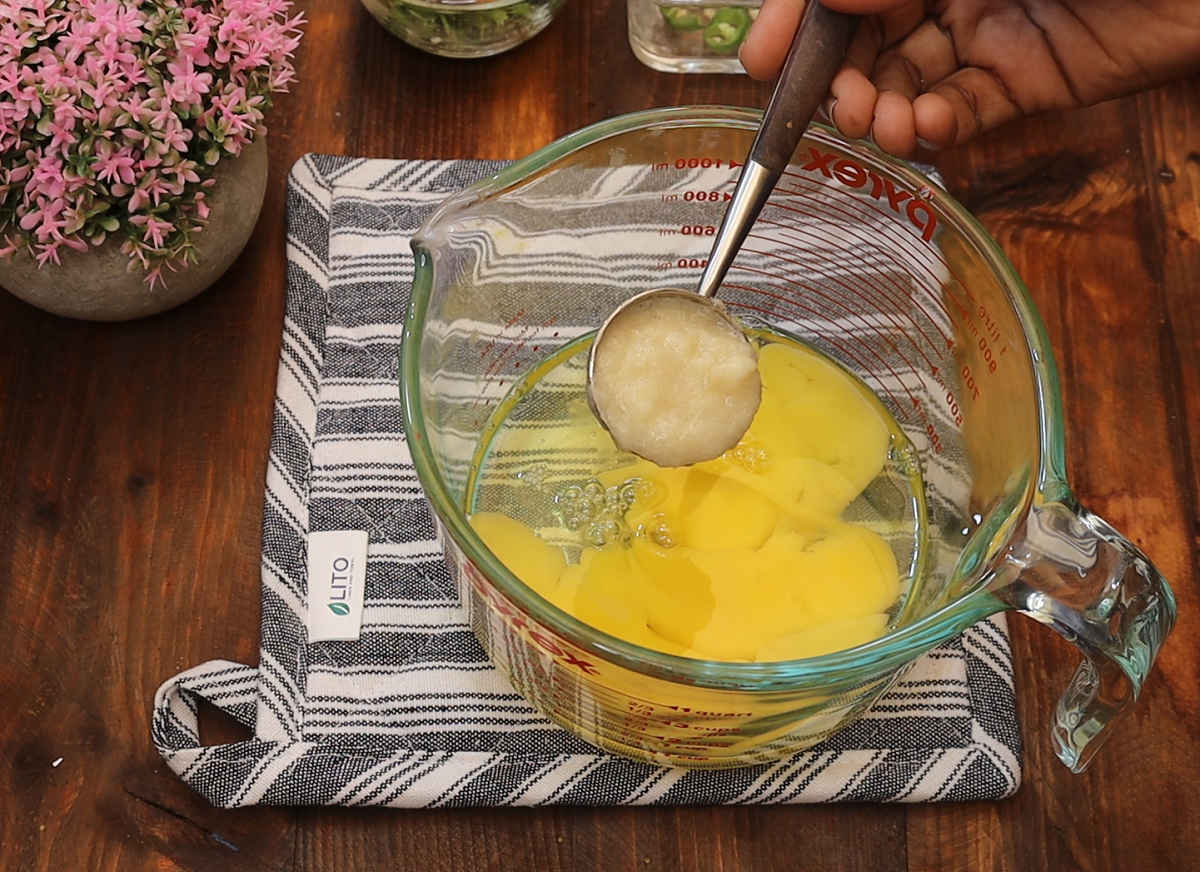
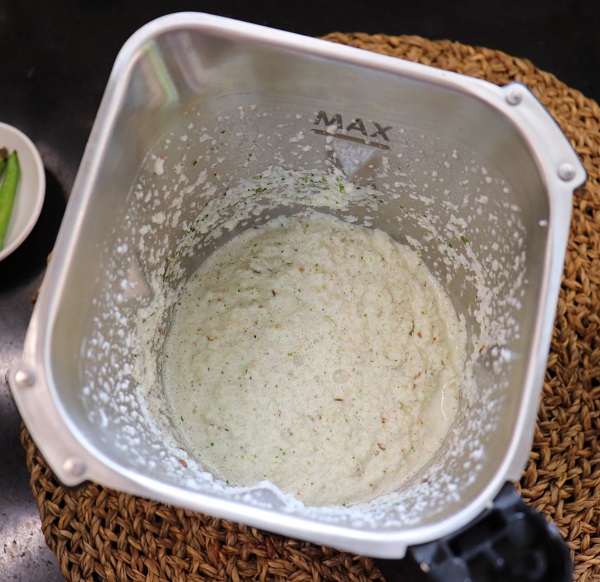
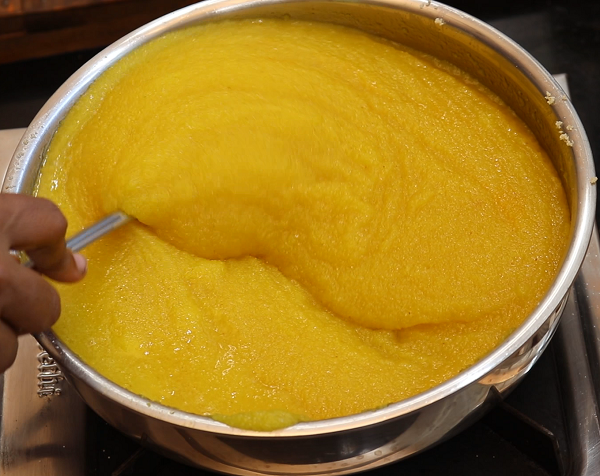
    Step 2: Blend the Vada batter into a thick paste. Add water only if needed otherwise the wetness in the Urad Dal is sufficient for making vada batter.

      Beat the Urad dal batter in order to make it fluffy

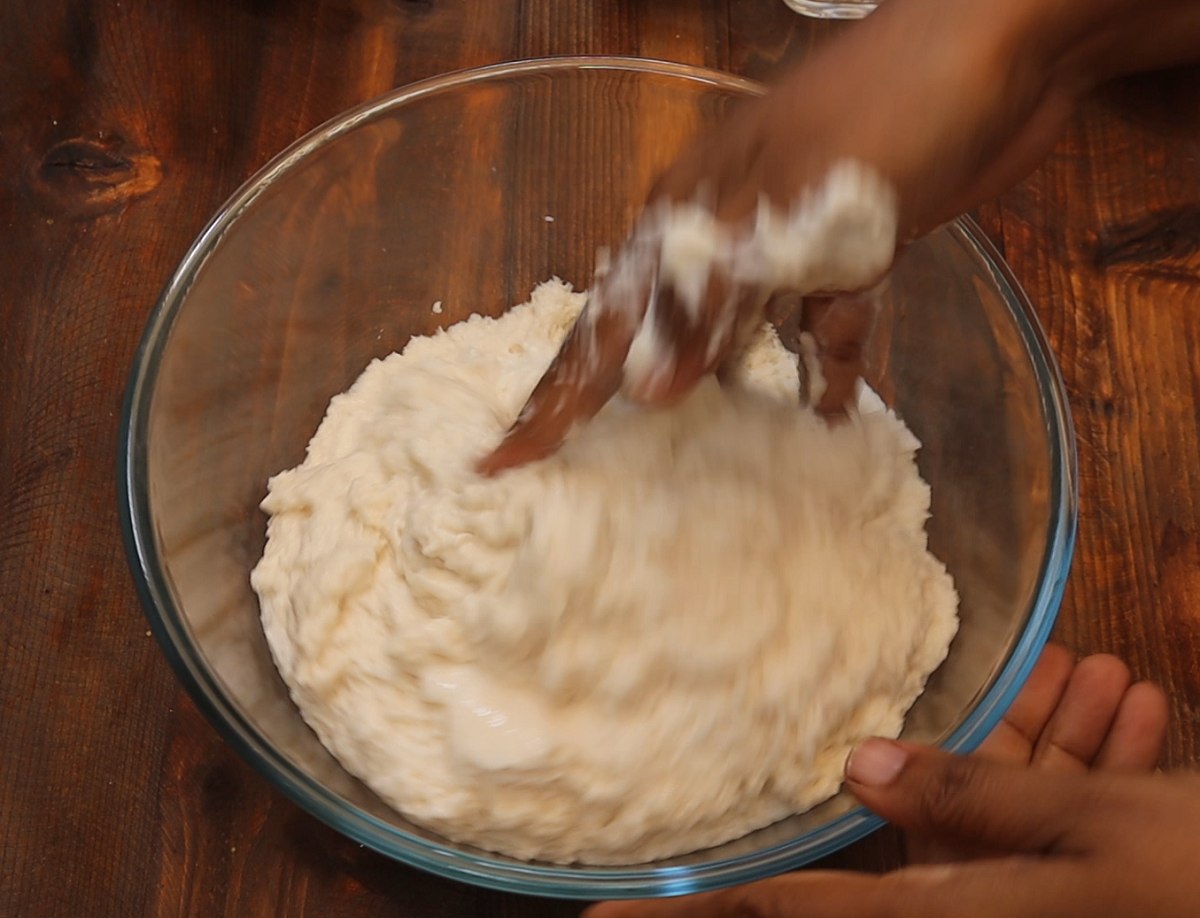
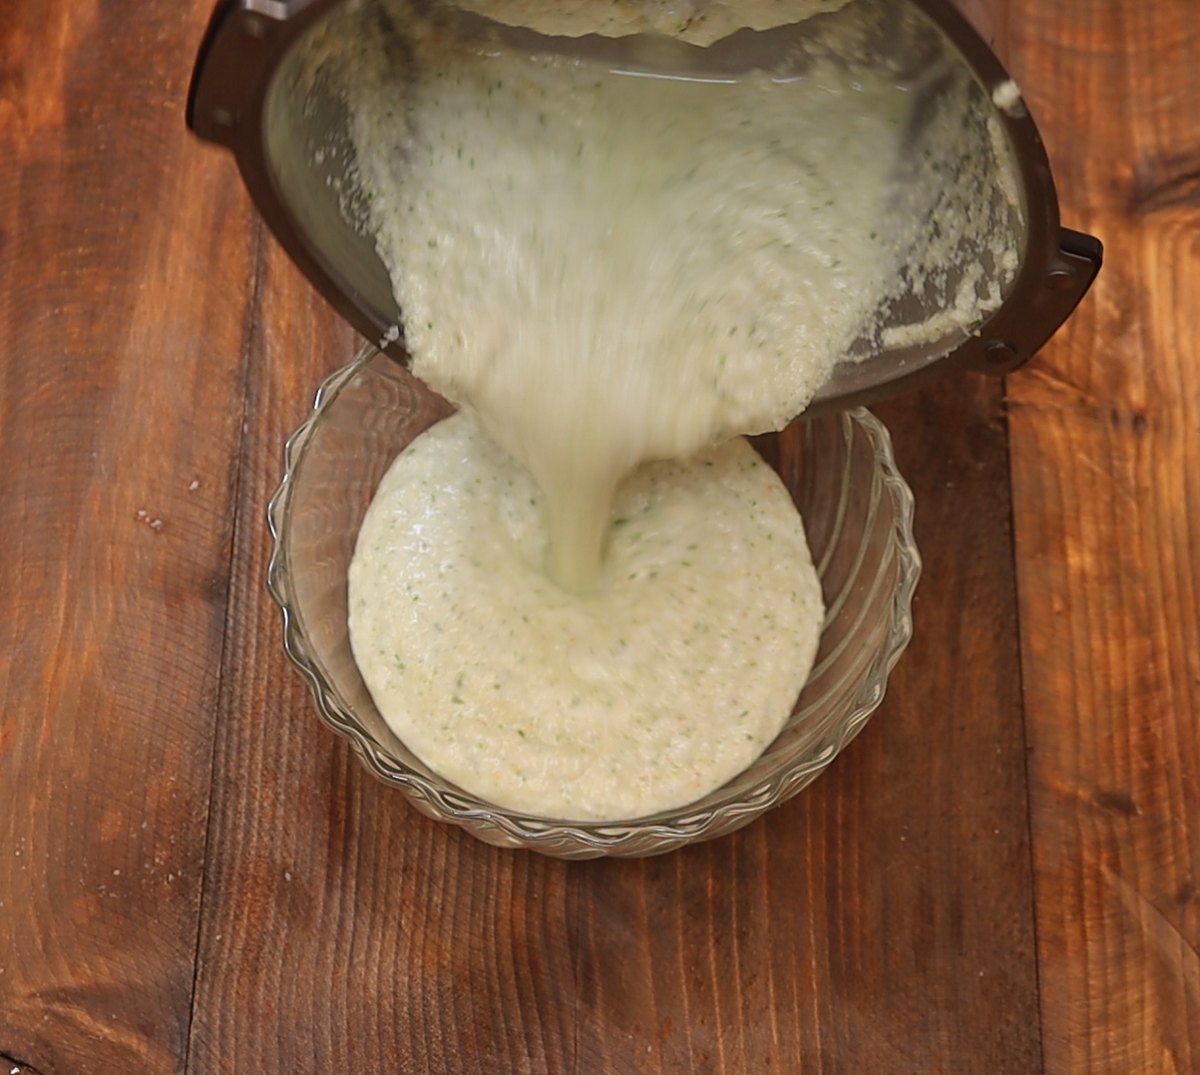
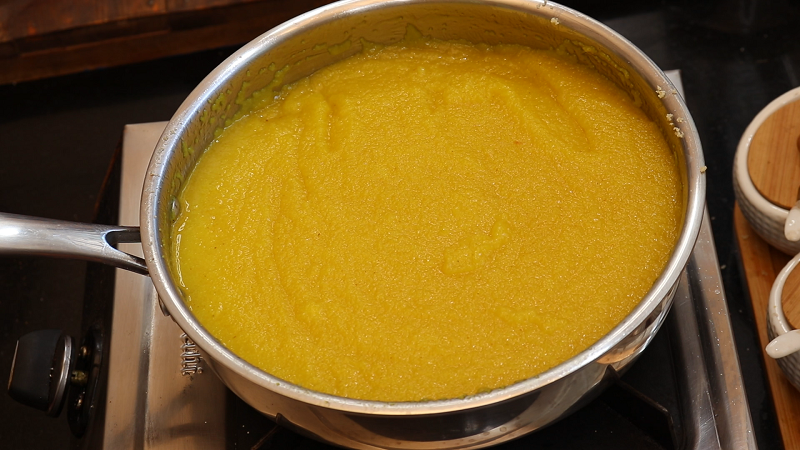
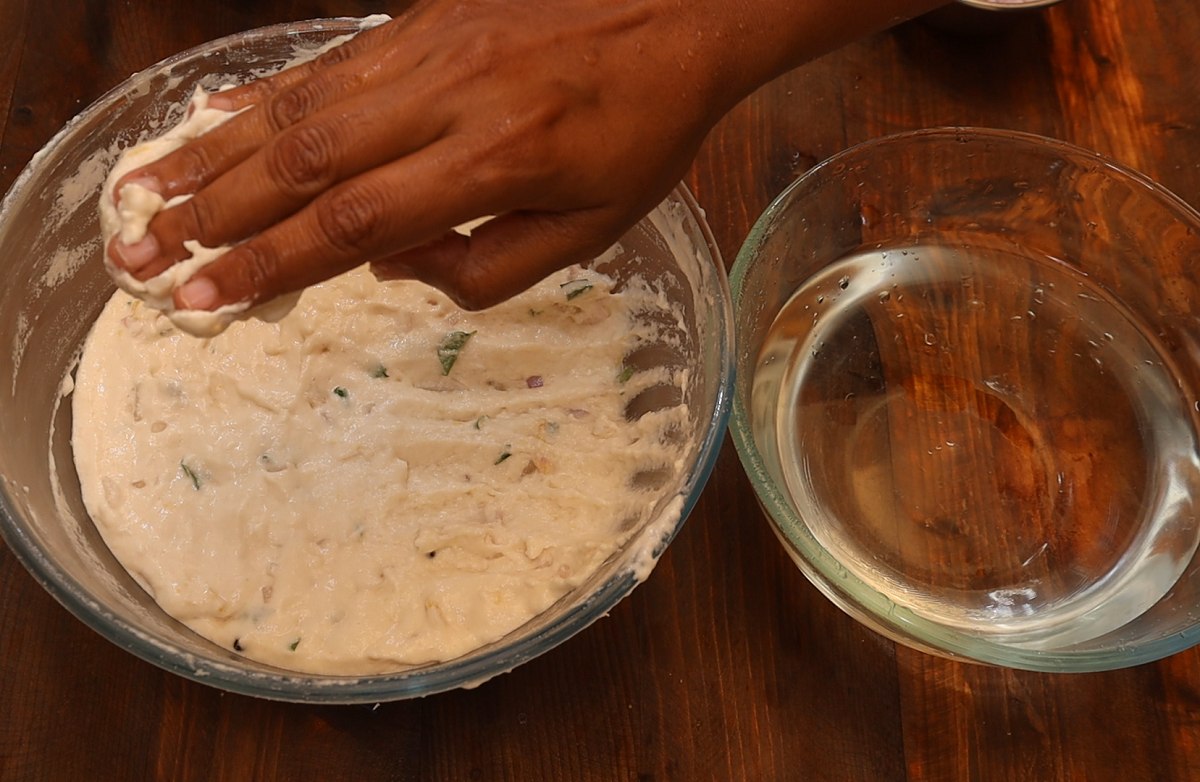
      Step 3: Beat the batter for 2 minutes in order to make it fluffy.

      Add Onion, Ginger, Pepper, Curry Leaves, Asafoetida powder and salt into the urad dal batter.

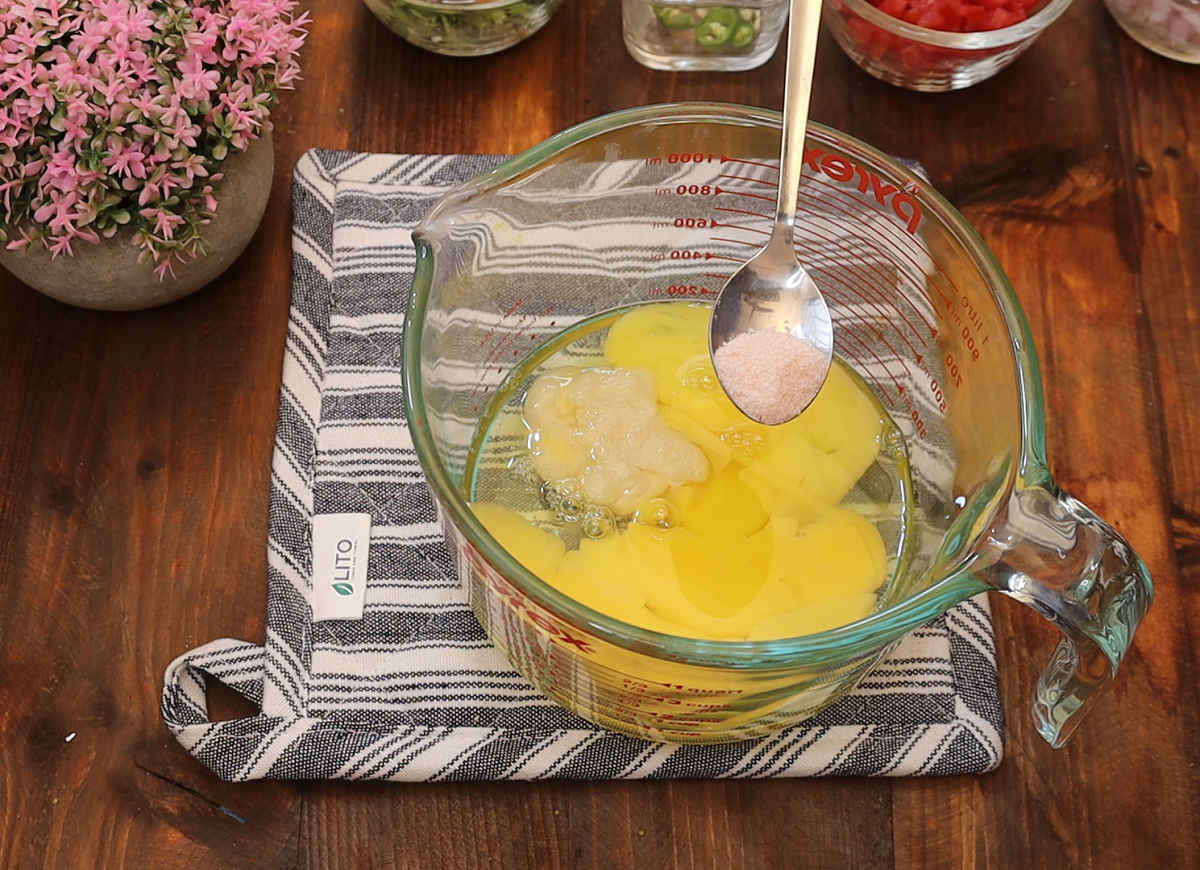
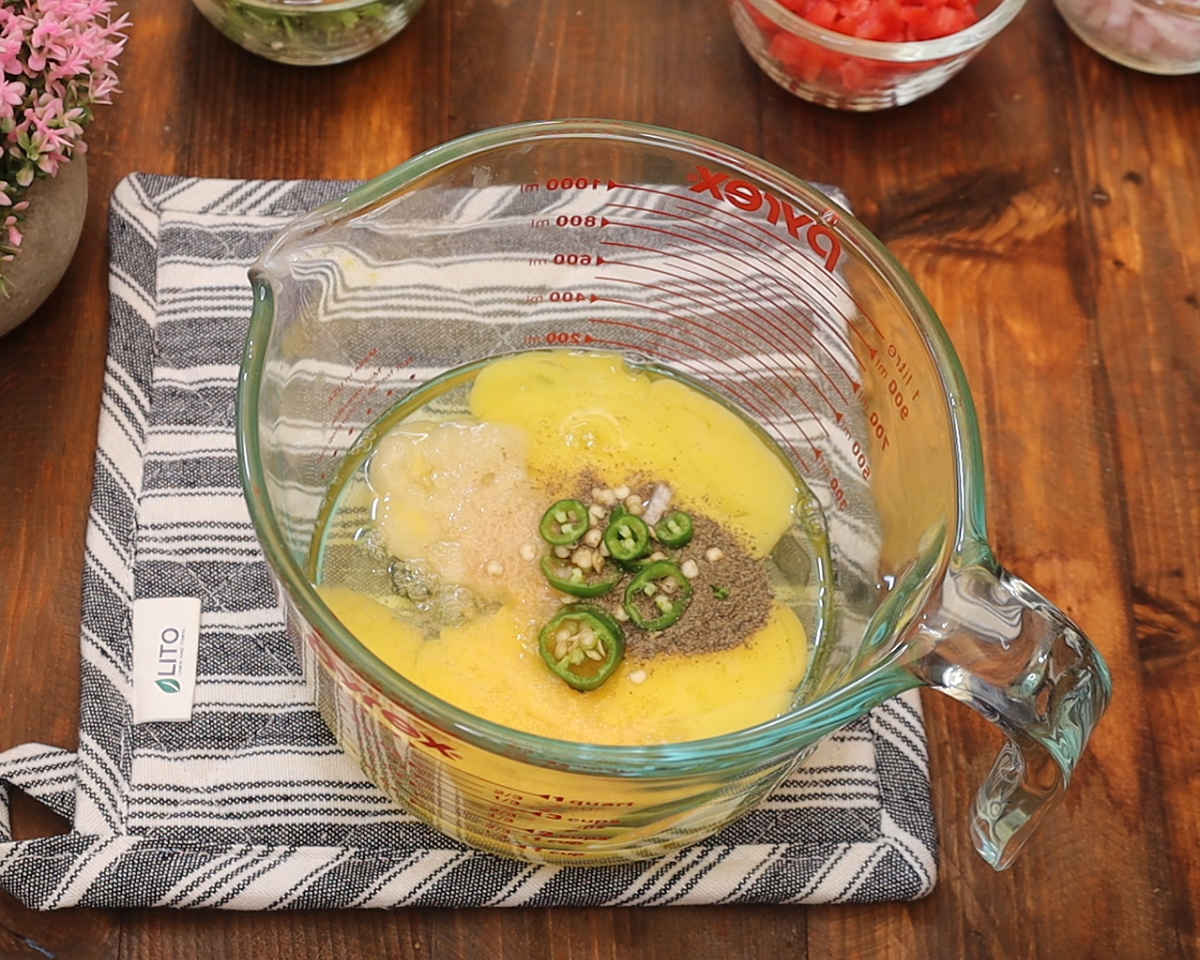
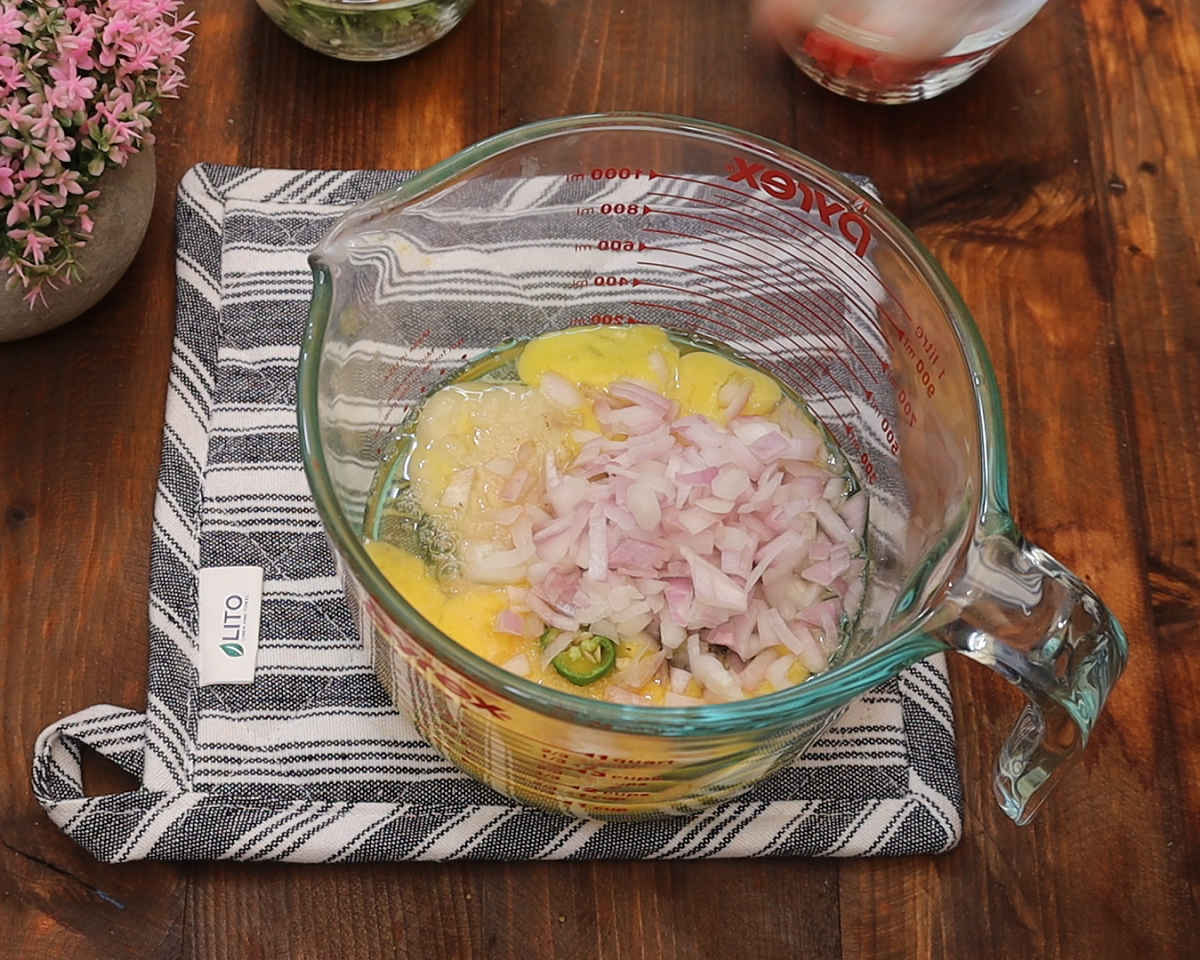
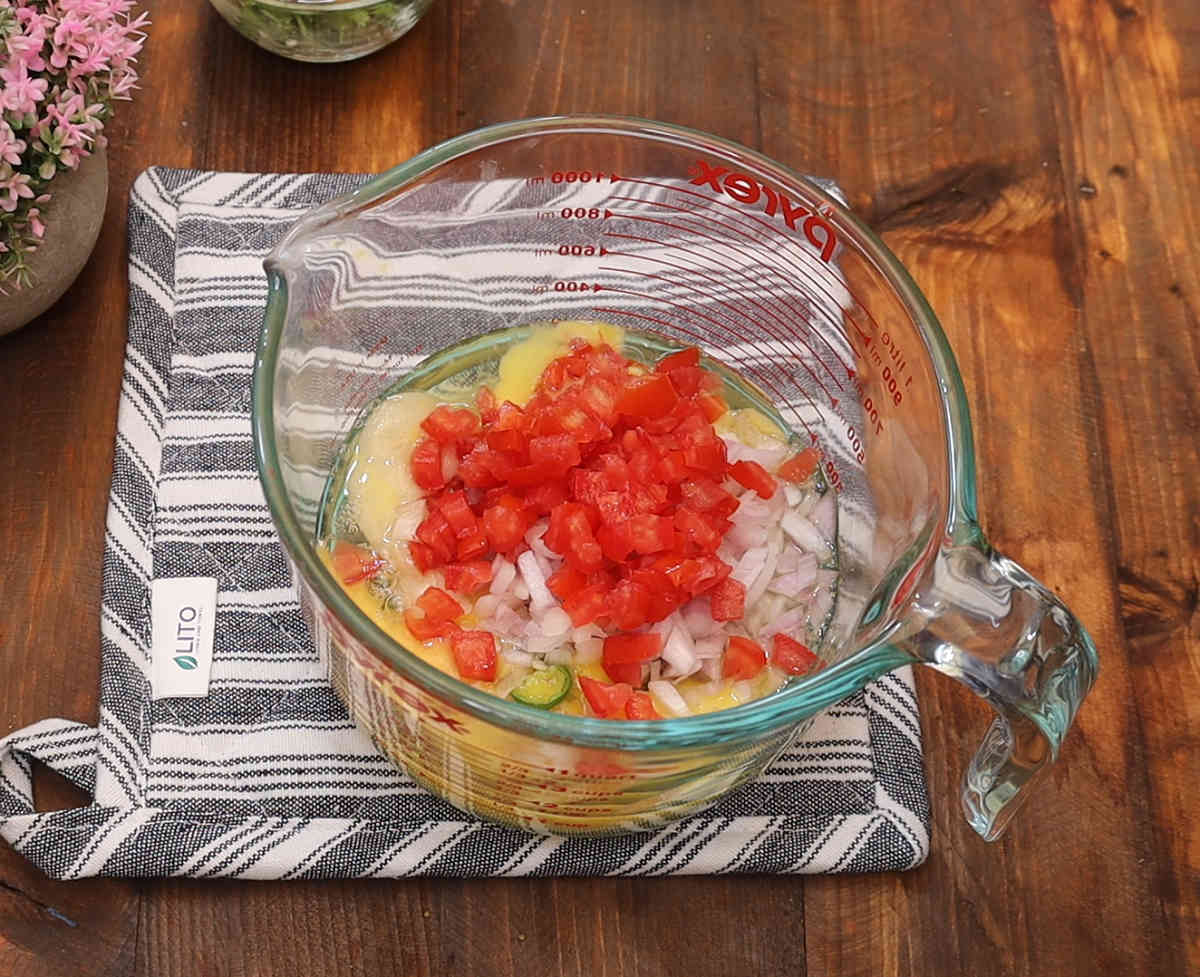
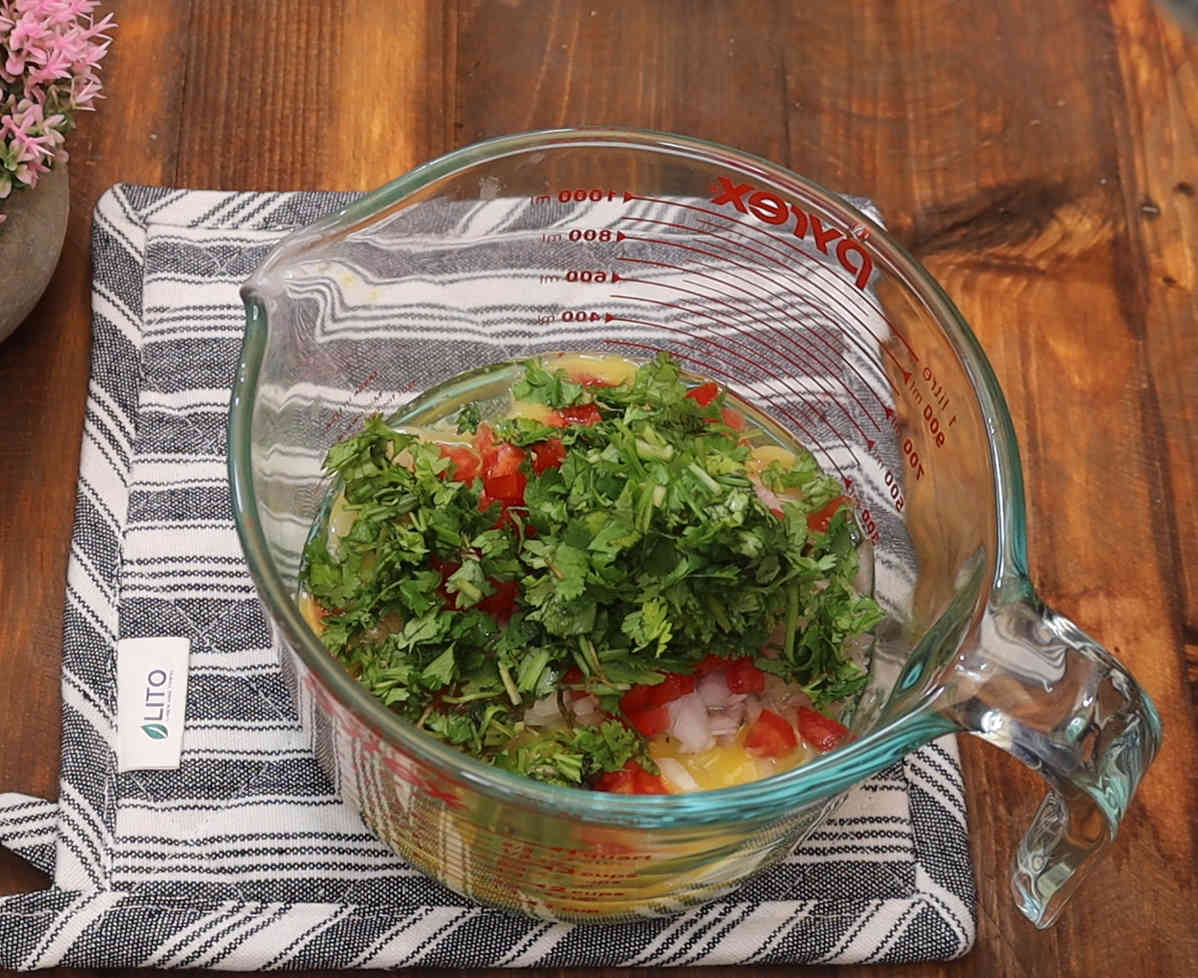
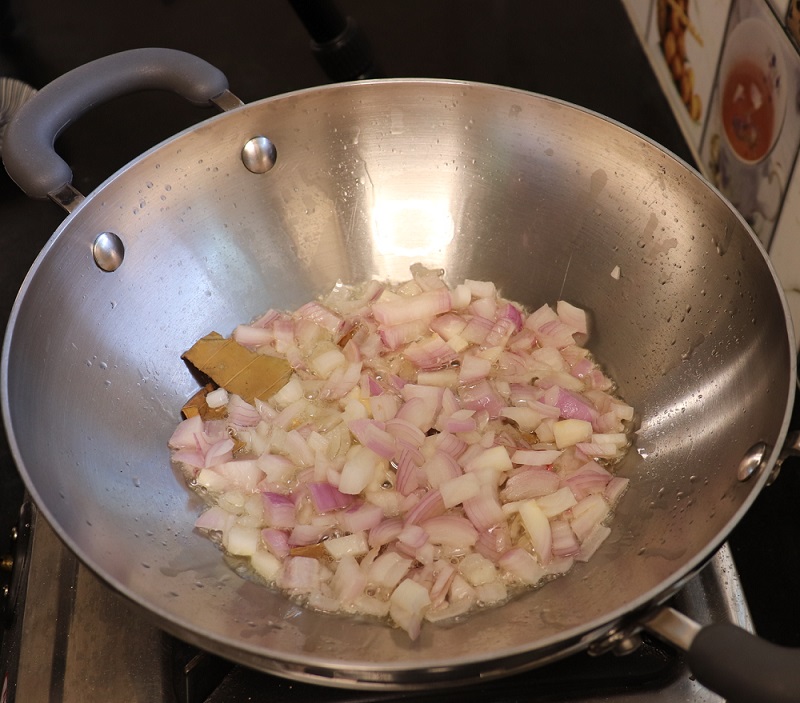
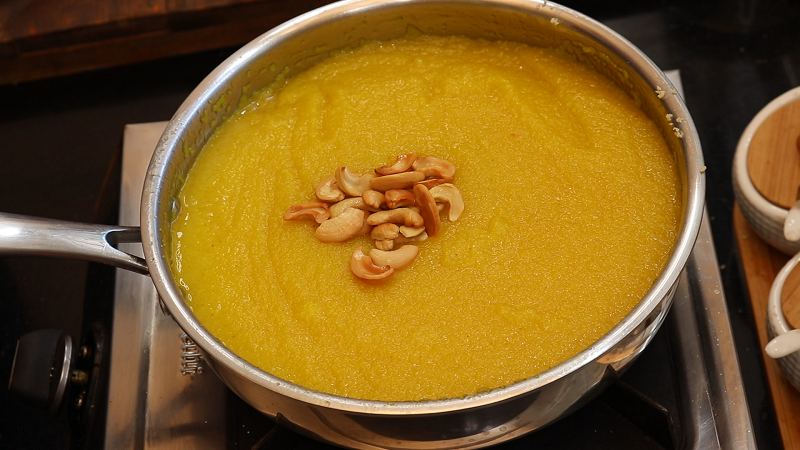
      Step 4: Add in Chopped Onion, Black Pepper, Grated Ginger, Curry Leaves, Hing and salt to taste.

      Mix all the ingredients into the Urad Dal batter.

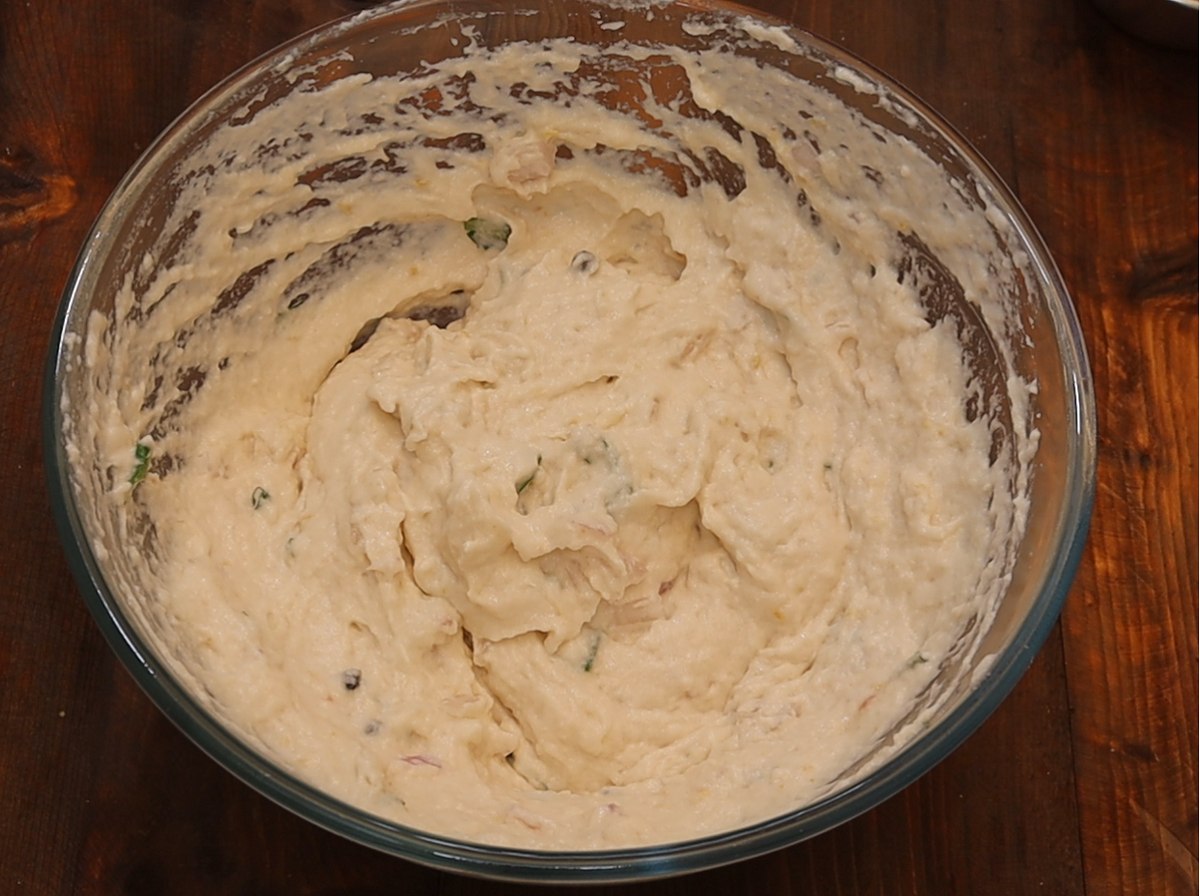
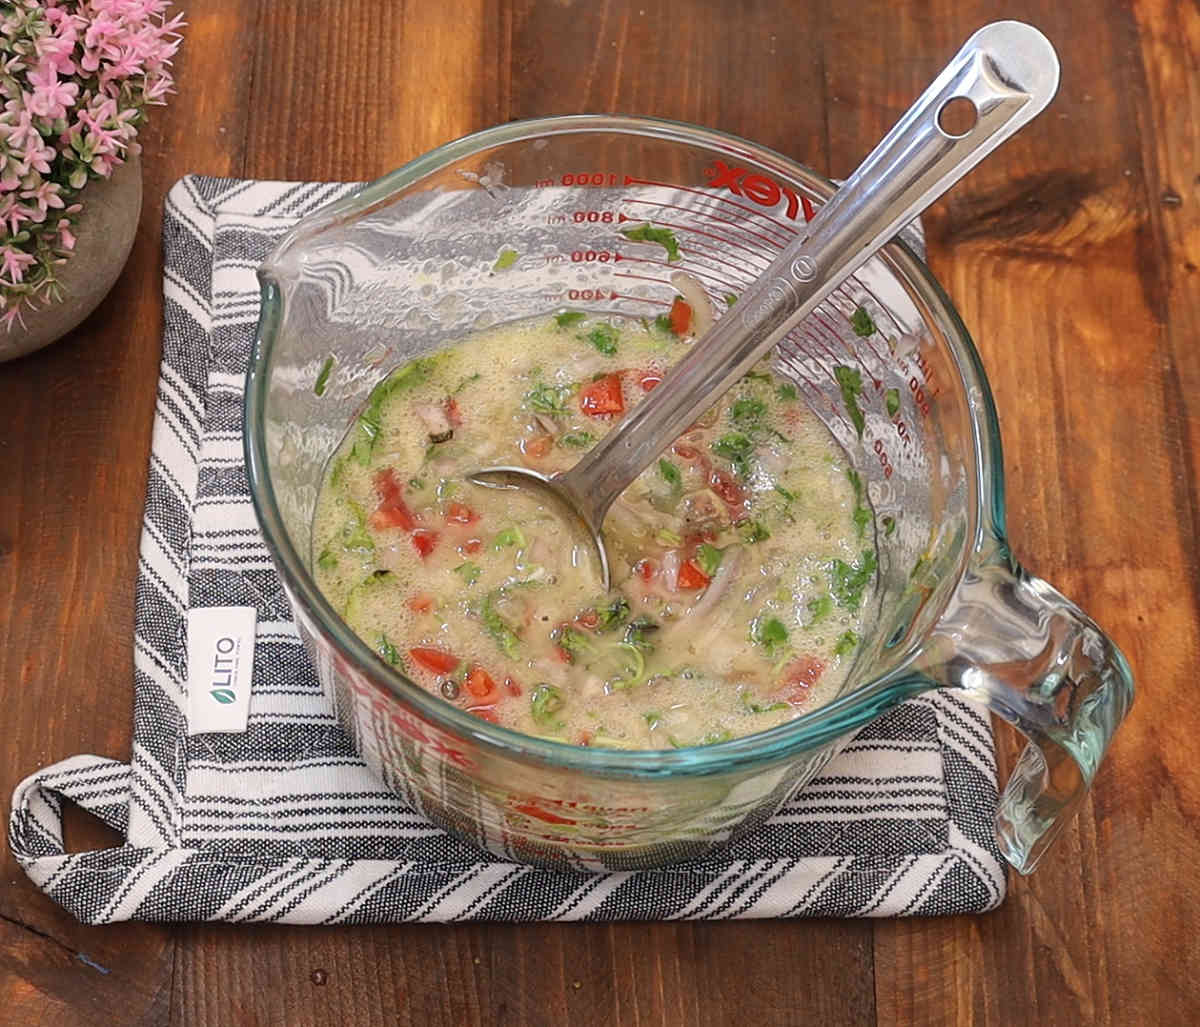
      Step 5: Mix them together.

      Wet your hands in water and start making urad dal vada balls

      Step 6: Wet your hands in water before making vada so that the batter does not stick to you hands.

      Take a ball of batter and shape them into donut shaped balls

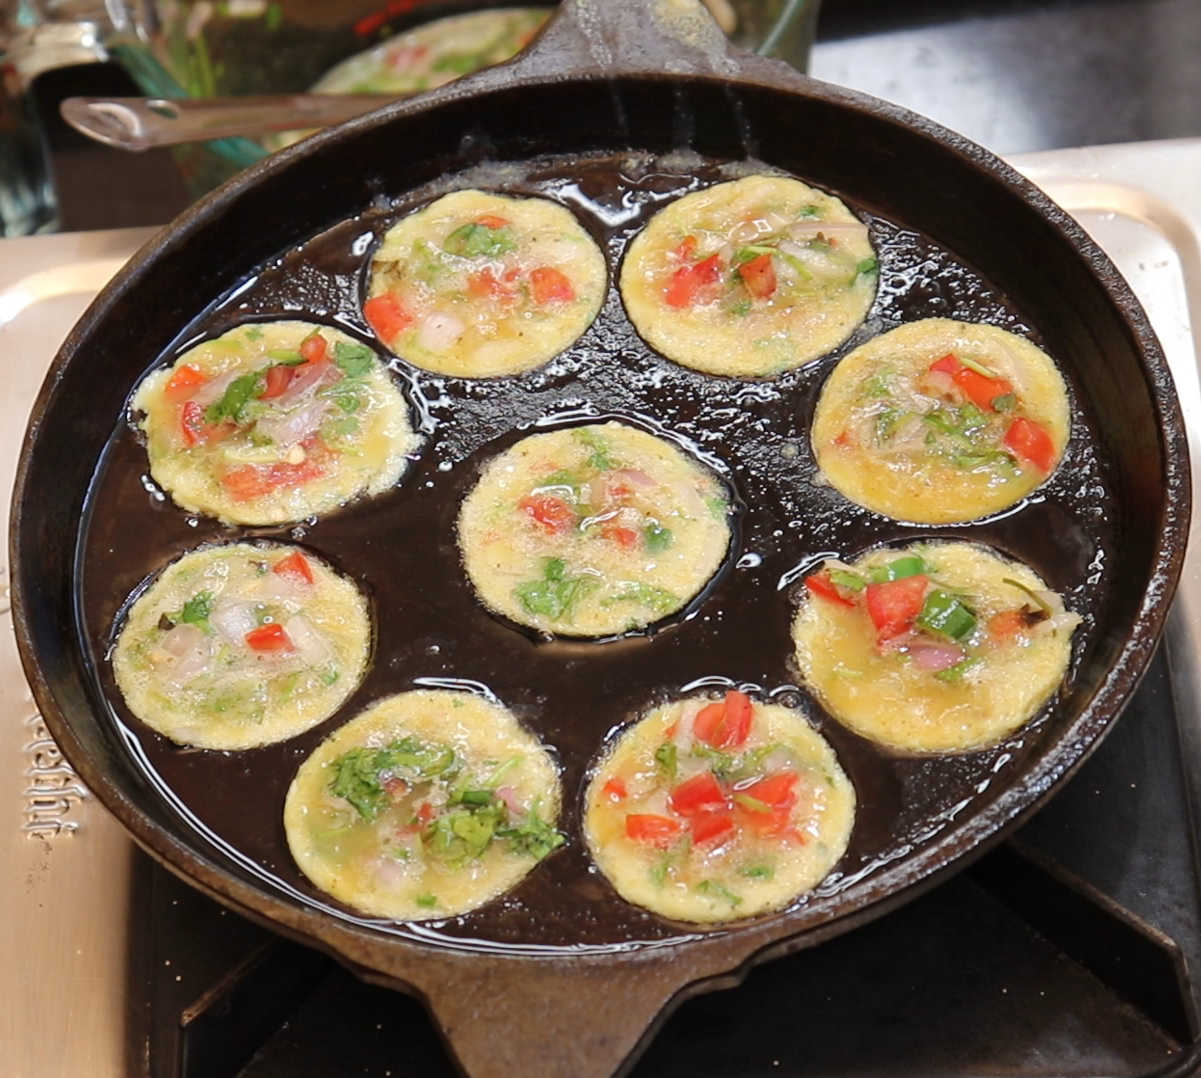
      Step 7: Take a small ball of batter and flatten them make a hole in the center.

      Make sure the urad dal balls do not slip form your hands this is the correct consistency

      Step 8: The batter does not fall from your fingers easily. This is the Correct consistency.

      Heat oil in a frying pan to fry medu vada

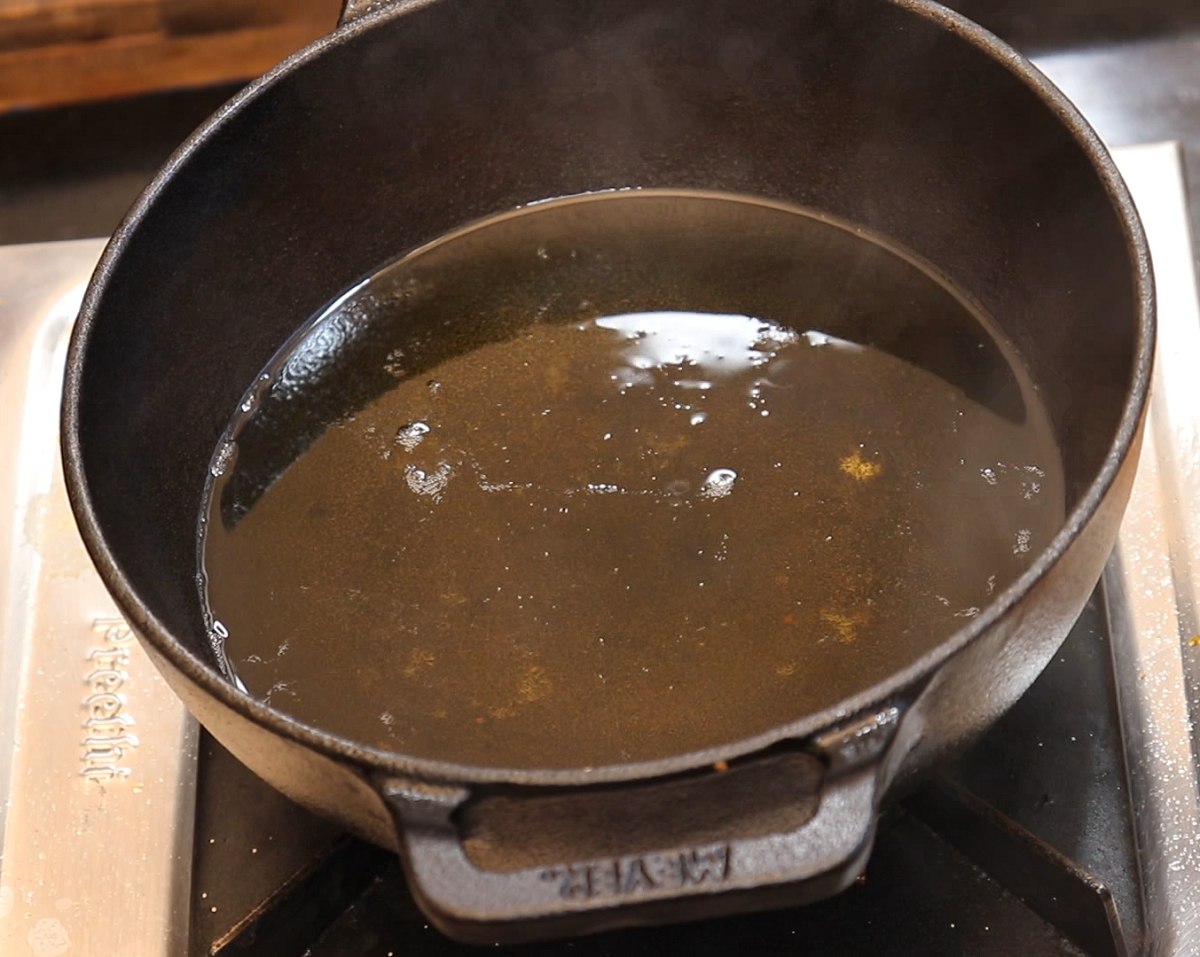
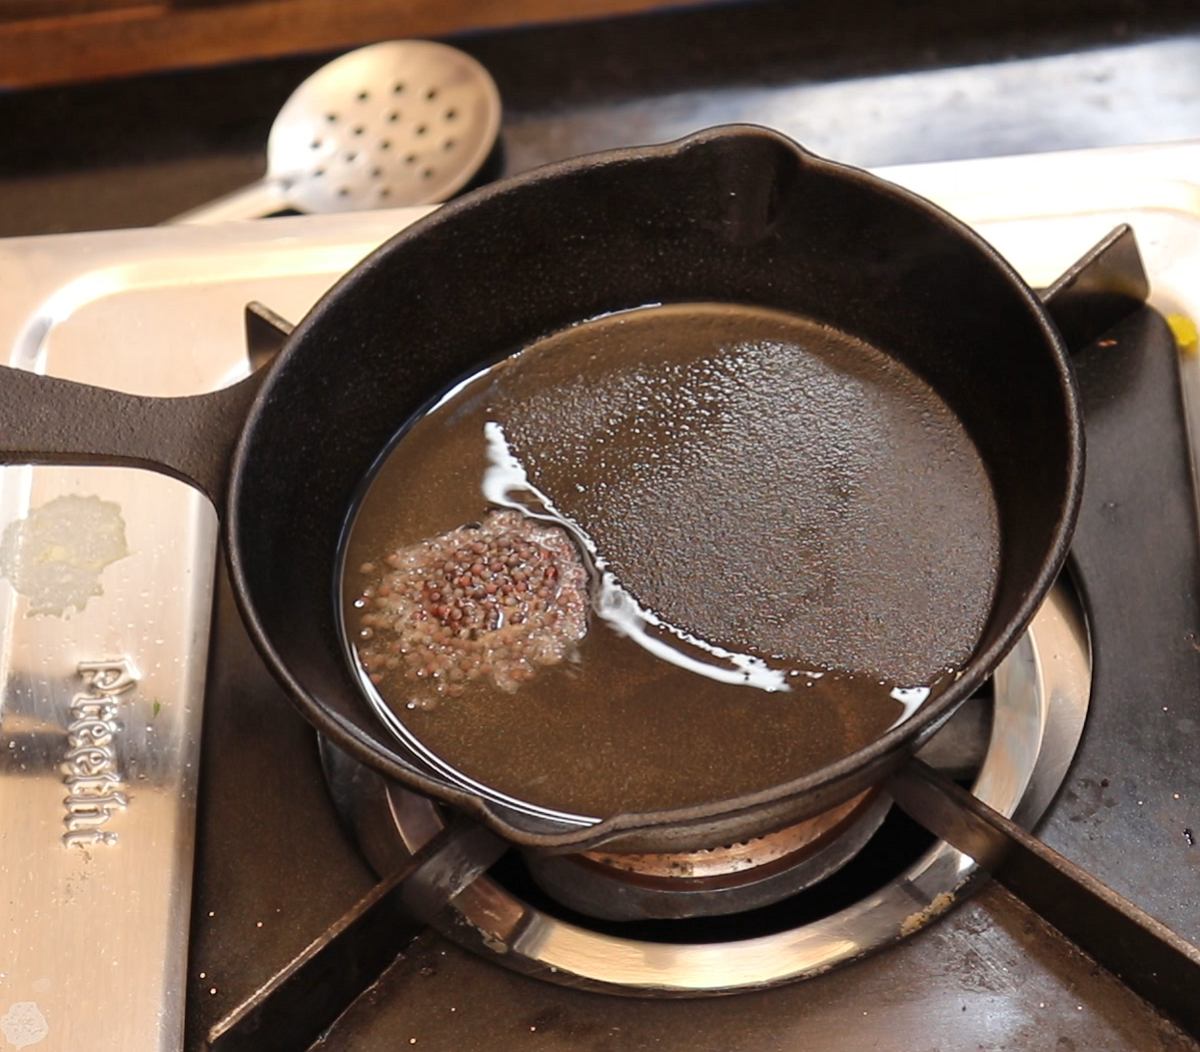
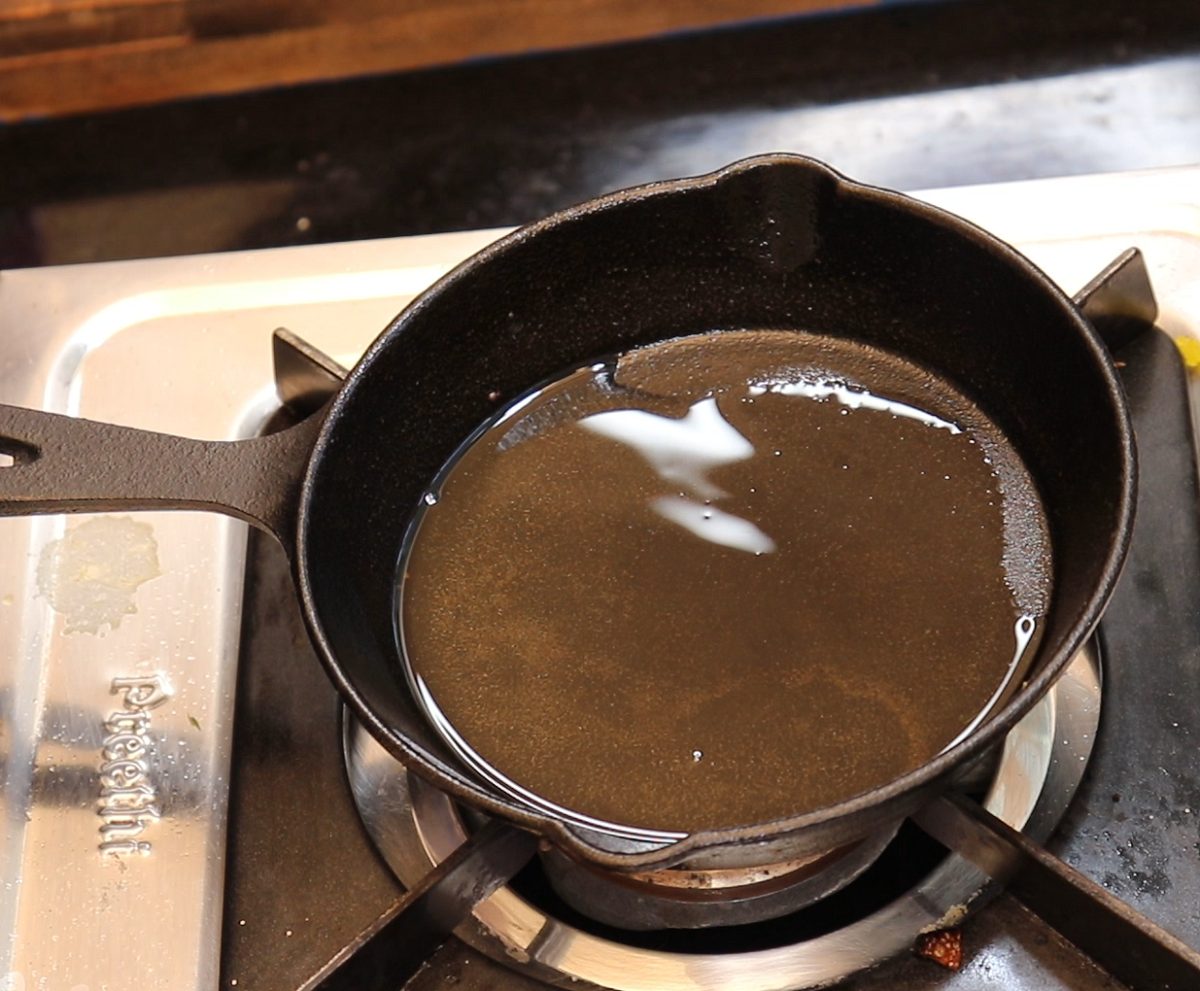
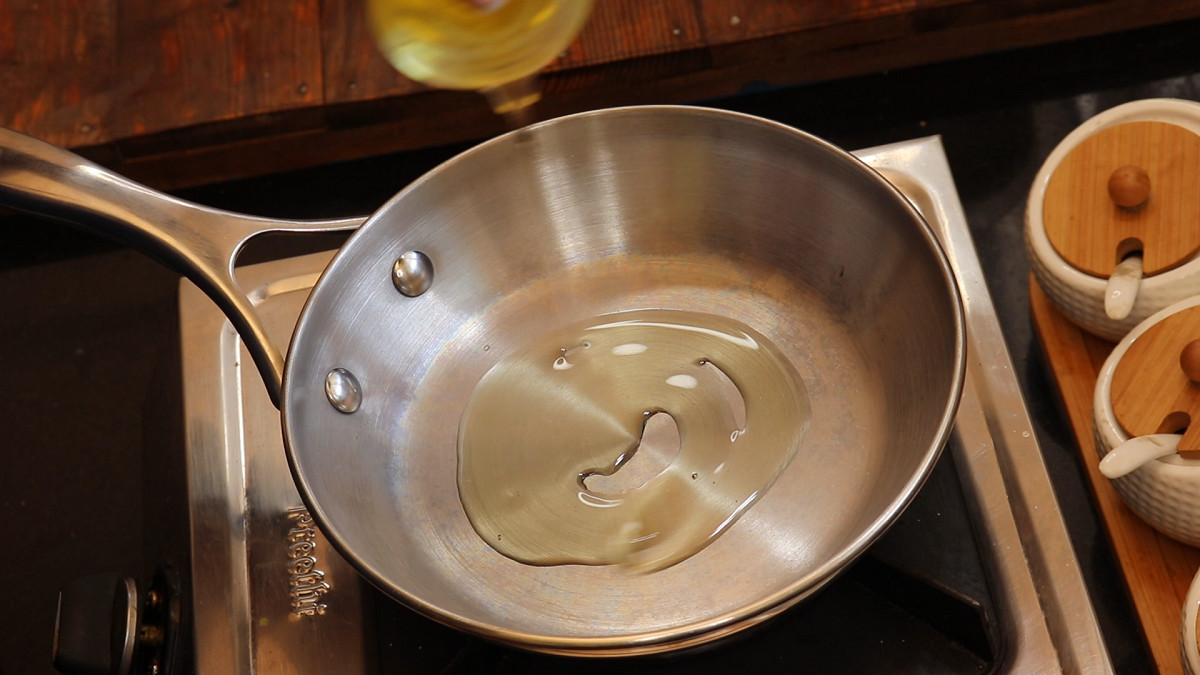
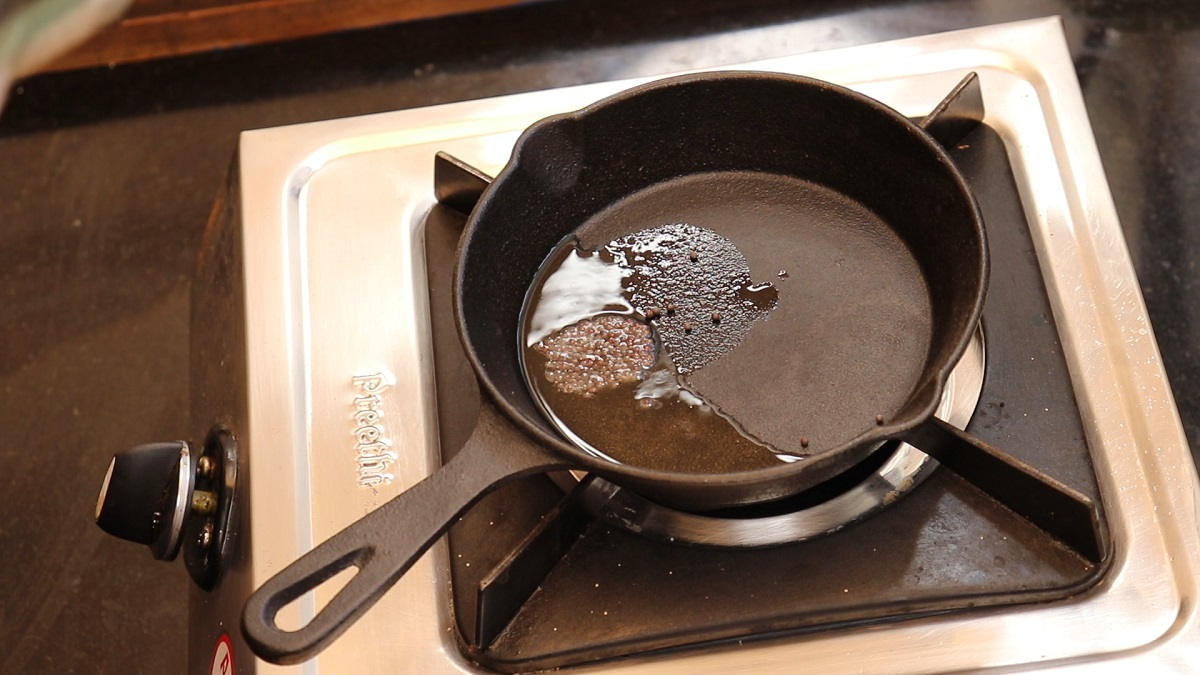
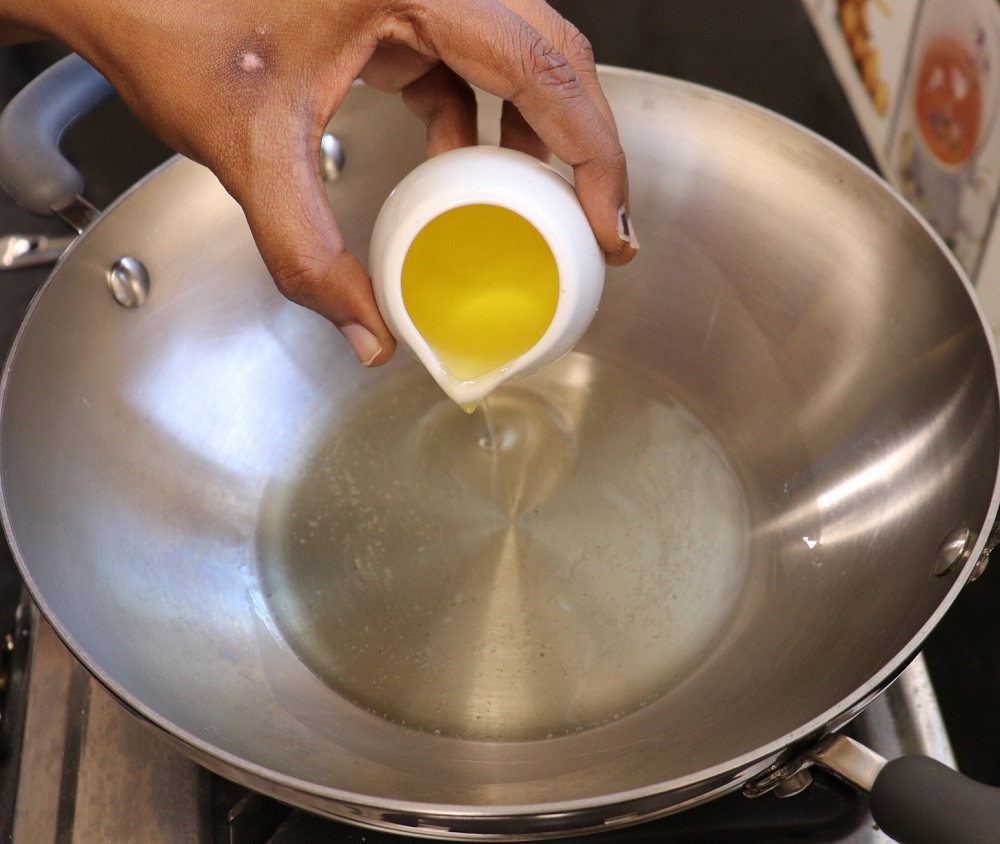
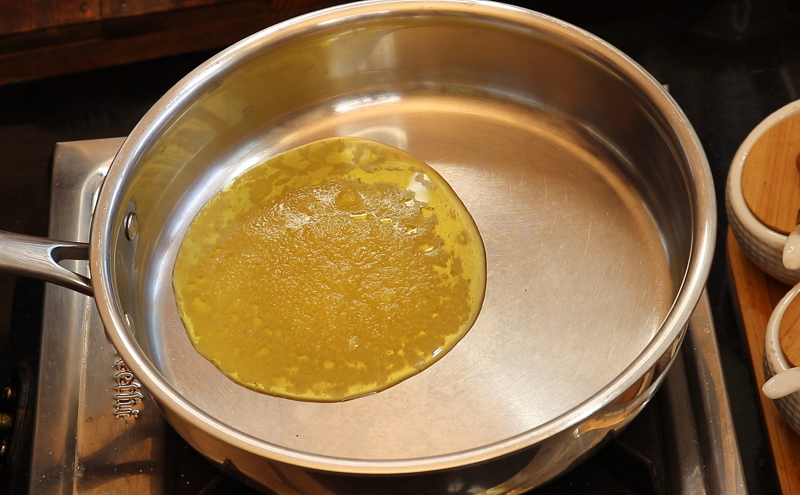
      Step 9: Heat the oil in a frying pan.

      Drop the medu vada balls carefully into oil

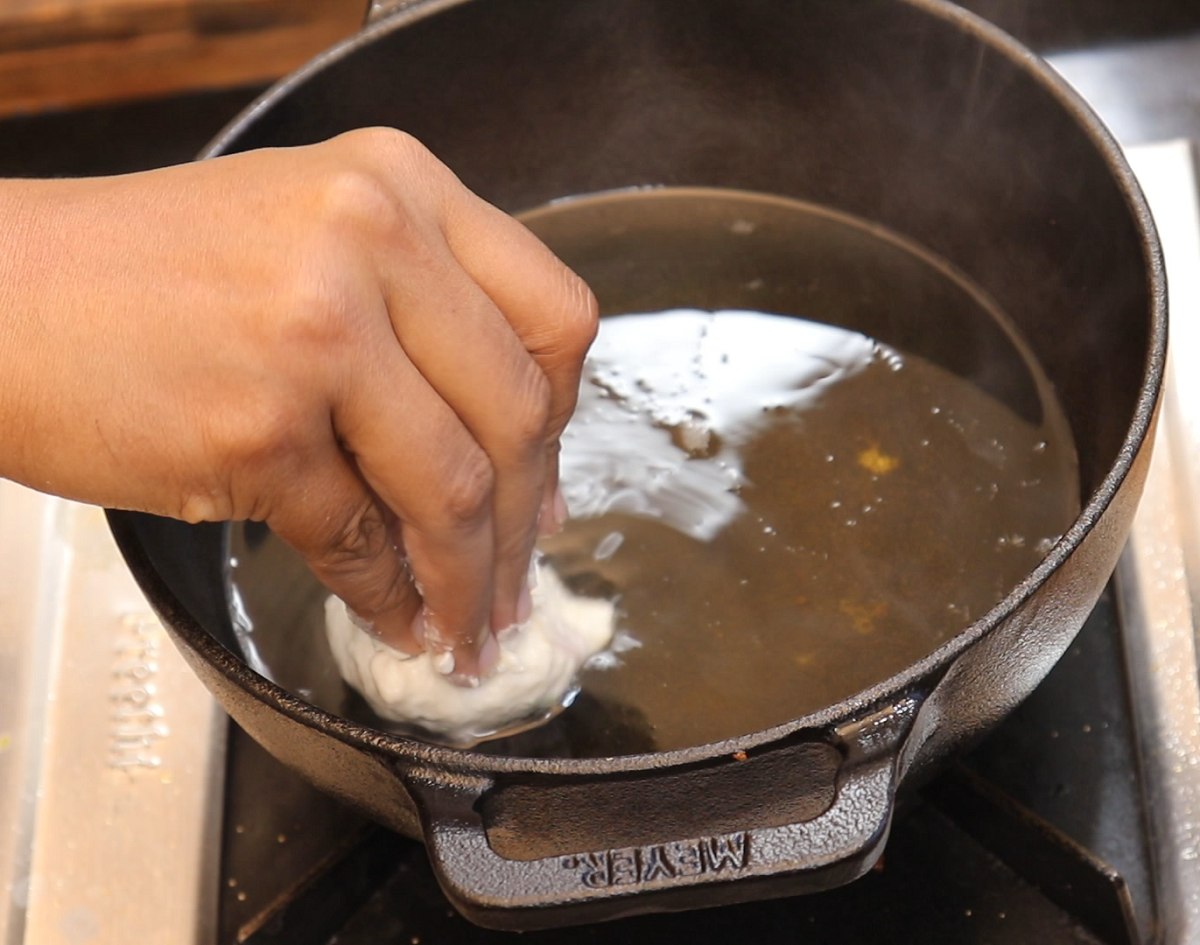
      Step 10: when the oil is hot enough drop in the vada batter carefully into the hot oil.

      start frying the medu vada balls

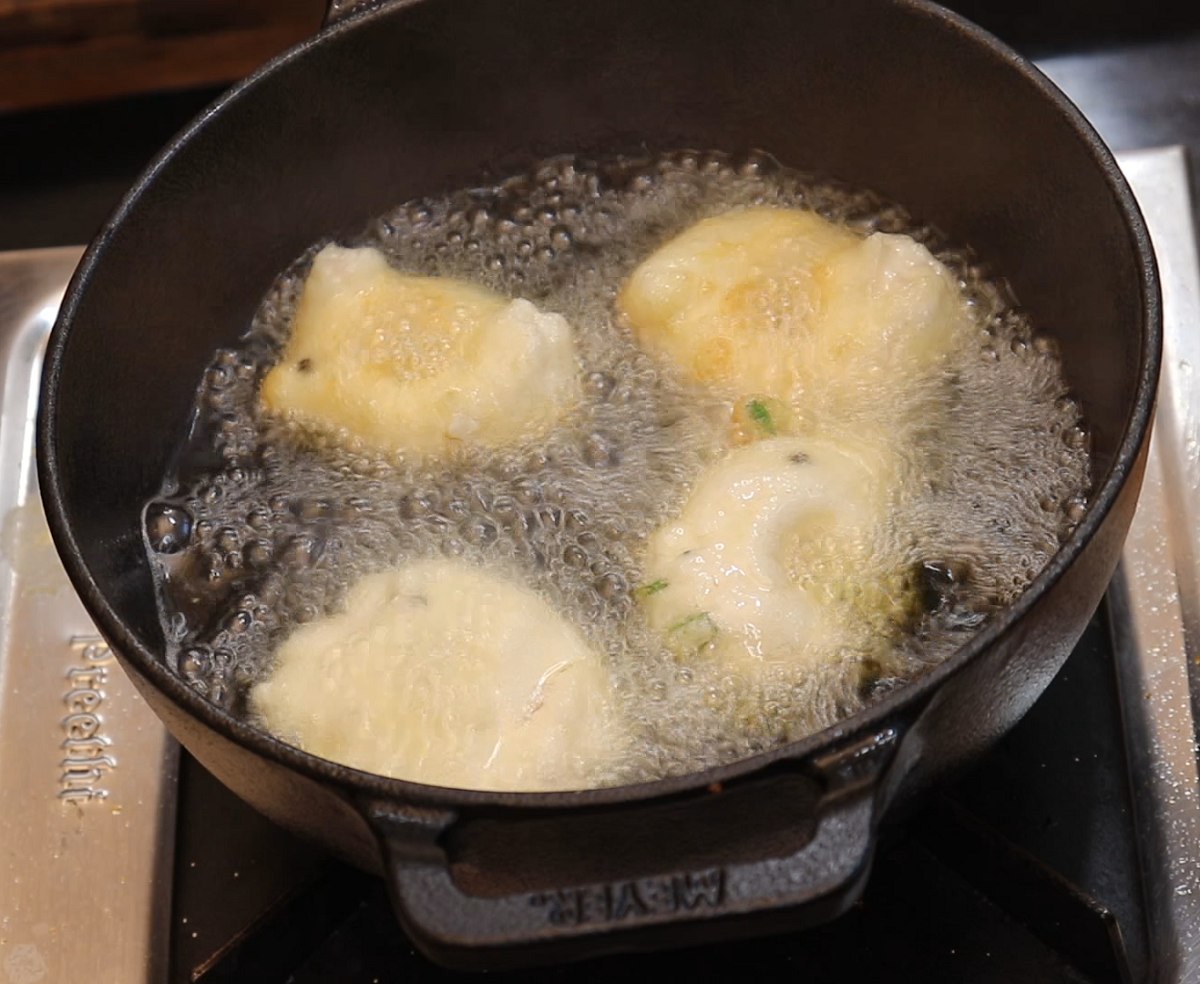
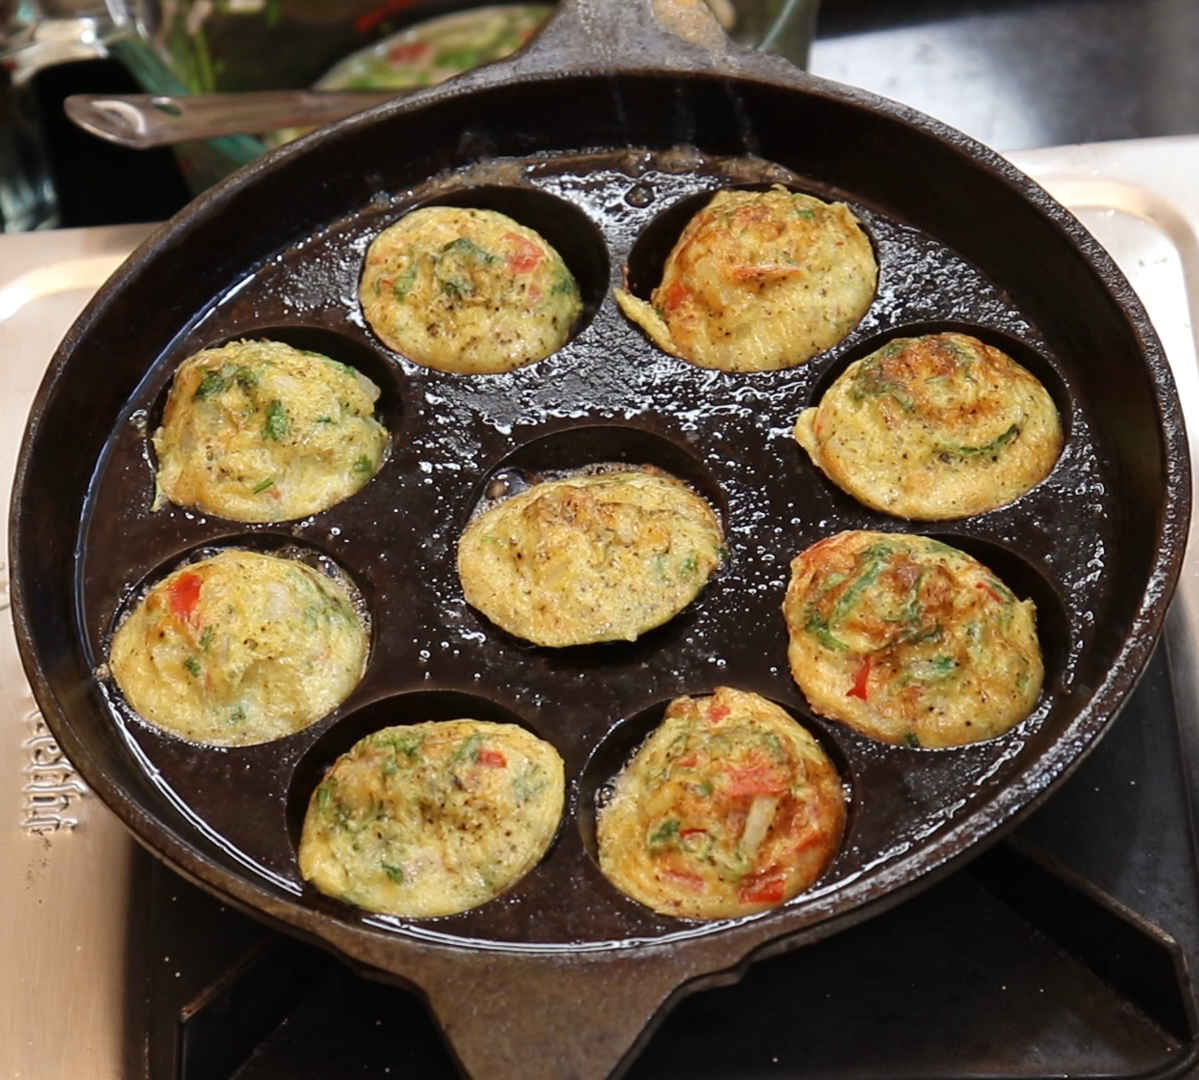
      Step 11: Fry until one side is done.

      Fry both sides in low flame

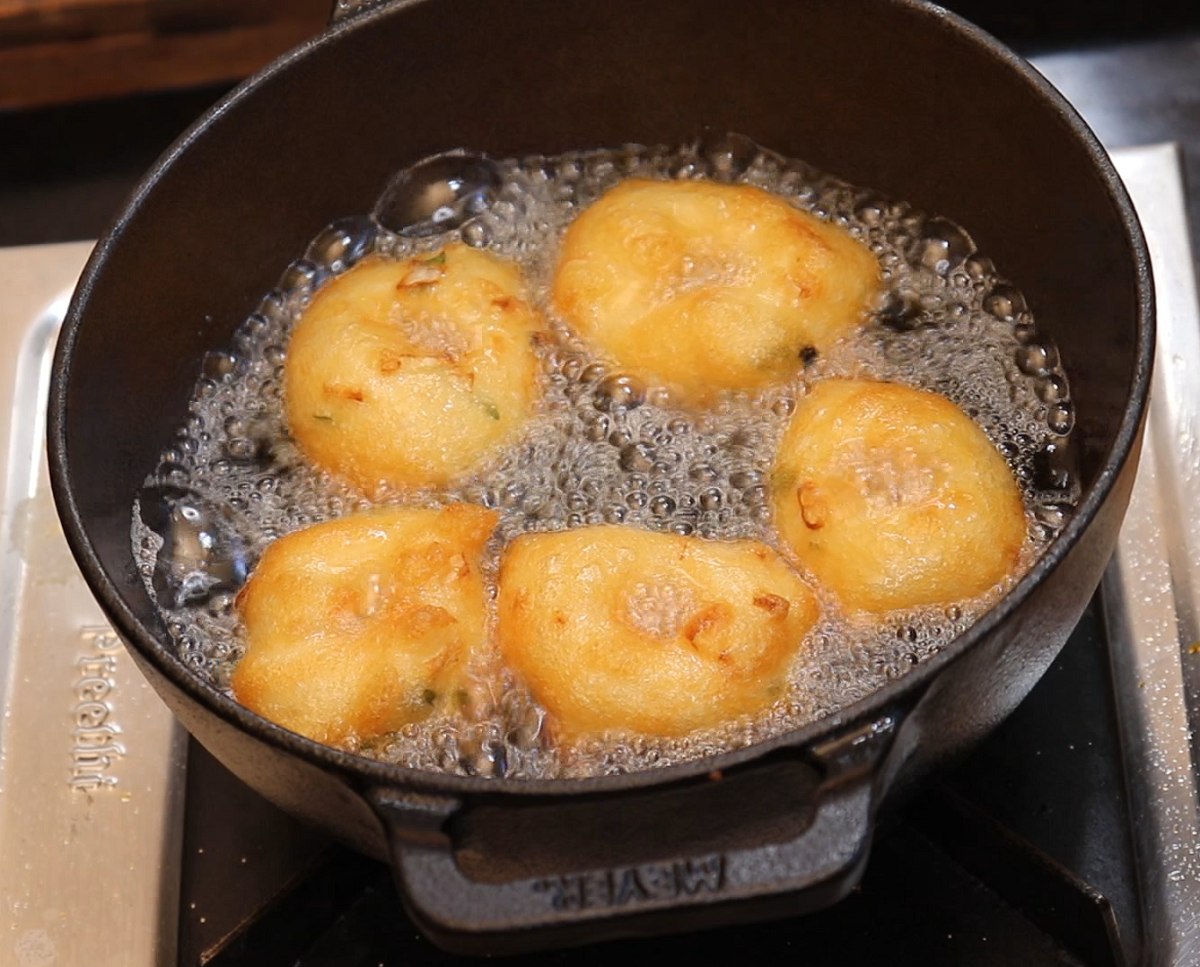
      Step 12: Fry the other side as well.

      Remove the medu vada from the oil

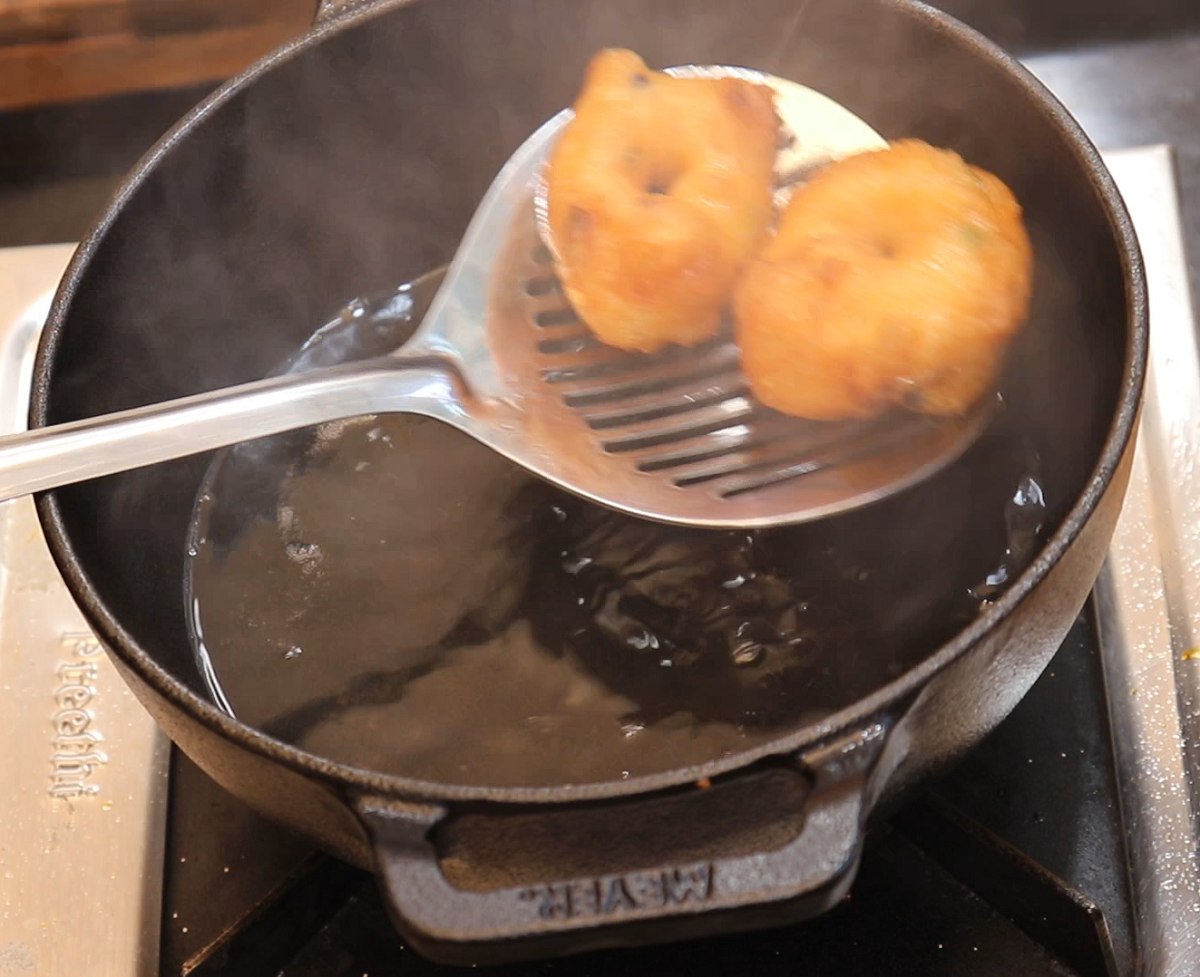
      Step 13: when the vadas have roasted enough take them out of oil

      Medu Vada

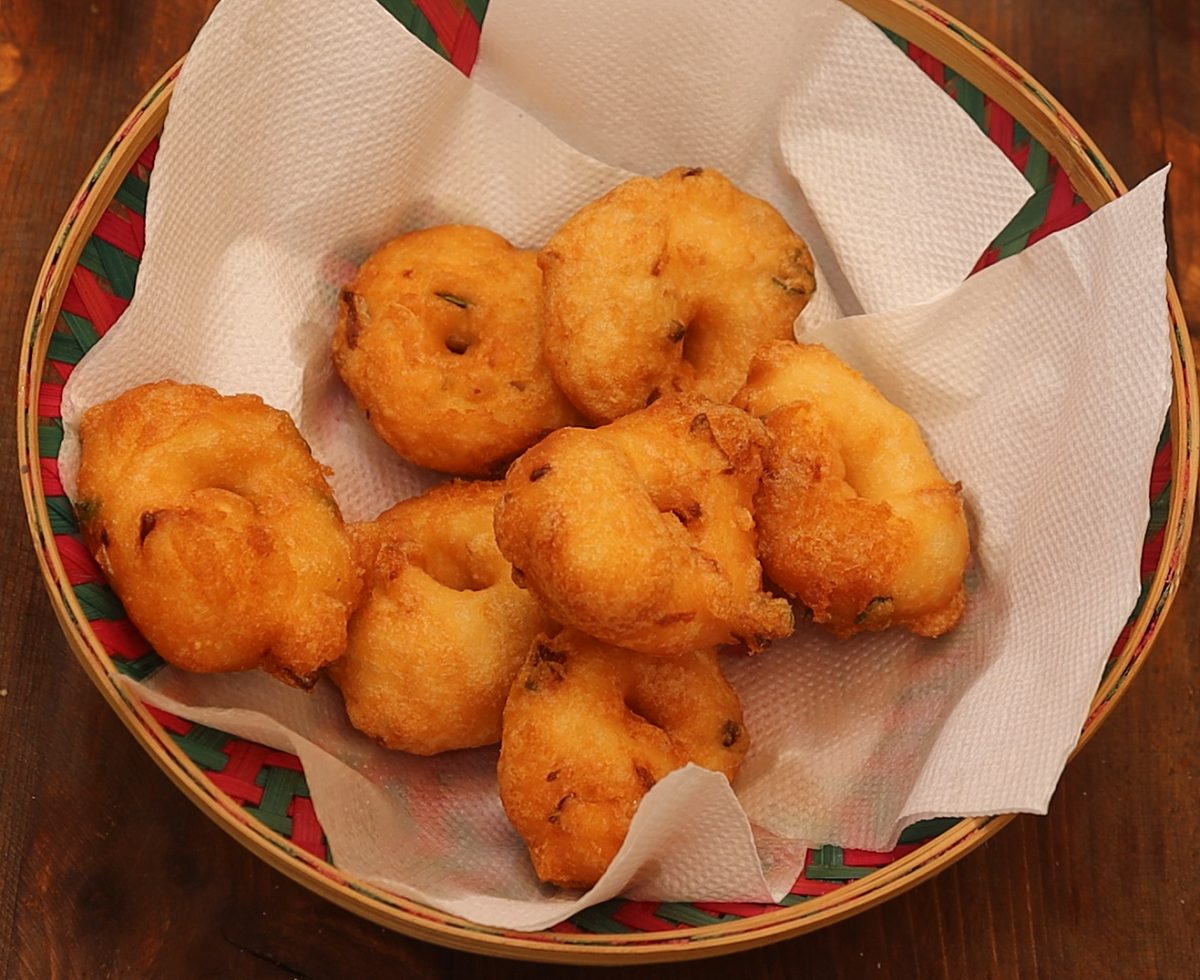
      Step 14: Drain them in a paper towel for the excess oil to be absorbed.

      Yumm Vadas are now ready to serve.

      Medu Vada in a bowl

      Serving Suggestion

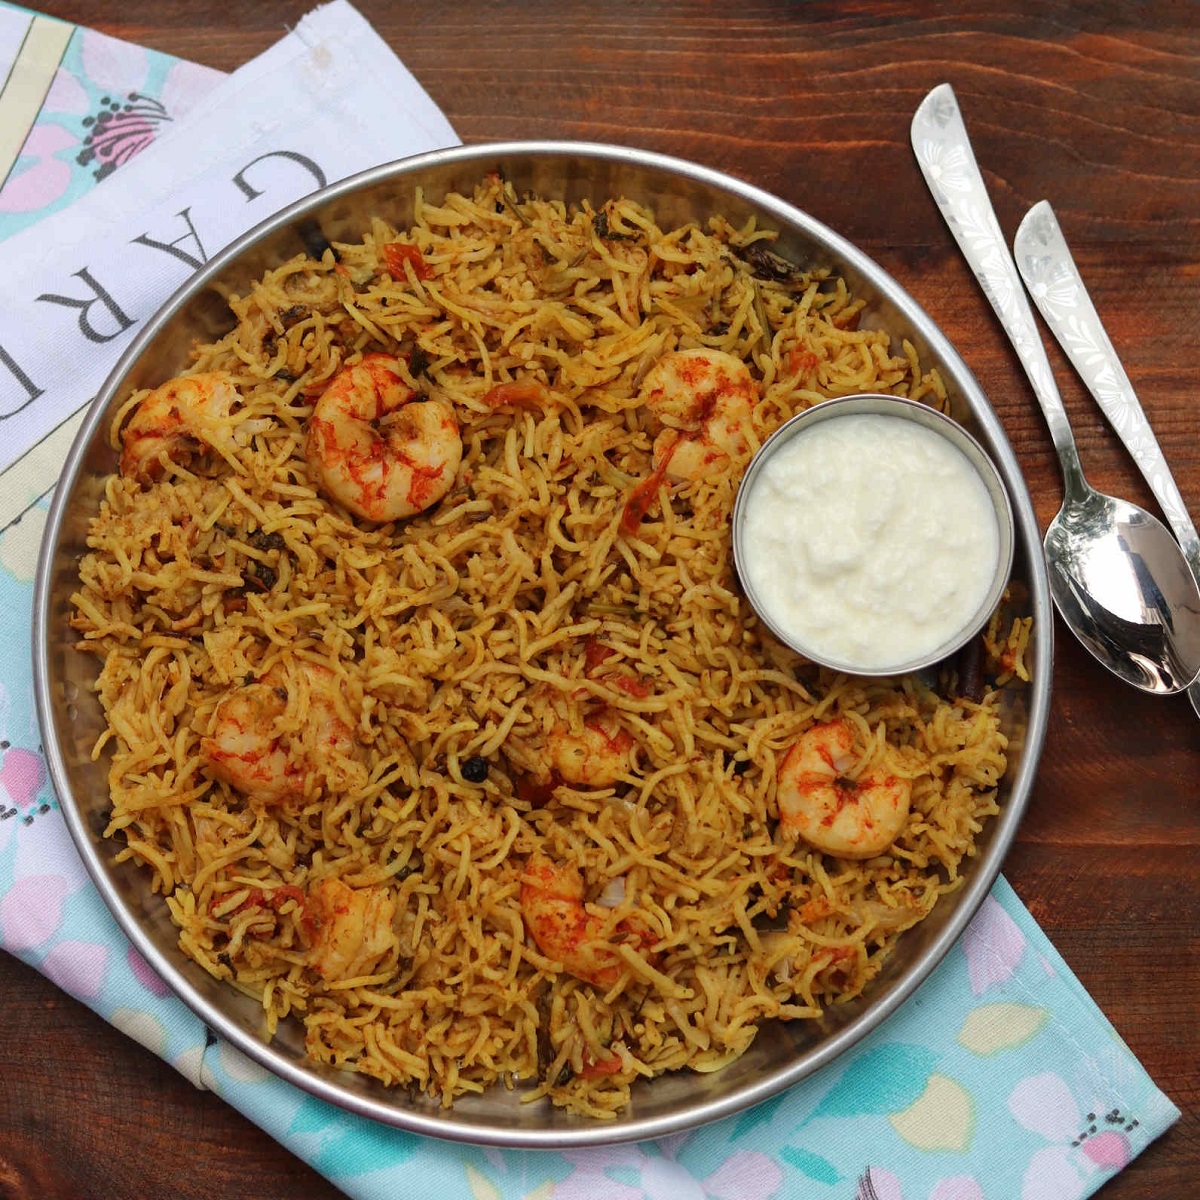
      Medu Vada / Urad Dal Vada / Ulundhu Vada are generally served with idlis/dosa, chutney and sambar in breakfast. Sometimes Medu vada itself is served as a tiffin item in breakfast with sambar and chutney. They are even served as a snack along with tea.

      Storage

      If you are making the batter the previous day then store in the refrigerator. Before frying take the batter out let it come to room temperature and add the vada seasoning like Onion, Pepper, Ginger, hing etc right before frying.

      Top Tip

      • Use a wet grinder to make vada batter.
      • If you do not have a wet grinder then you can use the blender but sprinkle cold water when needed.
      • While making vada batter do not add water the moisture in the soaked urad dal would be sufficient to make batter. Sprinkle water if needed. If adding more water then batter gets watery and the vadas wont hold shape.
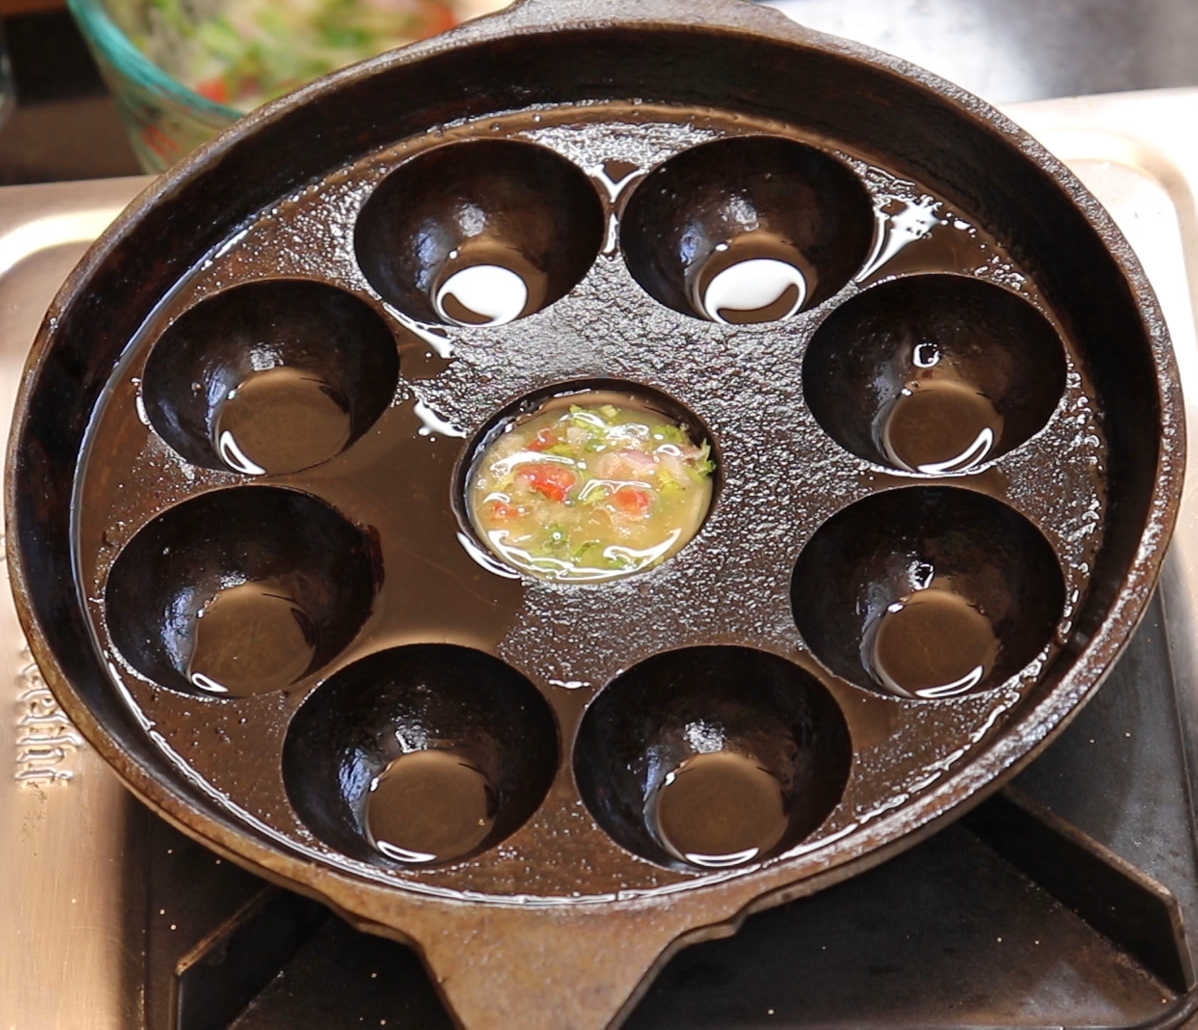
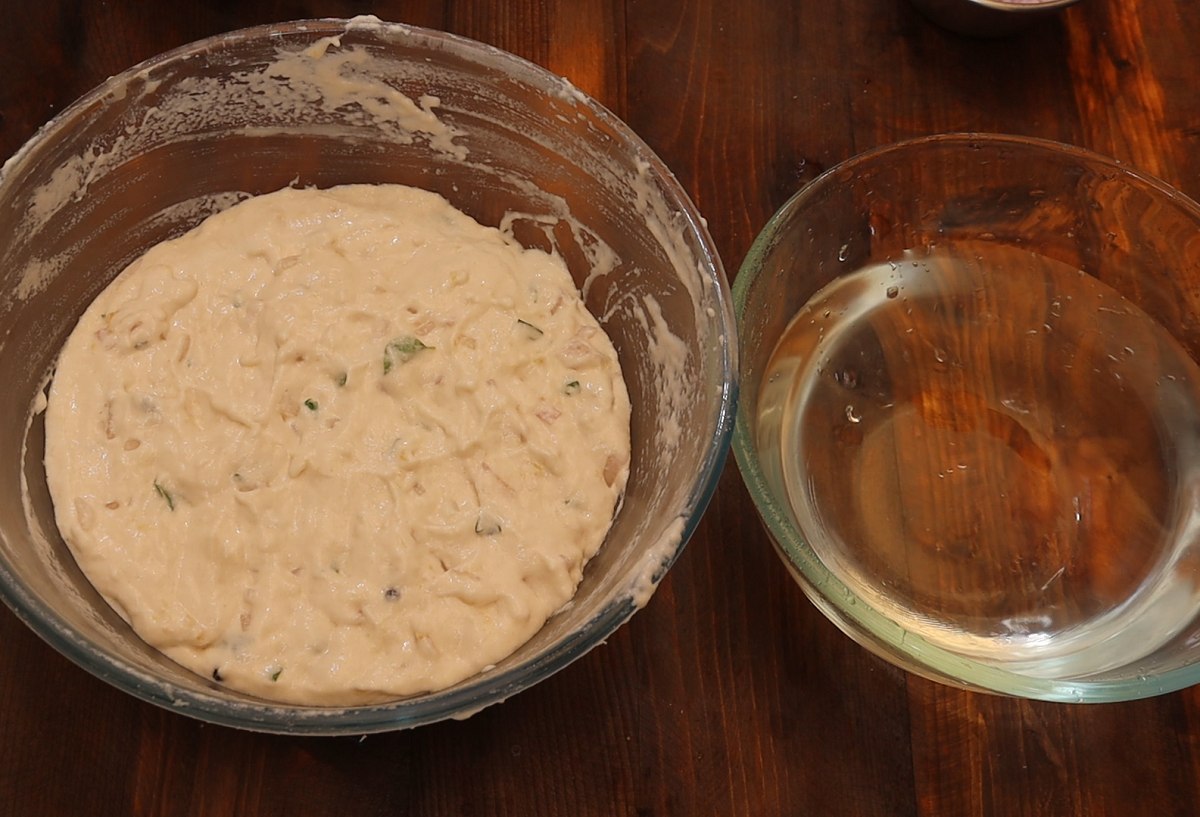
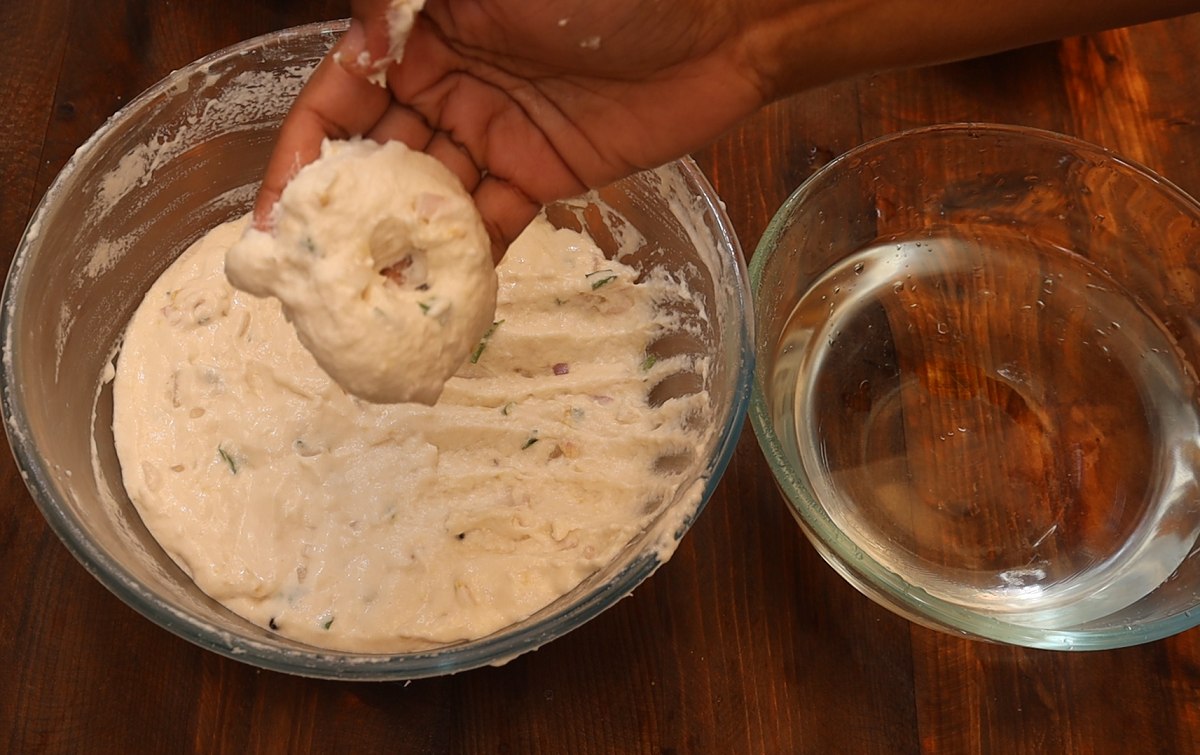
      • To check if the batter consistency is correct add a spoon of batter into the bowl of water. It must hold the shape intact and must float. It must not sink.
      • If batter gets watery you can sprinkle rice flour into batter and mix it. If adding more Rice Flour the vada would get hard.
      • Before taking each vada dip your hands in water and wet them so that it is easy to handle the batter.
      • Beat the batter well so that the vadas come out soft and fluffy.

      FAQ

      What is Medu Vada Made of?

      Medu vada is made of Urad Dal

      Is medu vada same as Sambar vada?

      Medu vada is a deep fried dal fritter made by deep frying whereas sambar vada is medu vada dipped in sambarMedu vada is a savory fritter made from lentils that is deep-fried to achieve a crispy texture, while sambar vada refers to medu vada that is served immersed in a flavorful sambar, a lentil-based vegetable stew.Medu vada is a deep fried dal fritter made by deep frying whereas sambar vada is medu vada dipped in sambar

      Why is Medu Vada Called Medu?

      Medu vada is a type of dal fritter made from urad dal, characterized by its crispy exterior and soft interior. The term "medu" translates to "soft," reflecting the texture that defines this popular dish.

      Is Medu Vada Healthy or Unhealthy?

      Medu vada is a dish that is made by deep frying, which contributes to its high calorie and fat content. On the other hand, the primary ingredient, Urad dal, is a good source of protein. Therefore, it is essential to enjoy Medu vada in moderation to balance its nutritional aspects.

      Why my medu Vada is Oily?

      If the vada batter is too watery, it may absorb excess oil during frying. To achieve a thicker consistency, add one or two tablespoons of rice flour into the batter.

      Which is better Medu Vada or Idli?

      Idli is a healthier option compared to Medu vada, primarily because idli is steamed while Medu vada is deep-fried. This cooking method results in idli being lower in calories, making it a more suitable choice for those mindful of their dietary intake.

      Recipe

      Print Recipe

      Medu Vada

      Medu Vada / Urad Dal Vada / Ulundhu Vada is a filling breakfast and a fun snack.
      Prep Time10 minutes mins
      Cook Time30 minutes mins
      Soaking time3 hours hrs
      Total Time3 hours hrs 40 minutes mins
      Course: Snack
      Cuisine: Indian
      Keyword: vada
      Servings: 4

      Ingredients

      • 1 Cup Urad Dal
      • 1 Teaspoon Black Pepper
      • 2 Sprig Curry Leaves
      • 1 Onion Chopped
      • oil For Deep Frying
      • Water As needed
      • 1 Tablespoon Ginger Grated
      • ¼ Teaspoon Asafoetida Powder

      Instructions

      • Soak Urad Dal in Water for 3 hours
      • Drain the water completely and add them to a wet grinder and blend them to a smooth paste. Sprinkle water only if needed.
      • Transfer the batter from the wet grinder to a bowl. Beat the batter with your palm. This process froms more fluffy vada.
      • Add in crushed pepper, Chopped onion, Curry leaves, asafoetida powder and salt to taste.
      • Heat oil in a frying pan for deep frying the vadas.
      • When the oil is hot enough turn the heat to medium low. Wet your hands. Take lemon sized balls in your hands. Make them to donut shape. Make a hole in the center with your thumb. 
      • Drop the vadas carefully into the oil. Fry them until the vadas are turn golden brown.
      • Take them from the oil and leave in the absorbent paper for the excess oil to be absorbed.
      • Yumm vada are now ready to serve. Serve the vadas with coconut chutney.

      Video

      Did you make this recipe?Tag @Flavourroll on Instagram with #Flavourroll!
      Follow more VideosCheck out FlavourRollRecipes!

      Pairing

      Medu Vada and Coconut chutney are a perfect combination.

      Coconut Chutney

      June 2, 2025 by Flavour Roll Leave a Comment

      Coconut Chutney is a simple and quick recipe commonly prepared in South Indian homes. This flavorful condiment is typically served alongside dishes such as idli, dosa, vada, and upma. The distinctive taste of the chutney is enhanced by roasted gram dal, while the use of freshly grated coconut adds a vibrant freshness. Finally, the chutney is tempered with mustard, onion and Curry leaves, elevating its overall flavor profile.

      Coconut Chutney

      Coconut chutney has multiple variants. I have shared one of my favourite version here.

      [feast_advanced_jump_to]

      About Coconut Chutney

      Coconut Chutney is generally served as a taste enhancer along with Idli and Dosa with other side dishes like sambar, tomato chutney or mint chutney or Ginger Chutney It is prepared by blending with freahs grated coconut and Roasted Channa Dal. It can be served as a Side dish with snack items like Bajji and vada. Since there is no cooking involved this chutney is easy to make we Using fresh coconut plays a key role in the taste of the chutney.

      Coconut Chutney Video

      Ingredients

      • Coconut - Use Fresh Grated coconut for the fresh taste
      • Green Chilli - A key ingredient that brings in taste to the chutney
      • Roasted Gram Dal - Give taste, texture and volume to the chutney
      • Tempering - A tempering with mustard, small onion and curry leaves are used in this recipe

      See recipe card for quantities.

      Step by step Instructions

      Add Coconut, roasted channa dal, curry leaves
      1. Add Grated Coconut, Roasted Channa dal and curry leaves into a blender jar.
      add green chilli and garlic pods
      1. Add in Green Chilli and Garlic Pods
      Add salt to taste
      1. Add salt to taste
      add required water
      1. Add Required Water
      blend into a smooth paste

      5. Blend into a Smooth paste

      transfer chutney to a bowl

      6. Transfer into a serving bowl.

      For Tampering
      heat oil and add mustard

      7. Heat a tampering pan. Add in oil and heat it. Add mustard and allow them to splutter.

      add onion and curry leaves

      8. Add onion and curry leaves and saute them.

      roast the tampering

      9. Saute until they are roasted well

      add tampering into chutney

      10. Add tampering into the chutney

      Fresh Coconut Chutney is now ready to serve

      Coconut Chutney

      Pro Tips

      Use fresh coconut for making this chutney for best taste.

      Substitutions

      • Curry Leaves - instead of Curry Leaves, you can use Mint or Coriander Leaves
      • Green Chilli - Green chilli can be replaced with dry red chilli
      • Roasted Channa Dal - Roasted Channa Dal can be replaced with Roasted Peanuts or Roasted Cashewnuts

      Variations

      There are multiple variation available to this chutney

      • Tampering- Add dry red chilli along with tampering for a spicier taste.
      • Mint or Coriander leaves can be added instead of curry leaves while blending
      • Ginger can be added while blending for a nice flavour.
      • Add Tamarind while blending to bring in a slight tangy taste

      Storage

      I recommend consuming the Coconut chutney on the same day.

      FAQ

      What can we eat Coconut Chutney with?

      Serve coconut chutney with idli, dosa or snack items like bajji or vada.

      How long is coconut Chutney good for?

      Coconut chutney must be consumed on the same day for best taste.

      Recipe

      Print Recipe

      Coconut Chutney

      Coconut Chutney is a simple and quick recipe commonly prepared in South Indian homes. This flavorful condiment is typically served alongside dishes such as idli, dosa, vada, and upma.

      Ingredients

      • ¼ Cup Coconut Grated
      • 2 tablespoon Roasted Channa Dal
      • 1 Sprig Curry Leaves
      • 2 Pods Garlic
      • 1 Green Chilli
      • Salt to taste

      For Tampering

      • 1 teaspoon Oil
      • ½ teaspoon Mustard
      • 1 Shallot Chopped
      • 1 Sprig Curry Leaves

      Instructions

      • Add Grated Coconut, Garlic, Green Chilli, Roasted Gram Dal, Curry Leaves and Salt into a blender Jar.
      • Add required water and blend into a smooth paste. Transfer to a serving bowl.

      For Tampering

      • Heat a Tampering Pan. Add 1 teaspoon of oil.
      • Add in mustard, Chopped onion and Curry Leaves.
      • Roast them and add on top of the chutney.
      • Coconut Chutney is now ready to serve

      Video

      Notes

      Use Fresh Coconut for making this chutney as it enhances the overall taste of the chutney.
      Did you make this recipe?Tag @Flavourroll on Instagram with #Flavourroll!
      Follow more VideosCheck out FlavourRollRecipes!

      More Chutney Recipes

      Looking for other recipes like this? Try these:

      • Coconut Chutney
        Chutney
        Coconut Chutney
      • Ginger Chutney
        Chutney
        Ginger Chutney

      Chicken Salna

      May 30, 2025 by Flavour Roll Leave a Comment

      Chicken Salna is one of the popular recipe served with parottas. Chicken Salna is spicy and full of flavours. Salna is generally prepared as a thin Gravy from the Chicken stock with the Coconut and Cashew/Peanut paste.

      Chicken Salna

      This Chicken Salna can be served as a side dish with idli, dosa and chapathis as well

      [feast_advanced_jump_to]

      Instructions

      To make Chicken Salna, wash and clean the Chicken Pieces and Set it aside. Soak Poppy seeds in hot water before 30 minutes. Chop Onion and Tomatoes. Keep the Ginger Garlic Paste ready.

      Heat oil in a Pressure cooker

      Step 1: Heat oil in a Pressure Cooker

      Add Cinnamon, Cloves, bayleaves, javithri and star anise

      Step 2: Add in Cinnamon, Cloves, Bay Leaves, Star Anise, Cardamom and Javithri.

      Add in chopped onion

      Step 3: Add in Chopped Onion.

      Add in Chopped Tomatoes

      Step 4: Add in Chopped Tomatoes and Saute until Mushy.

      Add in Ginger Garlic PAste

      Step 5: Add in Ginger Garlic Paste

      Saute them well

      Step 6: Saute them.

      Add in Chilli Powder, Turmeric Powder, Coriander Powder, Pepper Powder and Garam Masala Powder

      Step 7: Add in Chilli Powder, Pepper Powder, Garam Masala Powder, Cumin Powder and Coriander Powder.

      Add Salt to taste

      Step 8: Add in Salt to taste

      Saute all the ingredients

      Step 9: Soak until all the masalas blend well

      Step 10: Add in Chicken Pieces and saute them

      ingredients for coconut paste

      Step 11: Soak poppy seeds in hot water for 30 minutes.

      Make the coconut paste

      Step 12: Add Roasted Peanuts, Roasted Channa Dal, Fennel Seeds, Poppy seeds and coconut with required water into a blender and blend into a smooth paste.

      Step 13: Add the coconut paste into the chicken mixture.

      Step 14: Mix them and bring it to boil.

      Step 15: Pressure Cook for 4 whistles in medium to low flame or until the chicken is cooked soft. Switch off the Pressure Cooker. is cooked soft. Switch off the Pressure Cooker.

      Step 16: Let the Pressure release on its own. Open the Pressure Cooker.

      For Tampering
      Heat a tampering pan

      Step 17: Heat oil in a Tampering Pan.

      Add Curry Leaves and Chilli Powder

      Step 18: Add Chilli Powder and Curry Leaves.

      Cook them

      Step 19: Roast them in low flame.

      roast the tampering

      Step 20: Make sure the chilli powder does not burn

      Add tampering into chicken salna

      Step 21: Add tampering into the salna.

      Chicken salna is now ready

      Step 22: Chicken Salna is now ready to serve

      Storage

      Chicken salna can be store in the refrigerator and consumed up to 2 days.

      FAQ

      What is Chicken Salna?

      Chicken Salna is a popular south indian dish which is served along with Parottas, idlis, dosas or Chapathi. Salna has a fluid and lighter consistency. Chicken salna is made by cooking Chicken Pieces in coconut gravy until tender.

      What is salna made of?

      Salna is a South Indian curry, often made with onions, tomatoes, and various spices, and can include meat or vegetables. It's known for its rich, flavorful gravy and is frequently enjoyed with parotta , chapathi etc 

      What is the difference between salna and Kurma?

      Salna is a thin runny gravy made with onion tomato and coconut base gravy served mainly with parottas. kurma is a thick coconut based gravy served with chapathis.

      Related

      Looking for other recipes like this? Try these:

      • Medu Vada and Coconut Chutney
        Medu Vada
      • Chicken Salna
        Chicken Salna
      • egg paniyaram
        Egg Paniyaram / Egg bites
      • Prawn Biryani
        Prawn Biryani

      Pairing

      These are my favorite dishes to serve with [this recipe]:

      Recipe

      Print Recipe

      Chicken Salna

      Chicken Salna is a watery gravy prepared with Chicken Stock and Coconut Paste. It is served as a gravy along with Idli, Dosa and Parottas
      Prep Time15 minutes mins
      Cook Time30 minutes mins
      Total Time45 minutes mins
      Course: Main Course
      Cuisine: Indian
      Keyword: chicken
      Servings: 4
      Author: Flavour Roll

      Ingredients

      • 2 Tblspn Oil
      • 1 Star Anise
      • 3 Cloves
      • 3 Cardamom
      • 1 inch Cinnamon
      • 1 Bay Leaf
      • 1 Javithri
      • 1 Onion Chopped
      • 1 big Tomato Chopped
      • 2 tblspn Ginger Garlic Paste
      • ½ teaspoon Turmeric Powder
      • ½ teaspoon Pepper Powder
      • 1 teaspoon Chilli Powder
      • 1.5 teaspoon Coriander Powder
      • ½ teaspoon Cumin Powder
      • ½ teaspoon Garam Masala Powder
      • Salt to taste
      • 250 grams Chicken

      For Coconut Paste

      • 2 tblspn Roasted Channa Dal
      • 2 tblspn Roasted Peanut
      • 1 teaspoon Fennel Seeds
      • ⅓ Cup Coconut Grated cheese
      • 2 teaspoon Poppy Seeds

      For Tampering

      • 1 tblspn Groundnut Oil
      • 1 teaspoon Chilli Powder
      • 2 Sprig Curry Leaves

      Instructions

      • Heat oil in a wok. Add in Bay Leaves, Cinnamon, Cloves, Cardamom, Javithri, star Anise and saute them until nice aroma comes out.
      • Add in onion and saute until glossy.
      • Add in Chopped tomatoes and salt to taste. Saute until mushy.
      • Add in Ginger Garlic Paste and saute until it is cooked well.
      • Add in Coriander Powder, Turmeric Powder, Pepper Powder, Chilli Powder, Cumin Powder, Garam Masala Powder and salt to taste.
      • Saute until the mixture is cooked well.
      • Add in the Chicken pieces and saute well.

      For Preparing the coconut paste.

      • Soak Poppy seeds in hot water for 30 minutes.
      • Add in Poppy seeds, Roasted Peanut, Roasted Gram Dal, Coconut, Fennel Seeds into a blender. Blend them into a smooth paste with limited water.
      • Add the Paste into the Chicken salna. Mix them. Since salna is a thin Gravy adjust the water accordingly.
      • Add in salt to taste. Pressure Cook for 5 whistles in medium flame. Switch off the Pressure Cooker. Allow the pressure to release on its own.

      For Tampering

      • Heat oil in a small pan. Add in Chilli Powder and Curry Leaves.
      • Roast them in low flame. Do not allow it to burn.
      • Add them into the salna.
      • Flavourful chicken salna is now ready to serve.

      Video

      Did you make this recipe?Tag @Flavourroll on Instagram with #Flavourroll!
      Follow more VideosCheck out FlavourRollRecipes!

      Ginger Chutney

      May 26, 2025 by Flavour Roll Leave a Comment

      Ginger Chutney is a flavorful blend of spice, tang, and sweetness, making it a perfect dip for breakfast dishes like idli, dosa and, as well as various snacks. Ginger, known for its digestive benefits, I often pair this chutney with heavier meals. The best flavor comes from using fresh, tender ginger. This chutney is typically enjoyed in small amounts, to enhance the overall taste. While it’s commonly served alongside coconut chutney during breakfast, it also complements Curd Rice, dal rice or rasam rice beautifully. This chutney is especially beneficial during the monsoon season, as it helps keep the body warm and is known for its medicinal properties, providing relief from cold, congestion, and nausea.

      Ginger Chutney

      Ginger Chutney is best suited to be served along with a heavy meal.

      I like serving Ginger chutney with Egg bites in Breakfast.

      [feast_advanced_jump_to]

      Ingredients

      Here is the list of ingredients use for ginger chutney.

      Ingredients of Ginger Chutney
      1. Ginger is the star ingredient of the Chutney. It has to be sauted slightly.
      2. Onion/Shallots is added to balance the Pungent taste of Ginger.
      3. Garlic is added for some added flavor.
      4. Tamarind and Jaggery Powder are added to balance the taste. Jaggery alternatives Jaggery Powder can be replaced with Palm Jaggery or Brown Sugar.
      5. Oil Any neutral oil can be used for sauting
      6. Urad Dal and Channa Dal adds nice texture to the chutney

      See recipe card for quantities.

      Instructions

      Heat oil in a Pan

      Step 1: Heat oil in wok.

      Add channa dal

      Step 2: Add in Channa Dal

      Add Channa Dal and Urad Dal

      Step 3: Add Urad Dal

      Add Shallots

      Step 4: Add shallots

      Add Dry Red Chilli

      Step 5: Add Dry Red Chilli

      Add Garlic and Ginger

      Step 6: Add in Ginger and Garlic

      Add Asafoetida

      Step 7: Add in Curry Leaves and Asafoetida Powder.

      Add Tamarid

      Step 8: Add in Tamarind.

      Add Turmeric Powder

      Step 9: Add Turmeric Powder.

      Mix all ingredients for ginger chutney

      Step 10: Saute them until the ingredients are cooked well.

      Add Jaggery powder to the chutney.

      Step 11: Add Jaggery Powder.

      Let all the ingredients for ginger chutney cool down

      Step 12: Switch off the flame and let it cool down.

      Transfer the ingredients for ginger chutney into a blender

      Step 13: Transfer the ingredients to a Blender add in required water.

      Blend the ginger chutney

      Step 14: Blend the Chutney.

      heat oil in a pan and add mustard allow it to splutter

      Step 15: For Tampering Heat oil in a Tampering pan. Add mustard and allow it to splutter.

      add dry red chillis and roast it

      Step 16: Add Dry Red Chillis.

      add in curry leaves to the tampering

      Step 17: Add in Curry Leaves

      saute the tampering

      Step 18: Roast them.

      Step 19: Transfer the chutney into a bowl.

      Step 20: Transfer the tampering into the chutney

      Ginger chutney is now ready to serve

      Pairing

      These are my favorite dishes to serve with [this recipe]:

      Recipe

      Print Recipe

      Ginger Chutney

      Ginger Chutney is a sweet sour and spicy dip recipe that can be served alongside breakfast or snacks as a taste enhancer.
      Prep Time5 minutes mins
      Cook Time10 minutes mins
      Total Time15 minutes mins
      Course: Main Course
      Cuisine: Indian
      Keyword: chutney, dips, ginger
      Servings: 4
      Author: Flavour Roll

      Ingredients

      • 1 Tablespoon Oil
      • 1 Tablespoon Channa Dal
      • 1 Teaspoon Urad Dal
      • 20 Small Onion
      • 3 Dry red Chilli
      • 2 inch Ginger
      • 10 Pods Garlic
      • 2 Sprig Curry Leaves
      • ¼ teaspoon Asafoetida Powder
      • ¼ Teaspoon Tamarind
      • Salt to taste
      • ¼ Teaspoon Turmeric Powder
      • 1 Teaspoon Jaggery Powder
      • Water as Required

      For Tampering

      • 1 Teaspoon Oil
      • ½ Teaspoon Mustard
      • 2 Dry Red Chilli
      • 1 Sprig Curry Leaves

      Instructions

      • Heat oil in a wok add in Channa Dal, and Urad dal and roast them.
      • Add onion, ginger, garlic, asafoetida powder, tamarind, turmeric powder, Curry Leaves, salt and saute them.
      • Once the ingredients are cooked well add in Jaggery Powder.
      • Cool down the mixture and transfer it to a blender.
      • Add required water and blend them into a smooth paste.

      For Tampering

      • Heat a tampering pan.
      • Add in oil once it is hot add in mustard and allow it to splutter.
      • Add in dry Red chilli and Curry Leaves.
      • Roast them and add it to the Ginger chutney.

      Video

      Did you make this recipe?Tag @Flavourroll on Instagram with #Flavourroll!
      Follow more VideosCheck out FlavourRollRecipes!

      Storage

      Ginger chutney can be stored in the refrigerator 4 to 5 days

      FAQ

      Is Ginger Chutney Good For Health?

      Ginger chutney is a great way to enjoy its potent anti-inflammatory properties, which help promote digestion, ease menstrual cramps, and fight the symptoms of arthritis. What's more, it's great for your bones too.

      Is it ok to eat Ginger Everyday?

      Yes it is ok to eat Ginger Everyday but moderation is the key.

      What is Ginger Cutney used For?

      Ginger chutney, is commonly paired with breakfast staples like idlis, dosas but it also complements other dishes such as parathas, rotis, and rice. This zesty chutney not only enhances the flavor of meals but can also be enjoyed in small servings as a delightful taste booster.

      What are the other uses of Ginger Chutney?

      It can be used to enhance the taste of other dishes, such as rice, or as a dip for snack like egg bites.

      Egg Paniyaram / Egg bites

      May 7, 2025 by Flavour Roll Leave a Comment

      Egg Paniyaram also known as Egg Bites, are small, round snacks made from eggs packed with a variety of vegetables. This quick and simple recipe is ideal for those seeking a fast option for a snack or breakfast. Featuring ingredients such as onion, tomato, and coriander leaves, these bites offer a delicious and nutritious low-carb choice. They serve as a perfect high-protein addition to your morning meal, making them both satisfying and healthy.

      egg paniyaram

      I utilized a cast iron paniyaram pan for this recipe. If you are comfortable working with cast iron, it should be manageable for you; otherwise, I recommend opting for a non-stick pan.

      [feast_advanced_jump_to]

      Ingredients

      Here’s what you’ll need to make this recipe:

      • Oil for greasing the Pan. Any neutral oil or butter can be used.
      • Egg: The Main Ingredient for these bites. You can make this egg bites with eggs or only egg whites.
      • Onion and Tomato: To enhance the texture of your dish, consider incorporating ingredients such as spinach, mushrooms, carrots, and cabbage alongside onions and tomatoes. Additionally, you can include chicken or mutton mince for extra flavor and protein. The beauty of this recipe lies in its versatility, allowing you to customize it to suit your personal taste.
      • Coriander Leaves : Adds freshness to the recipe.
      • Green Chilli : Adds Spice to the dish. Can be replaced with Chilli Powder or Garam Masala Powder.
      • Ginger Garlic Paste: Adds nice flavor to the dish.
      • Pepper and Salt: to pop all the flavours.

      See recipe card for quantities.

      Instructions

      Ginger Garlic Paste into eggs

      Step 1: Break open 4 eggs into a mixing bowl. Add in Ginger Garlic Paste.

      add salt to eggs

      Step 2: Add Salt to taste

      Add Green Chilli and Pepper Powder to eggs

      Step 3: Add Pepper Powder and Chopped Green Chilli.

      Add Onion to Eggs

      Step 4: Add Chopped Onion.

      Add Tomato to Eggs

      Step 5: Add in Chopped Tomato.

      Add Coriander to egg mixture

      Step 6: Add in Chopped Coriander Leaves.

      Mix the eggs and the vegetables

      Step 7: Mix them.

      Heat Paniyaram pan and spoon in egg mixture

      Step 8: Heat a Paniyaram Pan. Grease it with generous oil.

      Cook the egg bites

      Step 9: Spoon in the egg mixture into the Paniyaram Pan. Cook in Low Medium Flame.

      turn sides for the egg bites

      Step 10: Turn Sides.

      egg paniyaram

      Variations

      These Egg bites suit a paleo recipe.

      You can enhance this recipe by incorporating ingredients like mushrooms, capsicum, cabbage, and cooked meat. However, be careful not to overload the mixture with vegetables, as this will help ensure that your egg bites turn out nice and fluffy.

      Are Egg Bites a Healthy snack?

      Egg bites are a nutritious snack option, packed with protein and fiber, making them a healthy choice for those looking to maintain a balanced diet.

      egg paniyaram

      Recipe

      Print Recipe

      Egg Paniyaram / Egg Bites

      These Egg Paniyaram / Egg Bites are an ideal high-protein breakfast solution for hectic mornings. With a quick 15 minutes of preperation time, they are easy to make, making them an excellent choice for a healthy and satisfying breakfast.
      Prep Time15 minutes mins
      Cook Time15 minutes mins
      Course: Breakfast
      Cuisine: Indian
      Keyword: egg
      Servings: 15
      Author: Flavour Roll

      Ingredients

      • 4 Eggs
      • Oil for greasing
      • 1 Onion Chopped
      • 1 Tomato Chopped
      • Coriander Leaves Fistful
      • 1 teaspoon Pepper Powder
      • 1 Green Chilli Chopped
      • 1 teaspoon Pepper Powder
      • 1 teaspoon Ginger Garlic Paste
      • Salt to taste

      Instructions

      • Break open 4 eggs into a mixing bowl.
      • Add in Ginger Garlic Paste, Onion, Tomato, Coriander Leaves, Pepper Powder, Green Chilli and salt to taste.
      • Blend the ingredients thoroughly until well combined.
      • Next, generously grease the Paniyaram pan with oil and carefully spoon the egg mixture into each cavity.
      • Allow the bites to cook, flipping them to ensure both sides are evenly cooked.
      • Your delicious egg bites are now ready to be savored!

      Video

      Did you make this recipe?Tag @Flavourroll on Instagram with #Flavourroll!
      Follow more VideosCheck out FlavourRollRecipes!

      Prawn Biryani

      April 4, 2025 by Flavour Roll Leave a Comment

      Prawn Biryani or Shrimp biryani is one of the treats for seafood lovers. Prawn Biryani is a dish that combine Fresh Prawns and Flavorful Basmati rice along with Biryani masala to make a delicious treat. This is typically served for lunch or dinner. I served it alongside onion raitha and egg kheema fry. Unlike other non veg biryanis shrimp biryani can be prepared quickly as prawns take very less time to cook.

      Prawn Biryani
      [feast_advanced_jump_to]

      Ingredients

      Ingredients of Prawn Biryani
      • Prawn / Shrimp The freshness of the prawn plays a key role in the taste of the biryani. Prawns are a rich source of selenium, one of the most effective antioxidants at maintaining healthy cells. They also contain high levels of Zinc, which is important to develop a healthy immune system. Eating prawns helps build strong bones because they contain phosphorous, copper and magnesium.
      • Basmati Rice always use premium quality basmati rice for flavorful biryani. I washed and soaked the Basmati rice for 30 mins before making the biryani which is a key to achieve fluffy long-grain biryani.
      • Spices: Indian spices like cinnamon, bay leaves, cloves, Fennel Seeds, peppercorns and Cardamom.
      • Onion: Medium sized onion can be used in this recipe.
      • Tomatoes: Medium sized ripe tomatoes can be used in making this spicy rice with prawns.
      • Ginger Garlic Paste: Blend equal quantities of Ginger and Garlic.
      • Coriander and Mint: these are the key ingredients that bring in taste to the biryani

      See recipe card for quantities.

      Instructions

      Use this section for process shots, alternating between the step and image showing the step. Users don't like seeing process shots cluttering up the recipe card, so include your process shots here.

      Heat oil in a pressure cooker

      Step 1: Heat Ghee in a Pressure Cooker

      Add in the spices

      Step 2: Add in whole Cinnamon, Cloves, Bay leaf, cardamom, star anise, pepper, Javitri.

      Roast the spices until nice aroma comes out.

      Step 3: Roast until nice aroma comes out.

      Add in sliced onion.

      Step 4: Cook in oven for x minutes at 400 degrees

      Saute until the onion is Glossy

      Step 5 : Saute until onion gets glossy.

      Add tomatoes and salt to taste

      Step 6:  Add in tomatoes and salt to taste. Saute until onion gets mushy.

      Add Ginger Garlic paste

      Step 7: Add in Ginger Garlic paste and Green Chilli. Saute until Ginger garlic Paste blends well.

      Saute the masalas for prawn biryani

      Step 8: Add in Curd and saute well.

      Add in cleaned prawns

      Step 9: Add in the prawn and start cooking.

      cook prawns

      Step 10: Mix them together.

      Add Coriander Leaves and Mint leaves

      Step 11: Add in Coriander and Pudina.

      Cook prawn masala

      Step 12: Mix them together.

      Add soaked rice

      Step 13: Add in the soaked Basmati rice.(soak basmati rice for 30 mins)

      Cook prawn rice

      Step 14: Mix them gently.

      Add Garam Masala

      15: Add in Garam Masala/Biryani Masala Powder.

      Add water and bring it to boil

      16: Add required water and Mix them. Bring them to boil.

      Pressure cook Prawn biryani

      17: Close the pressure cooker and cook for 2 whistles in low flame.

      Prawn Biryani is now ready

      18 : Let the pressure come down and open the pressure cooker.

        FAQ

        Which Prawns are good For Biryani

        I utilized tiger prawns for this recipe. The freshness of the prawns enhances the flavor of the biryani.

        What Goes with Prawn Biryani?

        Raita: A Fundamental Side Dish. Salad: A vibrant salad offers a pleasing contrast to the heat and spices of biryani. Pickles: A Zesty Addition. Fryams: A Crispy Treat. Curd: A Smooth Counterbalance.

        Is Prawn Biryani Healthy?

        The marinated prawns, typically prepared with yogurt and fresh herbs, not only elevate the flavor but also offer vital nutrients, resulting in a meal high in protein. Although it is a delicious treat, the dish can be made healthier by reducing the amount of oil used and serving it alongside a crisp side salad.

        Can i eat Biryani the next Day?

        To ensure the proper storage of cooked Prawn biryani in the refrigerator, transfer it to an airtight container and refrigerate. It is advisable to consume it within three days. Prior to consumption, perform a visual inspection and a smell test to check for any signs of spoilage. Reheat the biryani before eating to eliminate any potential bacteria.

        More SeaFood Recipes

        Looking for other recipes like this? Try these:

        • Sardines Fish Curry
          Sardine Fish Curry

        Recipe

        Print Recipe

        Prawn Biryani

        Prawn Biryani is a must-try for those who love seafood. This dish combines fresh prawns with flavorful Basmati rice and a special Biryani masala, resulting in a delicious meal. It is usually served for lunch or dinner.Unlike many other non-vegetarian biryanis, shrimp biryani can be prepared in a short time since prawns cook very quickly.
        Prep Time30 minutes mins
        Cook Time30 minutes mins
        Total Time1 hour hr
        Course: Main Course
        Cuisine: Indian
        Servings: 2

        Ingredients

        • 300 Grams Prawn
        • 1 Cup Basmati rice
        • 1 Cup Water
        • 3 tblspn Ghee
        • 1 inch Cinnamon
        • 3 Cloves
        • 3 Cardamom
        • ½ teaspoon Pepper
        • 1 teaspoon Fennel Seeds
        • 1 Bay Leaf
        • 1.5 teaspoon Coriander Powder
        • 1 teaspoon Chilli Powder
        • ½ teaspoon Turmeric Powder
        • Salt to taste
        • 1 teaspoon Garam Masala Powder
        • Mint Fistful
        • Coriander Leaves Fistful
        • 1 Onion Big
        • 2 Tomatoes
        • 2 Green Chilli
        • ¼ Cup Curd

        Instructions

        • Rinse and clean the Basmati rice thoroughly, then soak it in water for 30 minutes.
        • In a pressure cooker, heat ghee and add cinnamon, cloves, cardamom, bay leaf, fennel seeds, and javithri. Roast the spices until they release a fragrant aroma.
        • Next, incorporate the chopped onion and sauté until it becomes glossy.
        • Add the tomato and salt to taste, continuing to sauté until the mixture becomes mushy.
        • Stir in the ginger-garlic paste and green chili, and sauté them together.
        • Introduce the curd and sauté until it is well combined with the other ingredients.
        • Add chopped coriander and mint leaves, mixing them into the mixture.
        • Incorporate coriander powder, garam masala powder, chilli powder, and turmeric powder, allowing them to cook for a few minutes.
        • Add the soaked Basmati rice and mix thoroughly. Pour in water and add salt to taste.
        • Bring the mixture to a boil, then close the pressure cooker and cook under pressure for two whistles.
        • Turn off the heat and allow the pressure to release naturally. Once the pressure has subsided, open the pressure cooker.
        • Your delicious Prawn Biryani is now ready to be served.
        Did you make this recipe?Tag @Flavourroll on Instagram with #Flavourroll!
        Follow more VideosCheck out FlavourRollRecipes!

        Sardine Fish Curry

        February 3, 2025 by Flavour Roll Leave a Comment

        Sardine Fish Curry is a simple and basic fish curry that can be prepared when there is no time to prepare those elaborate dishes. Sardines are rich in omega fatty acids and have lot of health benefits. Sardines are small silver fish with tiny bones. But they are extremely tasty. Preparing Sardine Fish Curry in a Clay pot brings nice taste to the curry.

        Sardines Fish Curry
        [feast_advanced_jump_to]

        Watch Video

        Recipe

        Print Recipe

        Sardines fish Curry

        Sardine Fish Curry is a simple and easy food prepared for every day lunch or dinner
        Prep Time15 minutes mins
        Cook Time20 minutes mins
        Total Time35 minutes mins
        Course: Main Course
        Cuisine: Indian
        Keyword: fish
        Servings: 3
        Author: Flavour Roll

        Ingredients

        • 250 Grams Sardines
        • 2 Tablespoon Oil
        • ¼ Teaspoon Fenugreek
        • ½ Teaspoon Mustard
        • 10 Small Onion
        • 3 Tomatos Small
        • 2 Tablespoon Tamarind
        • 2 Tablespoon Coriander Powder
        • ¾ Tablespoon Chilli Powder
        • 1 Teaspoon Turmeric Powder
        • 2 Sprig Curry Leaves
        • 3 Green Chilli
        • 6 Garlic Pods
        • Salt to taste

        For Coconut Paste

        • 1 Cup Coconut Grated
        • 1 teaspoon Cumin
        • 2 Sprig Curry Leaves

        Instructions

        • Heat Oil in a Wok. Add in Fenugreek and Mustard and allow it to splutter.
        • Add in onion and saute until glossy.
        • Add in tomatoes, Garlic and Salt to taste. Saute until the tomatoes get mushy. This is a key step for the taste of the curry.
        • Soak Tamarind in water for 30 minutes. Extract the pulp and add in.
        • Add in Chilli Powder, Coriander Powder and Turmeric Powder. Add water and let the masalas cook
        • Add Coconut, Curry Leaves and Curry Leaves into a blender with water. Blend into a smooth paste.
        • Add in Curry Leaves and Green Chilli. Bring it to boil.
        • Add in the washed and cleaned fish. Cook until the oil separates
        • Yumm fish curry is now ready to serve.
        Did you make this recipe?Tag @Flavourroll on Instagram with #Flavourroll!
        Follow more VideosCheck out FlavourRollRecipes!

        Step by step instructions

        Sardines Fish Curry Step 31
        1. Get ready with the ingredients.
        Sardines Fish Curry Step 11

        2. Chop the Onion and Tomato. Soak Tamarind in water for 30 minutes. Clean and wash the Sardine Fish

        sardines fish curry step 1

        3. Heat oil in wok.

        Sardines Fish Curry Step 2

        4. Add in Fenugreek and Mustard. Let them splutter.

        Sardines Fish Curry Step 3

        5. Add in onion and saute until glossy.

        Sardines Fish Curry Step 4

        6. Add in Chopped Tomatoes.

        Sardines Fish Curry Step 7

        7. Add in salt to taste.

        Sardines Fish Curry Step 8

        8. Add in chopped Garlic.

        Sardines Fish Curry Step 5

        8. Soak tamarind in water

        51
         

        9. Extract the tamarind pulp and add it into the curry.

        Sardines Fish Curry Step 10

        11. Add in Chilli Powder, Coriander Powder and Turmeric Powder.

        Sardines Fish Curry Step 9

        12. Mix them gently.

        Sardines Fish Curry Step 11

        13. Add in water.

        Sardines Fish Curry Step 11

        14. Let the masalas cook well.

        Sardines Fish Curry Step 6

        15. Meanwhile add Coconut, Cumin Seeds, Curry Leaves and water into a blender jar.

        Sardines Fish Curry Step 61

        16. Blend into a smoothe paste.

        Sardines Fish Curry Step 21

        17. Add in the coconut paste into the curry.

        Sardines Fish Curry Step 22

        18. Add in Curry Leaves and Green Chilli.

        Sardines Fish Curry Step 81

        19. Bring it to boil.

        Sardines Fish Curry Step 83

        20. Add in the fish.

        Sardines Fish Curry Step 91

        21. Add in salt to taste.

        Sardines Fish Curry Step 92

        22. Cook until the curry is cooked well.

        yummy fish Curry is now ready to serve.

        Sardines Fish Curry

        Surakkai Soup / BottleGourd Soup / Lauki soup

        September 4, 2024 by Flavour Roll Leave a Comment

        Surakkai Soup / BottleGourd Soup is full of nutrients. Bottle Gourd is a high fibre vegetable and is full of anti-oxidants. This soup is a good option for people who are trying to loose weight. This vegetable cools your body. While consuming this soup regularly you can see a lot a benefits on your hair and skin.

        Surakkai Soup
        [feast_advanced_jump_to]

        Watch Video

        Recipe

        Print Recipe

        Surakkai Soup / BottleGourd Soup / Lauki soup

        Surakkai Soup / BottleGourd Soup / Lauki soup is a healthy and nutritious soup
        Prep Time5 minutes mins
        Cook Time20 minutes mins
        Total Time25 minutes mins
        Course: Appetizer
        Cuisine: Indian
        Keyword: bottlegourd, healthysoup, soup
        Servings: 4

        Ingredients

        • 1 Medium Bottle Gourd
        • 2 Tablespoon Butter
        • ½ teaspoon Cumin Seeds
        • ½ teaspoon Pepper
        • 15 Shallots
        • 1 Garlic
        • Coriander Leaves Fistful
        • Salt to taste
        • Water as needed

        Instructions

        • Peel the bottlegourd and chop them into small pieces.
        • Heat a pressure Cooker. Add in Cumin and Pepper and saute them.
        • Add in small onion and garlic and sauté them.
        • Add in the chopped bottle gourd and coriander leaves.
        • Add in 2 cups of water. Add salt to taste.
        • Close the pressure cooker and pressure cook for 3 whistles.
        • Switch off the flame allow the cooker to cool down completely.
        • Open the pressure cooker. Blend the ingredients using a hand blender.
        • Transfer to a serving bowl and serve hot.
        Did you make this recipe?Tag @Flavourroll on Instagram with #Flavourroll!
        Follow more VideosCheck out FlavourRollRecipes!

        Step by step instructions

        Surakkai Soup step 1
        1. Take tender Bottle Gourd. Peel the skin and chop into small pieces.
        Surakkai Soup step 2
        2. Chop the vegetables. Get ready with the ingredients.
        Surakkai Soup step 3
        3. Heat butter in a pan.
        Surakkai Soup step 4
        4. Add in Cumin Seeds and Black Pepper.
        Surakkai Soup step 5
        5. Add in Garlic
        Surakkai Soup step 6
        6. Add in Small Onion.
        Surakkai Soup step 7
        7. Add in Chopped Bottle Gourd.
        Surakkai Soup step 8
        8. Add in Green Chili.
        Surakkai Soup step 9
        9. Add in Chopped Coriander.
        Surakkai Soup step 10
        10. Add in salt to taste.
        Surakkai Soup step 11
        11. Add in required water.
        Surakkai Soup step 12
        12. Pressure cook for 3 whistles. Open Pressure cooker after the pressure is released.
        Surakkai Soup step 13
        13.Open the pressure Cooker.
        Surakkai Soup step 14
        14. Blend the soup using a hand blender.
        Surakkai Soup

        Tips

        Before using the Bottle gourd taste a small slice of it. If it tastes bitter, then discard immediately. Tender Bottle Gourd tastes great.

        Watermelon Ice Apple Juice

        August 27, 2024 by Flavour Roll Leave a Comment

        Watermelon Ice Apple Juice is a treat on a summer day. The Blend of WaterMelon and Ice Apple with milk gives a nice and soothing taste. Both watermelon and Ice apple have nice cooling properties this helps in cooling down your body and keeps you hydrated on a summer day. Ice apple is a low calorie and high fibre food which keeps us full for a long time. Watermelon hydrates us well on a hot summer day.

        WaterMelon Ice Apple juice
        [feast_advanced_jump_to]

        Recipe

        Print Recipe

        Water Melon Ice Apple Juice

        Water Melon Ice Apple Juice is a treat on a summer day. The Blend of WaterMelon and Ice Apple with milk gives a nice and soothing taste. Both watermelon and Ice apple have nice cooling properties this helps in cooling down your body and keeps you hydrated on a summer day.
        Prep Time10 minutes mins
        Total Time10 minutes mins
        Course: Drinks
        Cuisine: Indian
        Keyword: iceapple, juice, watermelon
        Servings: 4

        Ingredients

        • 500 ml Water Melon Juice
        • 150 ml Sweetened Condensed Milk
        • 150 ml Milk
        • 1 Cup Ice Apple Peeled and Chopped
        • 1 Cup Water Melon

        Instructions

        • Add all the ingredients into a bowl and mix them gently.
        • Serve Chilled

        Video

        Did you make this recipe?Tag @Flavourroll on Instagram with #Flavourroll!
        Follow more VideosCheck out FlavourRollRecipes!

        Step by step instructions

        WaterMelon Ice Apple juice
        1. Add Water Melon Juice in a Mixing Bowl
        WaterMelon Ice Apple juice
        2. Add in Condensed Milk
        WaterMelon Ice Apple juice
        3. Mix them gently.
        WaterMelon Ice Apple juice
        4. Add in Milk and mix them.
        WaterMelon Ice Apple juice
        5. Remove the skin of ice apple. Chop into small pieces and add them in.
        WaterMelon Ice Apple juice
        6. Mix them.
        WaterMelon Ice Apple juice
        7. Remove the seeds from watermelon. Chop into small pieces.
        WaterMelon Ice Apple juice
        8. Add them in and mix gently.
        WaterMelon Ice Apple juice

        Serving Suggestions

        Watermelon Ice Apple juice tastes best when served chilled. It can be served as a mid morning snack on a hot summer day.

        Curry Leaves Chicken

        July 11, 2024 by Flavour Roll Leave a Comment

        Curry Leaves Chicken Masala is a very easy, tasty and yummy Chicken side Dish. It can be served with Steamed rice and simple rasam or can be served with rotis. Curry Leaves Chicken is Prepared using Coconut oil and Curry Leaves roasted in it. The freshly ground masala gives out awesome flavours to the recipe. It tastes simply yummy.

        Curry Leaves Chicken Curry

        Step by step instructions

        Dry Roasting Curry Leaves

        roast curry leaves
        1. Roast Curry Leaves
        roasted curry curry leaves
        2. Let the Curry Leaves Cool down.

        Dry Roasting Spices

        roast pepper
        3. Heat a Wok. Add in black Pepper
        roast cumin
        4. Add in Cumin.
        roast fennel seeds
        5. Add Fennel Seeds
        Roast Coriander
        6. Add coriander Seeds
        Roast Cinnamon and Cloves
        7. Add Cinnamon and Cloves
        dry the masala
        8. Dry roast all the spices until nice aroma comes out and cool them down.
        heat oil
        9. Heat oil in a wok.
        add bay leaves
        10. Add in Bay Leaves and saute until nice aroma comes out.
        add onion
        11. Add in chopped onion and saute until glossy.
        add tomato and salt
        12. Add in chopped tomatoes and saute until mushy.
        Add ginger garlic paste
        13. Add in Ginger Garlic Paste and saute it.
        saute the vegetables
        13. Saute until the raw smell leaves.
        add chicken
        13. Add in the chicken Pieces and mix them gently.
        cook chicken
        14. Chicken releases water while cooking. Cook until it is soft.
        add salt
        15. Add in salt to taste.
        16. Add Chilli Powder and Turmeric Powder.
        let masalas blend
        17. Mix them and keep cooking.
        add curry leaves powder
        18. Add in the Powdered spices.
        cook chicken
        20. Cook until the masalas blend well.
        delicious chicken ready
        21. cook until all the water evaporates and the chicken is coooked tender.
        Curry Leaves Chicken Curry 1

        Recipe

        Print Recipe

        Curry Leaves Chicken

        Curry Leaves Chicken is a mouthwatering and spicy chicken recipe.
        Prep Time5 minutes mins
        Cook Time30 minutes mins
        Total Time35 minutes mins
        Course: Main Course
        Cuisine: Indian
        Keyword: chicken, curryleaves, nonveg
        Servings: 4

        Ingredients

        To Dry Roast and Grind

        • 10 Sprig Curry Leaves
        • 1 inch Cinnamon
        • 3 Cloves
        • 2 Teaspoon Pepper
        • 2 Teaspoon Fennel Seeds
        • 1 Teaspoon Cumin Seeds
        • 2 Tablespoon Coriander Seeds

        Other Ingredients

        • 1 kg Chicken
        • 1 Tablespoon Oil
        • 1 Bay Leaves
        • 2 Onion Chopped
        • 2 Tablespoon Ginger Garlic Paste
        • 2 Tomatoes
        • 1 Teaspoon Turmeric Powder
        • 2 Teaspoon Chilli Powder
        • Salt to taste

        Notes

        • Dry Roasting the curry leaves gives green color to the recipe.
        • Adding more curry leaves while dry roasting would turn the recipe bitter.
        • This recipe is a spicy recipe. If you want to reduce the spice level adjust spices accordingly.
        • Do not burn any of the ingredients while dry roasting or it would spoil the taste.
        • Dry roasted curry leaves have a strong taste. Hence do not add more than the mentioned quantity.
        • Add Water only if required.
        Did you make this recipe?Tag @Flavourroll on Instagram with #Flavourroll!
        Follow more VideosCheck out FlavourRollRecipes!

        Reduce Grey Hair Naturally

        July 4, 2024 by Flavour Roll Leave a Comment

        Use this hair pack to reduce grey hair naturally. If you are spotting Grey Hair Recently like me then this hair pack will help you darken them. Using hair products with toxic chemicals can result in more greying of the hair. Many home remedies will help you get back your dark hair. It is always ideal to use natural remedies for your hair to get rid of these greys rather than going behind the chemical treatments. 

        amla pack 12

        Ingredients

        Amla Powder: Amla strengthens your hair as well as the follicles, which means no more hair fall and faster hair growth. As your hair strengthens from the roots and stops breaking, it also regains its original colour and luster. Amla gives stronger and shinier hair.

        Henna Powder is a natural conditioner and a colorant. Henna is in fact an age-old home remedy to turn grey hair into black.

        Bhringraj Powder prevents hairfall and baldness can help you boost hair growth and control hairfall. It slows down premature greying and helps blacken dull hair.  

        Hibiscus Flower Powder halts grey hair

        amla hair pack

        Recipe

        amla pack main 1
        Print Recipe

        Prep Time5 minutes mins

        Equipment

        • 1 Bowl
        • 1 Spoon

        Ingredients

        • Bhringraj Powder
        • Hibiscus Powder
        • Amla Powder
        • Henna Powder
        • Curd

        Instructions

        • Make a smooth paste and apply this paste as a hair mask on the hair, making sure to cover the roots. Leave it on for an hour and rinse with a mild herbal shampoo.

        Video

        Did you make this recipe?Tag @Flavourroll on Instagram with #Flavourroll!
        Follow more VideosCheck out FlavourRollRecipes!

        Rava Kesari

        July 4, 2024 by Flavour Roll Leave a Comment

        Jump to Video Jump to Recipe

        Rava Kesari is a Sweet recipe that is prepared for festive occasions. Rava Kesari is made with Semolina / Rava / Sooji. It is generally served alongside idli, Vada with Chutney and Sambar in a breakfast. It tastes great with super soft, shiny texture without much ghee. The secret to make perfect Rava kesari is adding enough liquid to cook the Semolina / Rava. It is traditionally served warm, but tastes equally good when chilled.

        rava kesari 2
        [feast_advanced_jump_to]

        Recipe

        rava kesari 12
        Print Recipe

        Rava Kesari

        Rava Kesari is a easy dessert that can be prepared for any occasion.
        Cook Time20 minutes mins
        Total Time20 minutes mins
        Course: Dessert
        Cuisine: Indian
        Keyword: dessert, Kesari, rava, sooji, sweets
        Servings: 4

        Ingredients

        • 1 Cup Rava / Sooji
        • 3 Cups Water
        • 2 Cups Sugar
        • 5 Tablespoon Ghee
        • 15 Cashews Broken
        • ½ teaspoon Food Color / Kesari Powder
        • ½ teaspoon Cardamom Essence / Cardamom Powder

        Instructions

        • Heat 2 tablespoon of ghee in a wok
        • Add in cashews and roast until it starts browning.
        • Take them out or ghee and set aside.
        • Add in the sooji and start roasting until nice aroma comes out.
        • switch off the flame and set aside.
        • Bring water to boil. Add in Cardamom / Cardamom essence.
        • Add the boiling water into sooji and start cooking again in medium to low flame.
        • When the water is all absorbed add in the sugar.
        • The sugar starts melting and the mixture gets a bit watery. Keep cooking until all the water evaporates.
        • Add in the remaining ghee and keep mixing them.
        • Switch off flame and add in the roasted cashews and mix gently.
        • Delicious dessert is now ready to serve.

        Video

        Did you make this recipe?Tag @Flavourroll on Instagram with #Flavourroll!
        Follow more VideosCheck out FlavourRollRecipes!

        Step by Step Photos

        rava kesari step 101
        1. Heat Ghee in a Pan.
        rava kesari step 102
        2. Add in Cashews and roast in low flame.
        rava kesari step 103
        3. When the Cashews start browning stop roasting and take them out of ghee.
        rava kesari step 104
        4. Set them aside.
        rava kesari step 105
        5. Into the same Ghee add in the Sooji
        rava kesari step 106
        6. Roast for few minutes until nice aroma comes or the Sooji starts to brown. Switch off the flame
        rava kesari step 107
        7. Heat water.
        rava kesari step 108
        8. Add in Cardamom or Cardamom Extract.
        rava kesari step 109
        9. Bring the water to boil.
        rava kesari step 110
        10. Add in the Sooji and start heating in medium to low flame.
        rava kesari step 111
        11. Keep cooking until sooji absorbs the water completely.
        rava kesari step 112

        12. Add in sugar in this stage.

        rava kesari step 113
        13. When the Sugar melts the mixture gets little watery.
        rava kesari step 114
        14. Add in the kesari Food Color. Keep Cooking until the water is absorbed.
        rava kesari step 115
        15. Add in the Ghee.
        rava kesari step 116
        16. Mix gently.
        rava kesari step 117
        17. When the Ghee is mixed. Switch off the flame.
        rava kesari step 118
        18. Add in the roasted cashews and mix gently.

        Delicious Rava Kesari is now ready to serve.

        rava kesari 2

        Tips

        • Adjust the sweetness according to your taste as because my version is sweeter.
        • I have added only cashews in the above recipe but you can add any choice of nuts and dry fruits.
        • Cardamon essence can be replaced for crushed cardamon or Cardamom powder.
        • Roasting the Rava/sooji enhances the taste and is the key step in the texture of the kesari. Roast the rava in low to medium flame and make sure not to change the color.
        • Roasting Rava also helps in avoiding lumps while adding water.
        • Rava Kesari thickens over time so do not make it dry switch off the flame when it is a little flowy or loose.

        Serving Suggestion

        Rava Kesari is a Sweet item and It is generally served along other breakfast recipes like idli chutney and sambar.